Introduction
Magento, as everyone knows, is the most popular software recommended for creating online stores. The settings are a little complex, however the wide variety of features that Magento offers usually outweighs the complexity and Magento continues to be the personal favourite for many. In the past topics which dealt with various Magento aspects, we discussed how to install Magento, how to perform the initial configuration, how to add custom themes to Magento, how to add and manage products within the store etc.
In this post, we will see how we can configure payment modules in Magento. The greatest advantage of online stores is that you can choose your product from a wide variety of options from your home itself, and also make payments through the website. When a customer places an order, he can immediately pay online through your site. Anything which deals with money should be utmost secure, especially in the medium of the internet. How can you configure secure Payment Modules in Magento is described in this post. We will be describing a few options as follows.
This article includes:
- Login to Magento Admin Area
- Choosing your Payment Method
- Paypal
- Saved Credit Card
- Check/Money Order
- Testing the Payment Setup
Login to Magento Admin Area
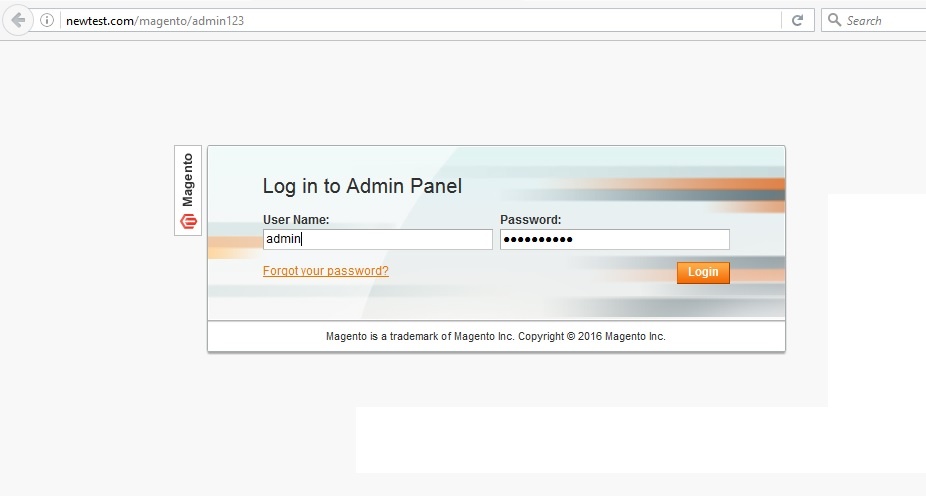
Payment modules are configured in the Magento admin area. Suppose I installed my store under the domain newtest.com in a folder named Magento. I will access the store at http://newtest.com/magento. I configured my Magento admin area to be http://newtest.com/magento/admin123
You first need to login to the admin area before you can configure the payment settings. Access the admin interface and enter the login details which you gave at the time of installation. If you forgot the login details, you can click on the ‘Forgot your password?’ link to reset it.
Choose your Payment Method
Once you are inside the admin area, go to System -> Configuration.

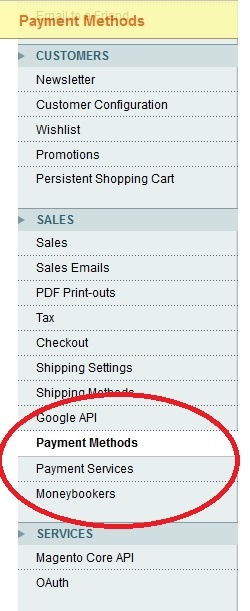
You will notice a menu on the left-hand side, scroll down to the section name Sales. Click on ‘Payment Methods’.
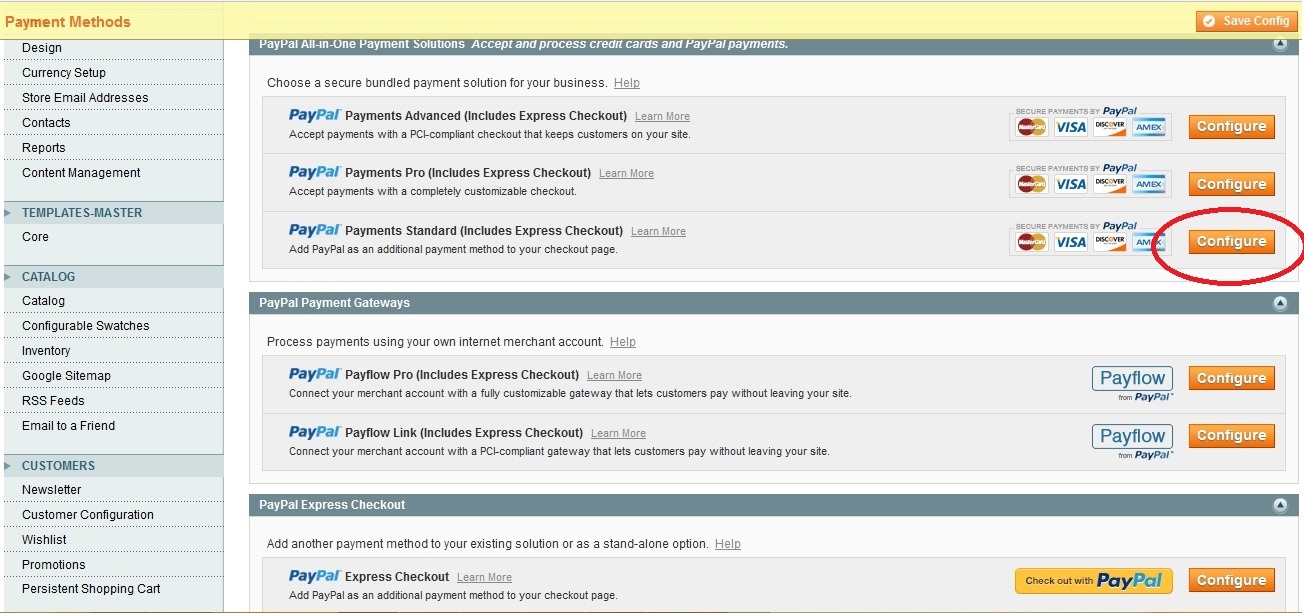
Various Payment Methods
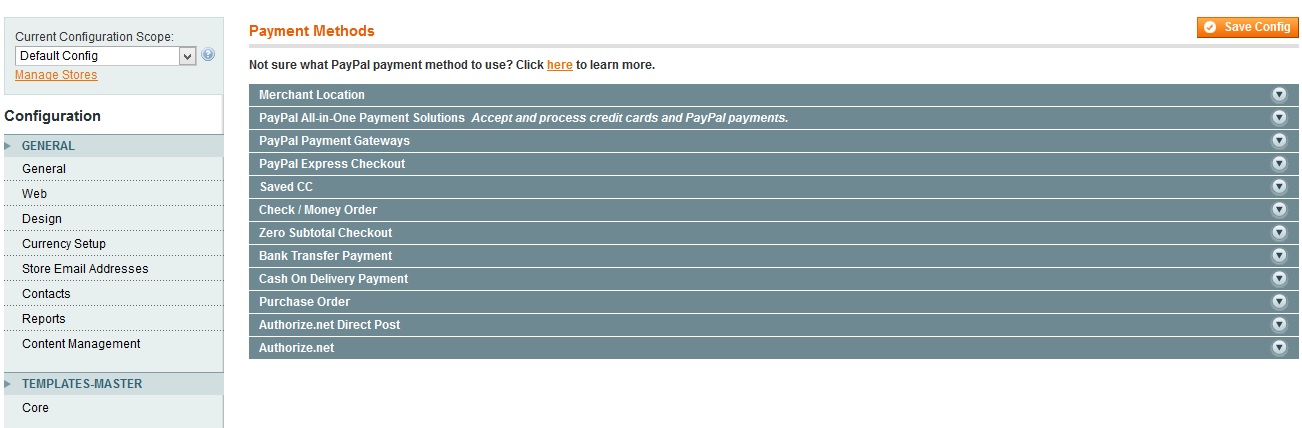
Now, you will be listed with a number of payment methods available in the store. It includes Paypal, Credit Card, Cash on Delivery, Check/Money Order and many others.
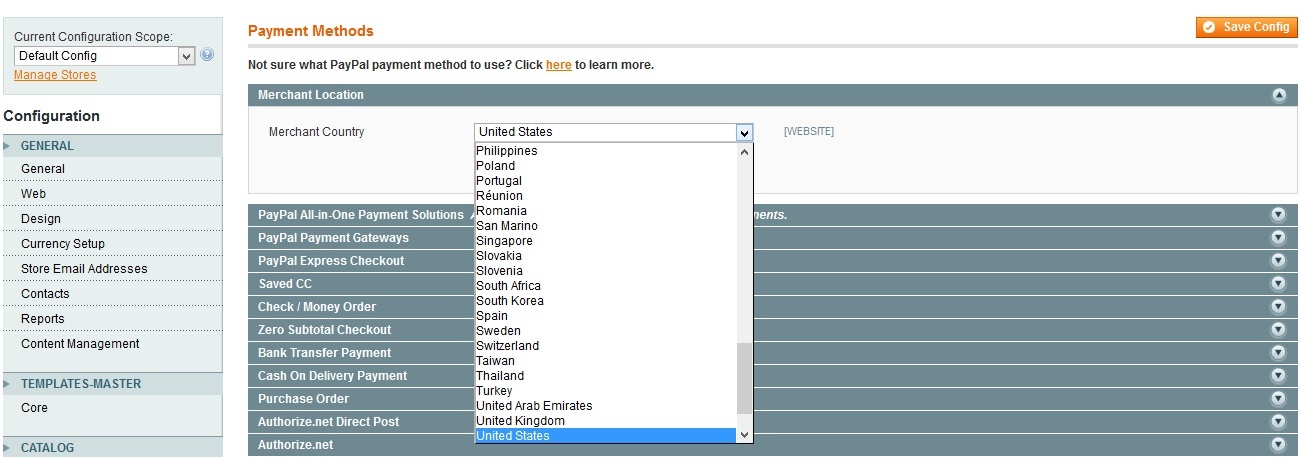
Before configuring any payment method, you need to set the Merchant Country first. You can choose the country from the dropdown box. Say, for example, I choose the United States. If I do not enter one here, then it will choose the country I set during the initial configuration.
Beneath that, comes the various payment methods. Let us check the various options and basic configuration of the payment methods one by one.
Paypal
Paypal has many options listed under it. You can click any option based on your PayPal account and click ‘Configure’ to add the settings.
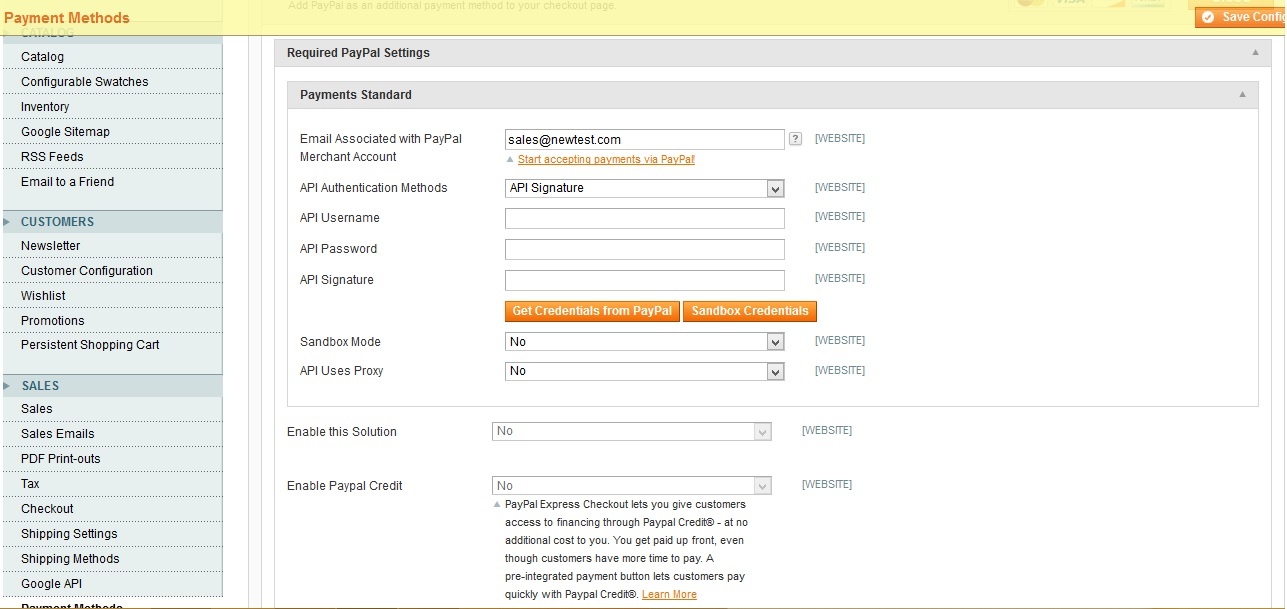
You will be required to enter the following details.
We assume you have already created a PayPal merchant account. Enter the email address associated with your PayPal account. Next, you need to set the API credentials. For that, log in to your PayPal business account and you can request the API details under Profile -> Selling Tools. Enter the API username, password and API signature obtained from PayPal in the respective text boxes.
Next, you will find the Basic Settings, enter the details as follows, depending on how you want it to be set up.
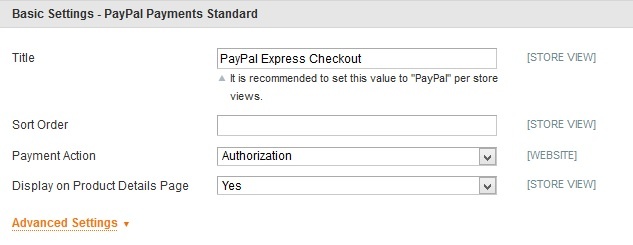
Click on Advanced Settings and you will find a lot more options to be entered. Most of them can be left at default values, however, make sure to read through them and see if any modifications are required. However, the most important section you need to consider here is the SSL part. It is a mandatory requirement for all payment modules that the requests that you carry out related to payment are secured and are sent over an encrypted channel. Make sure you opt ‘Yes’ for the option ‘Enable SSL verification’. If there is no SSL, chances are that your customers might not feel confident in entering their payment details through your website. Also, remember to install SSL for your website.

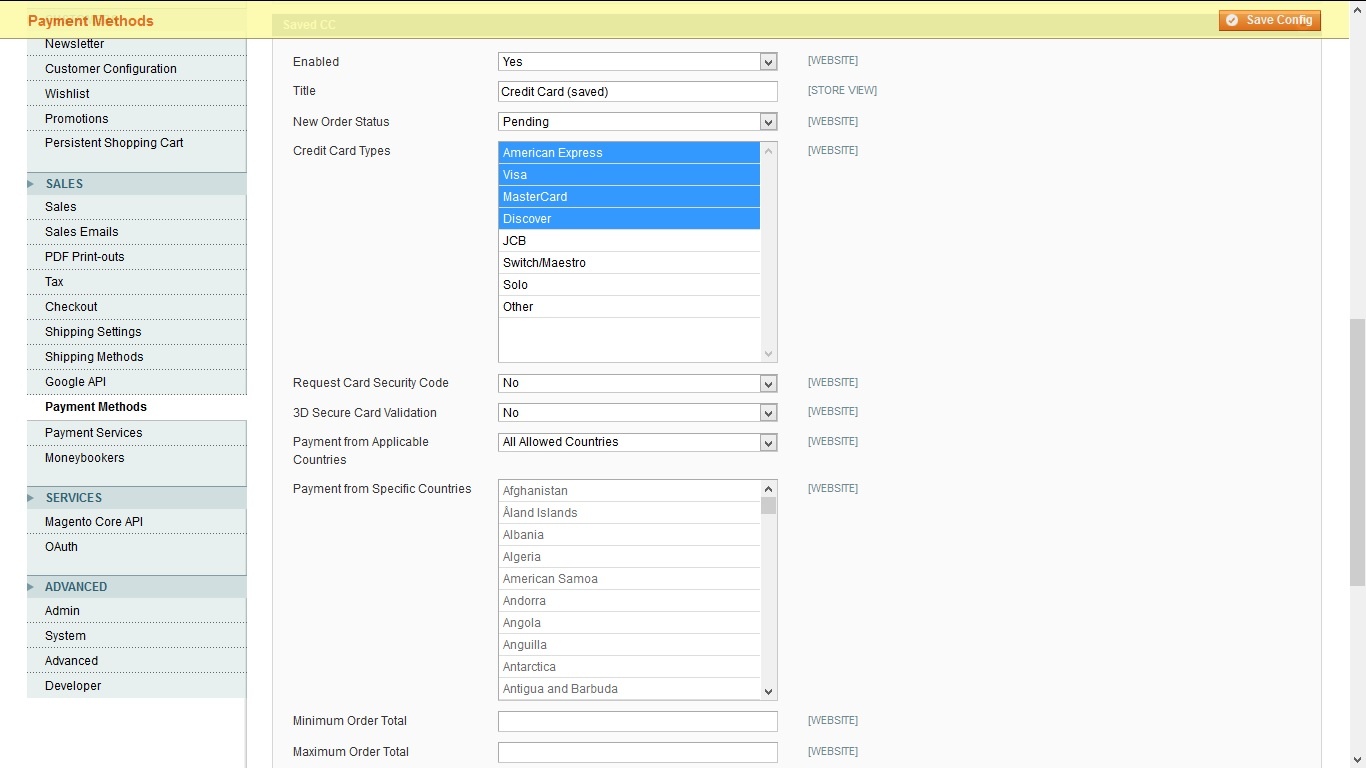
Saved CC
Another payment method available in Magento is ‘Saved CC’. This option lets your customers make their payments through credit cards. Click on the option ‘Saved CC’ which will list the basic configuration parameters. You can enable the option by setting ‘Enabled’ option as ‘Yes’. You can set a title for this type of payment, choose which all credit card types are accepted, choose from which all countries you will accept payment, choose what should be the minimum or maximum amount for payments to be processed via this option etc. Once you have configured it according to your requirements, click ‘Save Config’ for the changes to get into effect.
Check/Money Order
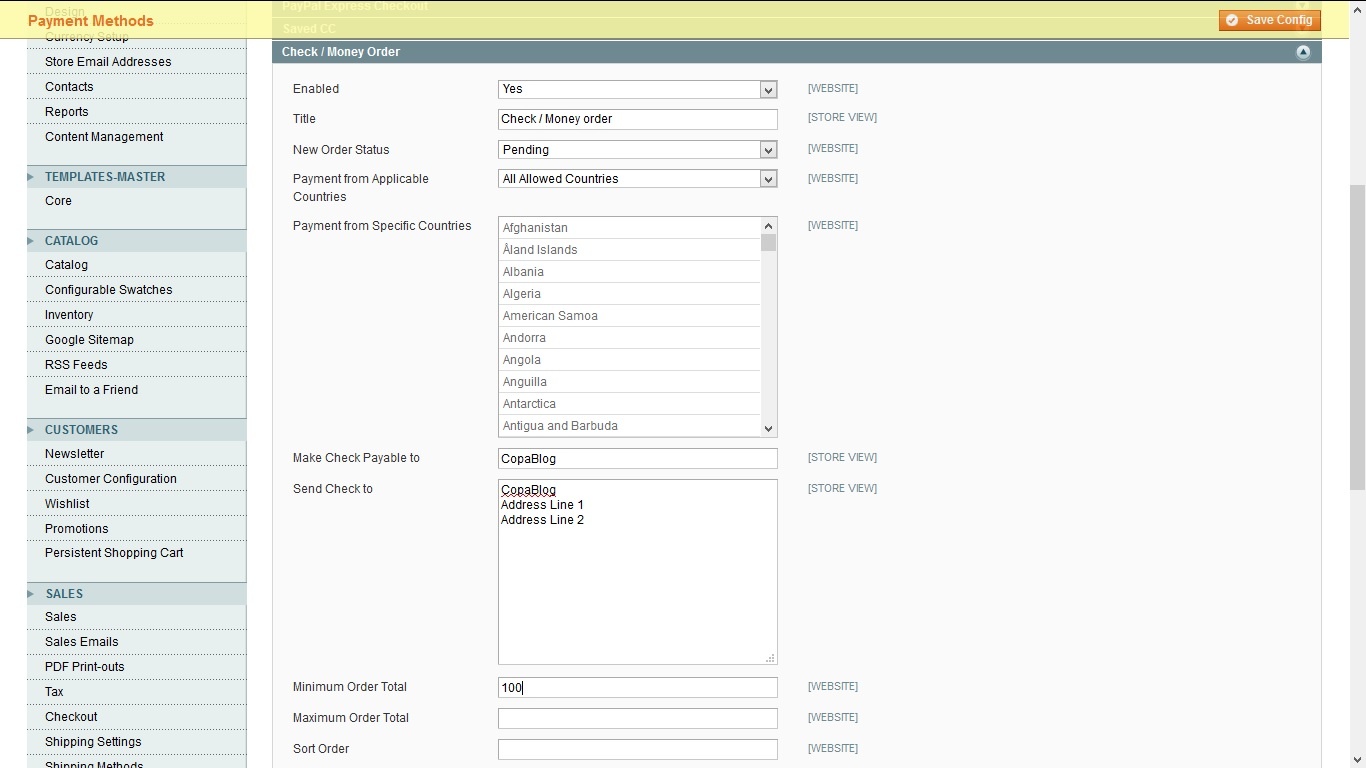
Another option available lets customers pay using offline methods. It makes use of the traditional methods whereby the customer sends you the amount as Check or Money Order and upon successful receipt of the money, you ships the product back to them.
To enable this option, click on ‘Check/Money Order’ and set ‘Yes’ under the option ‘Enabled’. Just like credit card, this feature also brings a lot of options to be configured like set the title you want to, choose the countries from where you want to accept money, set the name to be displayed on the check as to whom the amount is to be paid, set your address so that customers can send it to you, set the maximum and minimum order etc. Once you have configured it as you wish, click ‘Save Config’.
There are a few more payment methods available like Bank Transfer, Authorize.net, Cash on Delivery etc. All of them have more or less the same characteristics and basic settings to be configured, hence we are not explaining them in detail here. Just click on the option you want to enable, set Enabled to ‘Yes’ and configure the parameters listed below accordingly, click ‘Save Config’ and you are done. The options are self-explanatory and hope you would be able to configure it by referring to the above sections, hence leave it for your trial.
Testing the Payment Setup
After configuring the payment methods, we need to test whether the options we enabled will be displayed for the customers. Let us take a look from the customer’s side and order a product based on it.
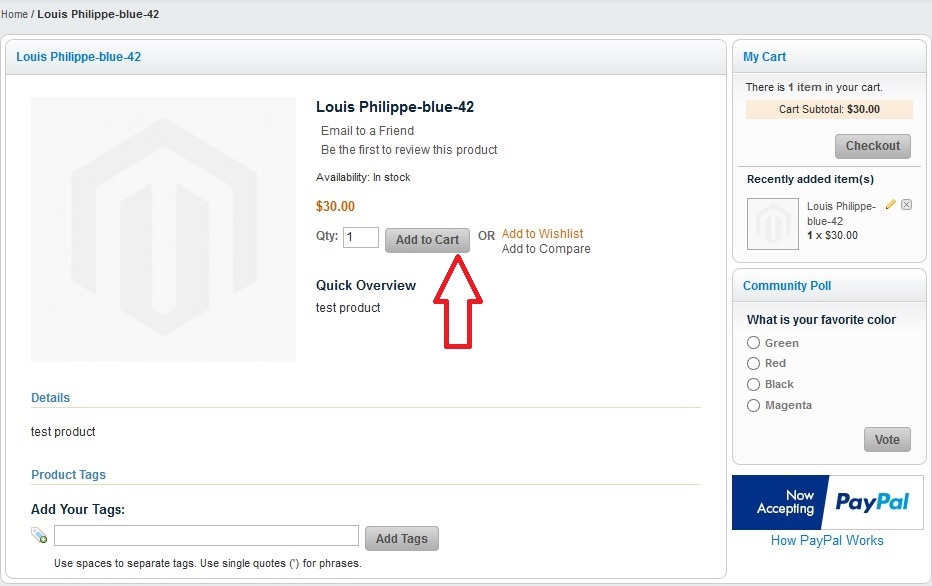
Let’s say for example, I am purchasing a shirt. I search with my requirements and get the list of products available in the store based on my search.

I choose the one I like and click on ‘Add to Cart’.
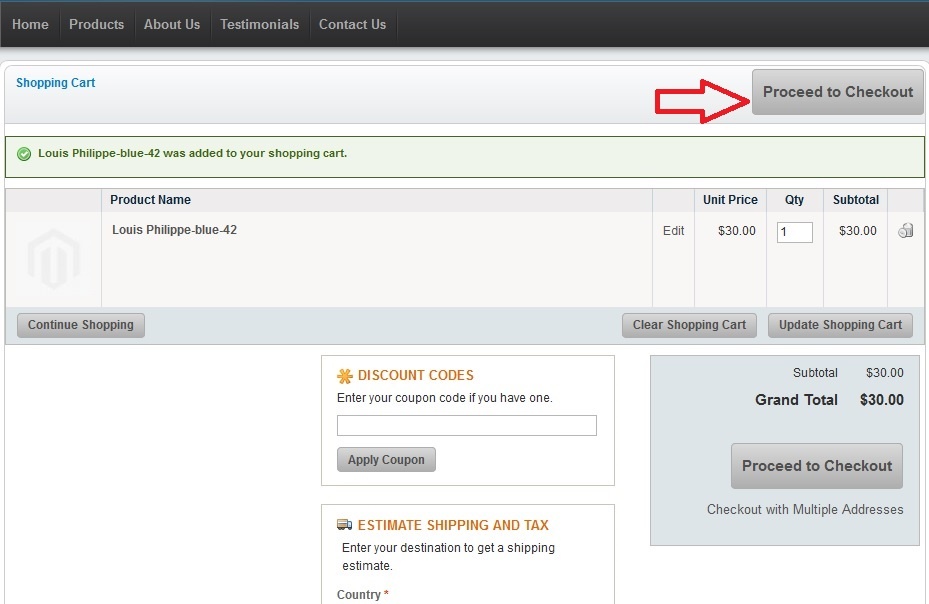
I can now either continue with shopping and find other products that I require or stop shopping and proceed to pay the money and get the product. I click on ‘Proceed to Checkout’ so that I can purchase the product. If the store owner provides any offers or discounts, I can enter the coupon code in the section titled ‘Discount Codes’ and the related discount will be applied to my purchase.
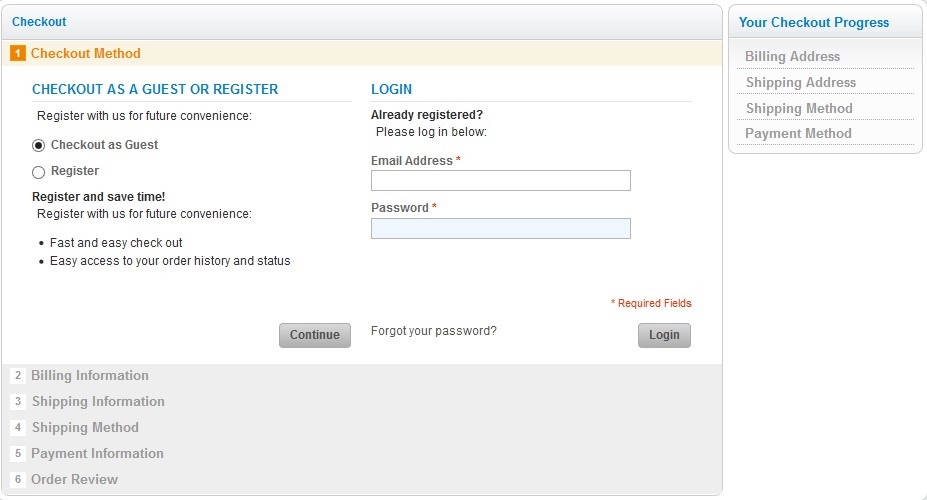
I will now be asked for a few details. If I am already a registered user of the store, I can simply log in with my login details and all data will be automatically populated. I do not have a login now, neither do I wish to register one, so I chose the option ‘Checkout as Guest’. Click on ‘Continue’ after that.
Next step would ask for the customer’s billing address so I enter my address here. Towards the end of the screen, you see two options – ship to this address and ship to a different address. I choose the ship to this address, so the same details will be automatically populated in the next section ‘Shipping Address’ and I don’t have to enter them again.
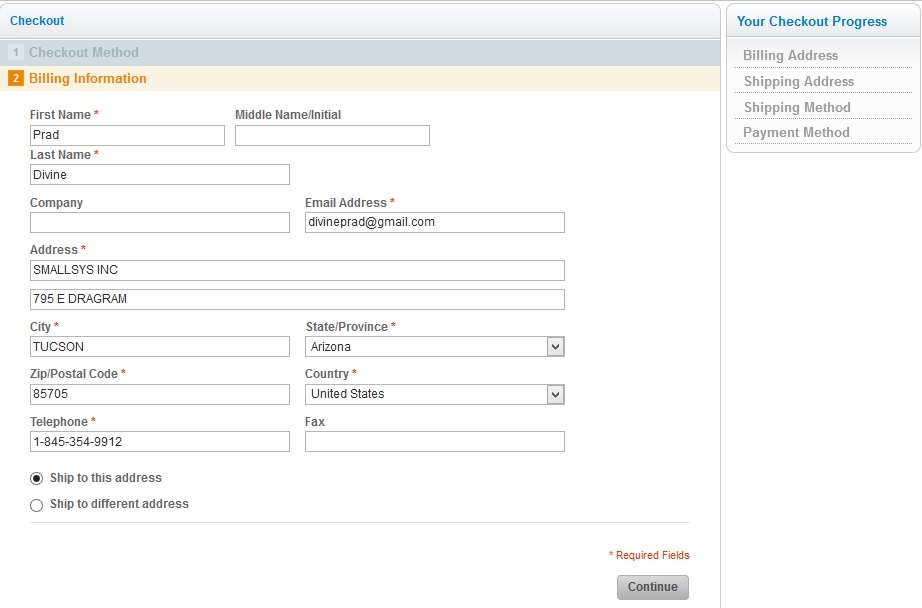
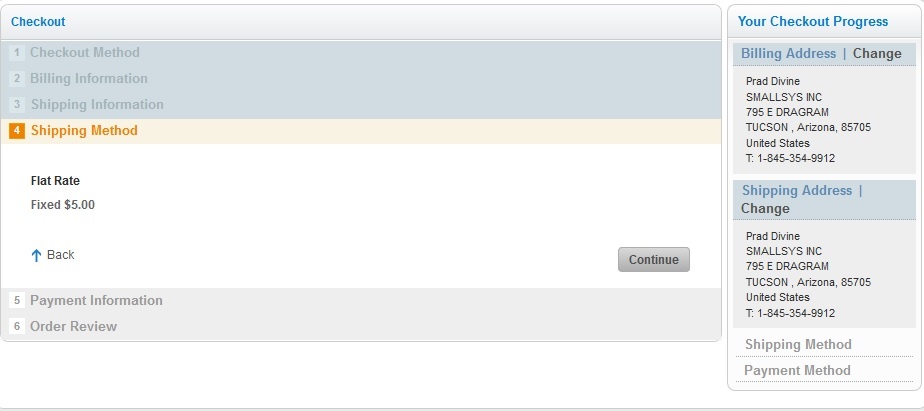
Next it asks for the Shipping Method. We have not configured it yet and would be coming to it in the next post, so let it show the default. You can also see in this screen that the previous option ‘Shipping Information’ was skipped as I chose it to be the same as the billing address.
Next step is the most important and the one relevant for us in this post. We have configured a few payment methods and we need to know whether it will be listed to the customer here.

As you can see, three options are listed there – Paypal, Cash on delivery and Credit Card. If I choose Paypal, when I click continue, the request will be sent from the store and you will be taken directly to PayPal site where the customer can make the payment using his PayPal account there. Once the payment has been successful, the customer would be sent back to the original store. You should not click the back button or refresh anything while the requests are being sent between your store and PayPal or the API calls would be affected.
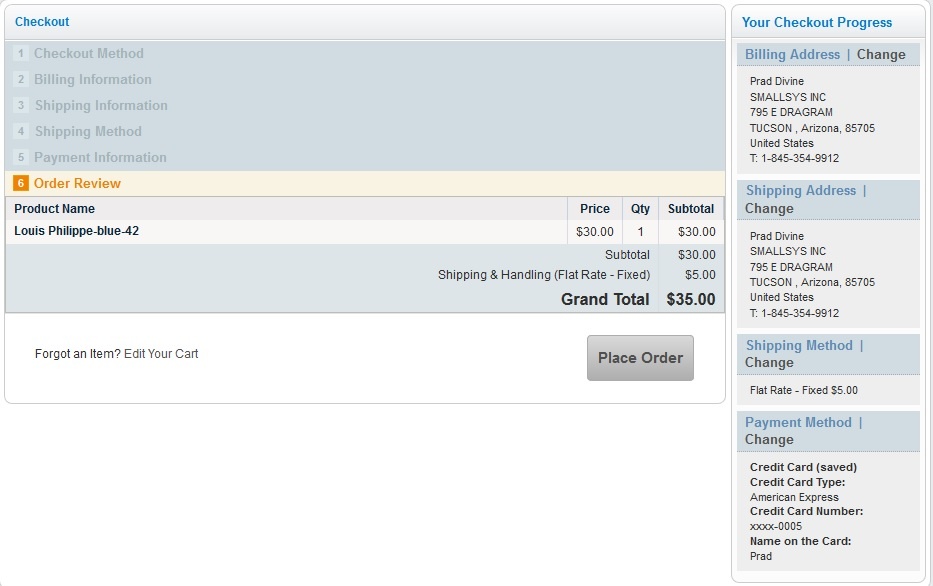
For our example, I am choosing Credit Card option here. I will enter my name as seen on my card, the card type, card number and card expiration date and click on continue.
The next step will let you review your order, adds the shipping charge and shows the final price. At this point, you can either return to your cart and make changes or accept the amount and place order.
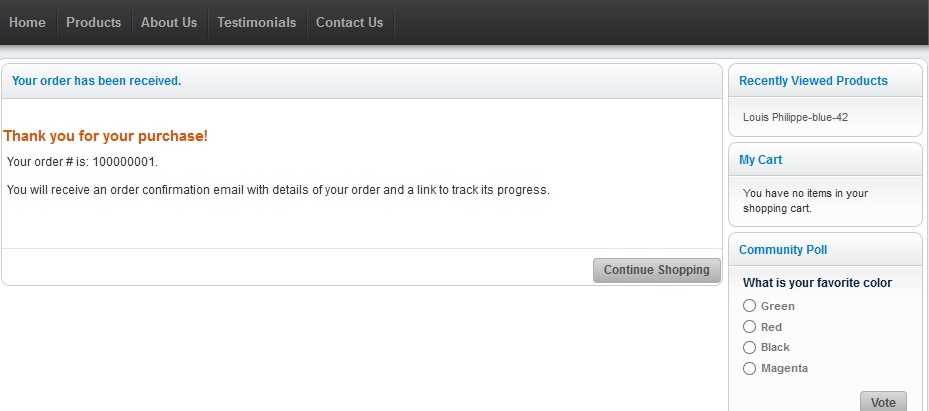
Once the order is placed, the customer will receive a confirmation displayed regarding the order. An email also will be sent to the customer with details.
That’s it !!! In this post, we configured various payment options in our store and tested it. Hope the post helps anyone looking to configure their store and setup the various payment methods.
