The error “the uploaded file exceeds the upload_max_filesize directive in php.ini” means you’re trying to upload a file larger than the maximum size your server allows. It’s a server (PHP) limit, not a WordPress one — the default is often just 2 MB. You fix it by raising the upload_max_filesize value (and the related post_max_size), through your hosting control panel, php.ini, .htaccess, or wp-config.php — whichever your host allows.

If you’ve tried to upload an image, video, plugin, or theme and hit this message, the cause is simple: the file is bigger than the upload limit your hosting sets for PHP. The fix is to raise that limit — and this guide covers every method, so you can use whichever one works on your hosting, plus the related settings you need to change alongside it.
What does this error mean?
To protect server resources, hosts cap the size of files that can be uploaded through PHP. That cap is the upload_max_filesize directive, which lives in the server’s php.ini configuration file. When you upload a file larger than that value, PHP blocks it and returns the message you’re seeing — naming both the directive (upload_max_filesize) and the file it comes from (php.ini).
The key thing to understand: this is not a WordPress setting. WordPress simply displays the limit your server enforces. That’s why you can’t fix it from the normal WordPress settings — you have to change the PHP configuration. Default limits are frequently set low (often 2 MB or 8 MB), which is why even a medium-sized image or a plugin ZIP can trigger it.
One nuance worth noting: if the error appeared suddenly without you uploading anything unusually large, the trigger may be a plugin or theme — some push uploads (imports, backups, media processing) that exceed the limit behind the scenes. In that case, an outdated or misbehaving plugin is forcing an oversized upload, so updating or disabling the recently changed plugin can be part of the fix, alongside raising the limit.
Memory is another PHP limit you may hit — see the allowed memory size exhausted error if you run out of PHP memory. Page builders are the most common reason to raise this: see Elementor server error 500.
Check your current upload limit
Before changing anything, see what your limit is now. In WordPress, go to Media → Add New — the maximum upload size is shown at the bottom of the uploader. You can also find it under Tools → Site Health → Info → Media Handling (or the Server section). Note the value, so you can confirm the change worked afterward.

The three settings that matter
Here’s something most guides gloss over: raising upload_max_filesize alone often isn’t enough. Three directives work together, and they need to be consistent:
| Directive | What it controls | Rule of thumb |
|---|---|---|
upload_max_filesize | The largest single file you can upload. | Set above your biggest file. |
post_max_size | The total size of a single POST request (the upload). | Equal to or larger than upload_max_filesize. |
memory_limit | How much memory a PHP script may use. | At least as large as post_max_size. |
The rule to remember: post_max_size must be equal to or larger than upload_max_filesize, because your file is sent as part of a POST request. If post_max_size is smaller, the upload still fails even after you raise upload_max_filesize. And memory_limit should be at least as large as post_max_size. Whenever you raise one, check the other two.
One word of restraint: raise these only as high as you realistically need — enough for your largest file, not wildly beyond it. Setting a huge upload_max_filesize (say, 2 GB) on a shared plan often just trades this error for memory or timeout errors mid-upload, since the server still has to hold and process that file. A sensible value a bit above your biggest upload is safer than an extreme one.
How to fix it: choose the method your host allows
Not every method works on every host — it depends on how your server runs PHP and what your plan permits. Here’s a quick guide:
| Your situation | Best method |
|---|---|
| Shared hosting with cPanel | Control panel (Method 1) — easiest and safest. |
| VPS or full server access | Edit php.ini (Method 2). |
| Apache, no php.ini access | .htaccess (Method 3) — if PHP isn’t CGI/FPM. |
| WordPress, limited access | wp-config.php (Method 4). |
| Locked-down shared plan | Ask your host to raise it (Method 5). |
Work through whichever applies to you below.
Method 1 — Your hosting control panel (easiest)
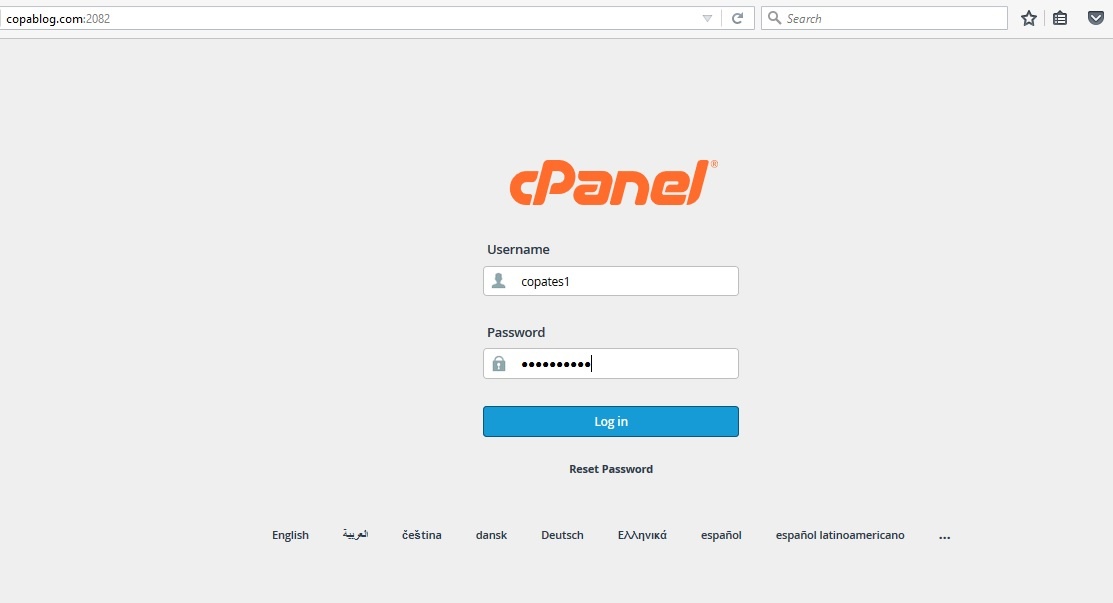
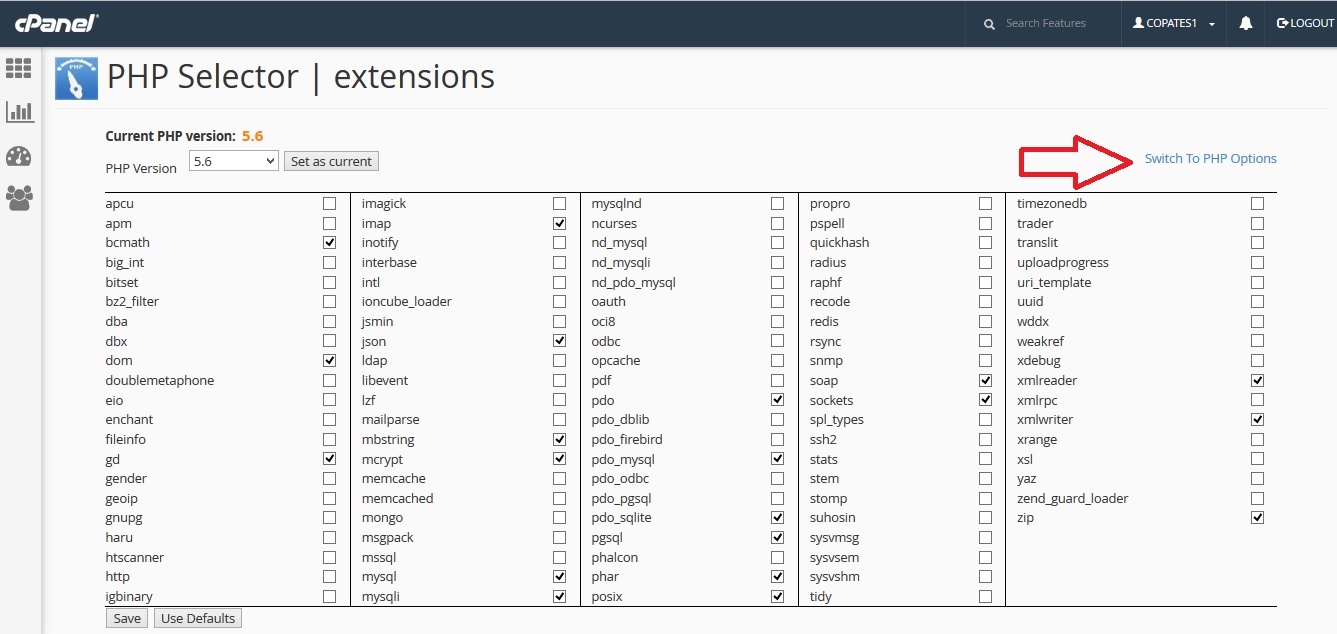
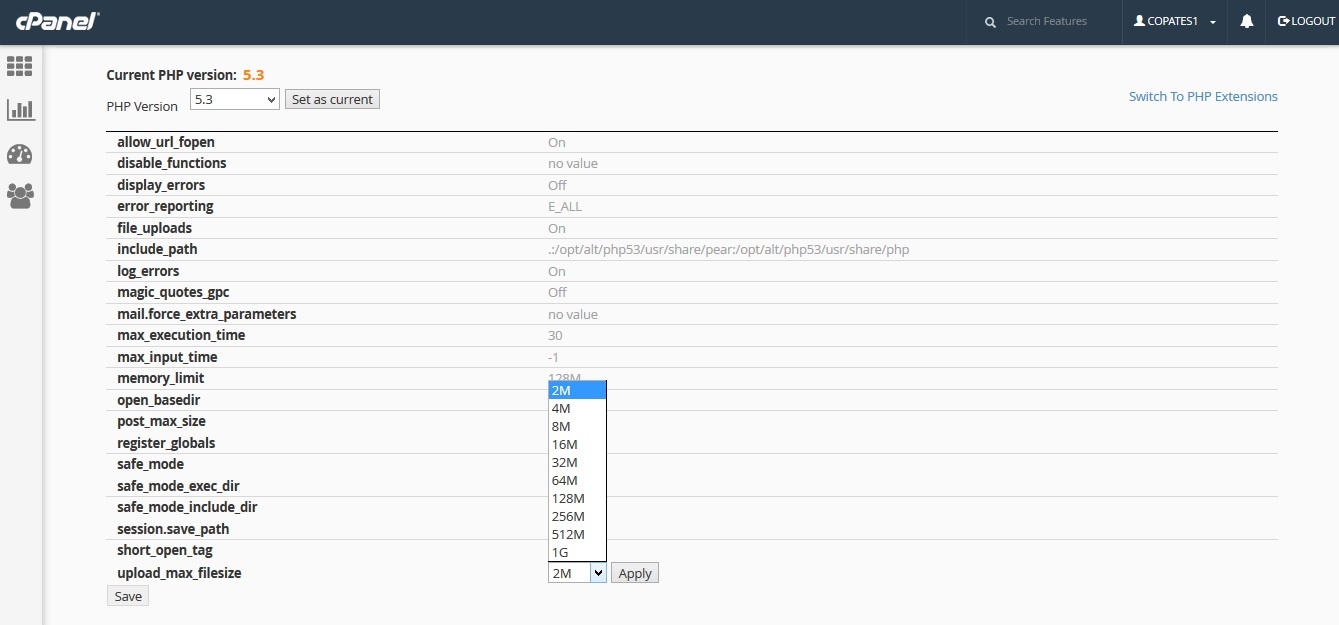
If your host uses cPanel, this is the simplest route. Go to Select PHP Version → Options (sometimes labeled MultiPHP INI Editor under the Software section), choose your domain if asked, find upload_max_filesize, and increase it. Do the same for post_max_size. Save — cPanel applies the change automatically, with no file editing or server restart needed.
This is also where Copahost and most quality hosts let you adjust the value yourself, without contacting support.

Method 2 — Edit php.ini
If you can edit php.ini directly (common on VPS and some shared plans), connect via FTP or your file manager, find or create php.ini in your site’s root folder, and add (or adjust):
upload_max_filesize = 64M
post_max_size = 64M
memory_limit = 128M
max_execution_time = 300
max_input_time = 300Save and, on some servers, restart PHP (or wait a moment for it to reload). If you’re not sure whether your host uses php.ini per-site, this may not take effect — in which case use Method 1 or 3.
Method 3 — Edit the .htaccess file
On Apache servers, you can raise the limits through the .htaccess file in your site’s root. Add:
php_value upload_max_filesize 64M
php_value post_max_size 64M
php_value memory_limit 128M
php_value max_execution_time 300
php_value max_input_time 300php_value in .htaccess isn’t allowed. Remove the lines to restore the site and use Method 1, 2, or 4 instead. Note too that Nginx servers don’t use .htaccess at all, so this method only applies to Apache.Method 4 — Edit wp-config.php (WordPress)
A WordPress-specific option is to set the limit in wp-config.php. Above the line that says /* That's all, stop editing! */, add:
@ini_set( 'upload_max_filesize', '64M' );
@ini_set( 'post_max_size', '64M' );
@ini_set( 'memory_limit', '128M' );This works on some setups but not all (it depends on how PHP reads the directive). If it doesn’t take effect, fall back to one of the methods above.
Method 5 — Upload via FTP and import (a one-off workaround)
If you just need to get one large file onto your site — and don’t want to change server limits at all — you can sidestep the upload limit entirely. Upload the file directly to your wp-content/uploads folder via FTP, then bring it into your Media Library with a plugin like Add From Server. Because the file never passes through the PHP uploader, the upload_max_filesize limit doesn’t apply. This is a handy workaround for a single big file, though for regular large uploads you’re better off raising the limit properly with one of the methods above.
Method 6 — Ask your host
If none of the above works — or you’re not comfortable editing files — contact your hosting support. On many shared plans, the limits are managed at the server level, and raising the maximum upload size is a routine request your host can do for you in minutes. This is exactly where responsive support matters.
Verify the change
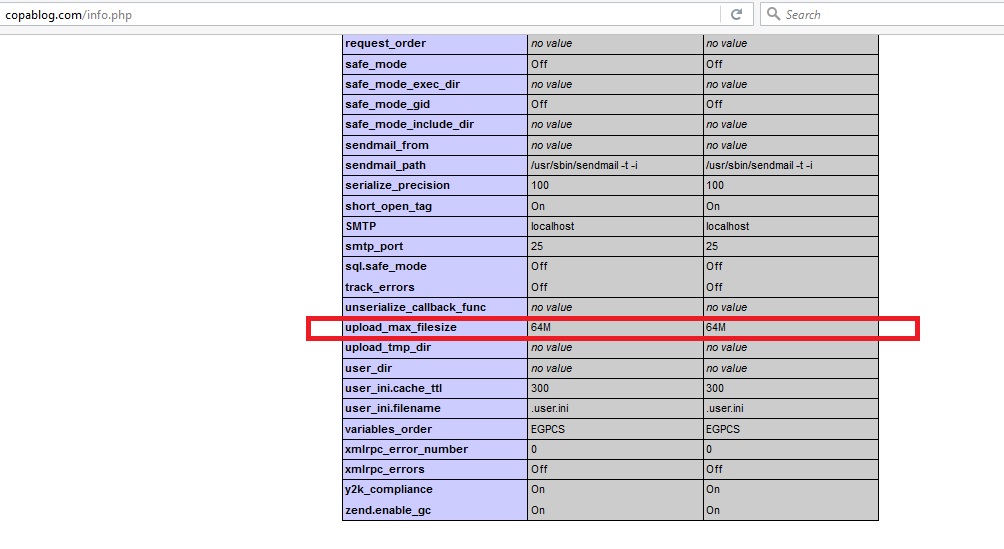
After applying any method, confirm it worked: go back to Media → Add New in WordPress and check the maximum upload size at the bottom, or create a file with <?php phpinfo(); ?> and look up upload_max_filesize. If it shows your new value, try the upload again — it should now go through.

Fixing this on shared hosting
On shared hosting, your options depend on what the host allows. Many lock php.ini at the server level, so editing it yourself has no effect — and .htaccess php_value lines can even break the site if PHP runs as FPM/CGI. The reliable paths on shared hosting are usually the control panel (Method 1) or asking support (Method 6). If your host doesn’t let you raise the limit at all, or sets it very low with no flexibility, that’s a sign of a restrictive plan — quality shared hosting gives you control over settings like this.
If the error appears alongside other symptoms, your error logs can confirm what’s happening — see our guide on WordPress error logs. And this is one of several common WordPress errors tied to PHP limits, alongside the related PHP max execution time error.
Frequently asked questions
No more fighting tiny upload caps you can’t change. Copahost gives you control over your PHP settings — upload size, memory, execution time — and real support when you need a hand.
See web hosting plansConclusion
“The uploaded file exceeds the upload_max_filesize directive in php.ini” is one of the easier WordPress errors to fix once you know it’s a server limit, not a WordPress one. Raise upload_max_filesize — and post_max_size alongside it — through your control panel, php.ini, .htaccess, or wp-config.php, then verify the new limit in Media → Add New. On shared hosting, the control panel or a quick message to support is usually the fastest route. And if you find yourself fighting low limits you can’t change, better-resourced hosting gives you the control to set them where your site needs them.