Magento ships with a default theme which, by itself, is not bad, however most store owners would like to modify the theme and choose another one of their choice. In these other articles, you can read more about how to install magento and how to perform the initial configuration of Magento through previous posts. In this article we will show you how can you download and install a magento theme in your store. The post explains the following topics with step by step instructions and images, so that anyone can understand it easily.
Choosing the Theme
Downloading Theme
Installing Theme
Changing Theme
Testing Theme
Choosing a Magento Theme
Magento themes are available in plenty, and there are many websites which offer them. Before choosing any theme, you should analyze your website requirements, for what purpose your store would be used, what sort of products would be displayed etc and then choose a theme which suits your requirements. Both free and commercial plugins are available, so do a thorough search and choose wisely when you purchase a theme.
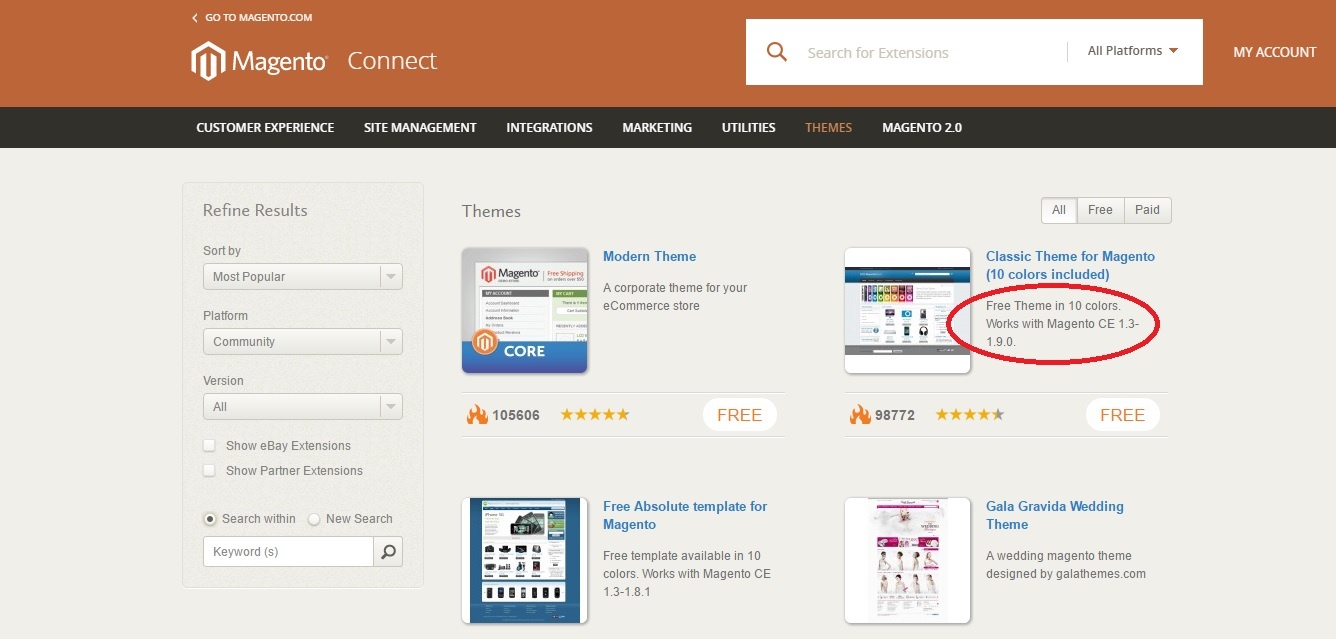
The most common landing page you get when you search for a magento theme in google would lead you to the magento.com website. It will list all the free and paid themes present, and you can choose among them. The most important thing you need to consider while choosing a theme is to make sure that the theme is compatible with the version of magento you installed. It will be listed at the front page itself just like the red mark in the image below.
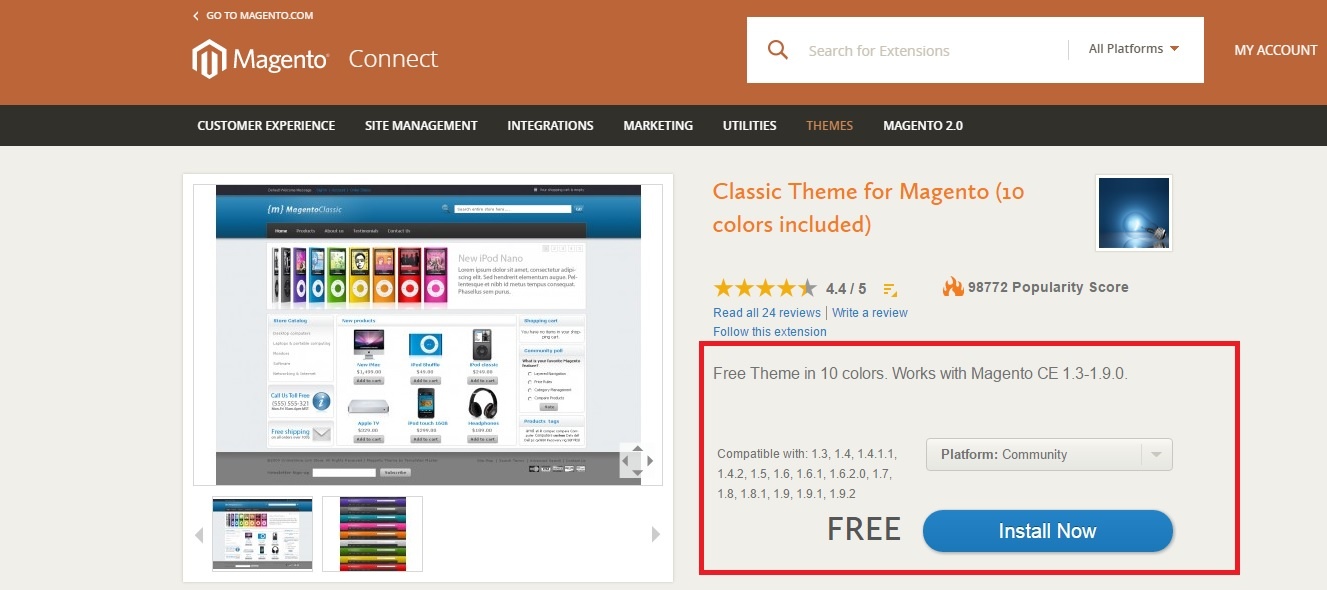
In case the version detailing is not available in the front page, just click on the theme name and it will list all versions which are compatible and you can also choose the magento platform which the theme is compatible with.
Downloading the Magento Theme
Once you have gone through the various mind blowing themes in the website and have made a final decision on which to choose, you can proceed to install it. You need to register and logged in, before you can get the extension key. So, first register your account there and login with the details you gave at the time of registration.
Once you have logged in, click on the ‘Install Now’ button which will provide further options to choose from. You will be asked to choose the platform, the Magento Connect version and also accept the license agreement. I am running magento 1.9, and all versions above magento 1.5 are said to use magento connect 2.0. Hence I choose Magento Connect 2.0.
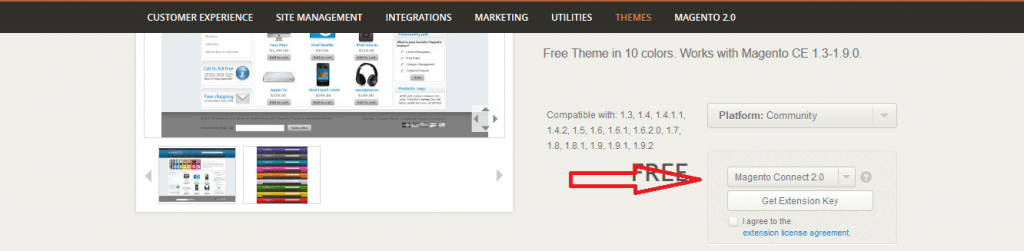
Next click on the ‘Get Extension Key’ button which will display a key. Click on the Select button and it will copy the key for you.

Installing Magento Theme
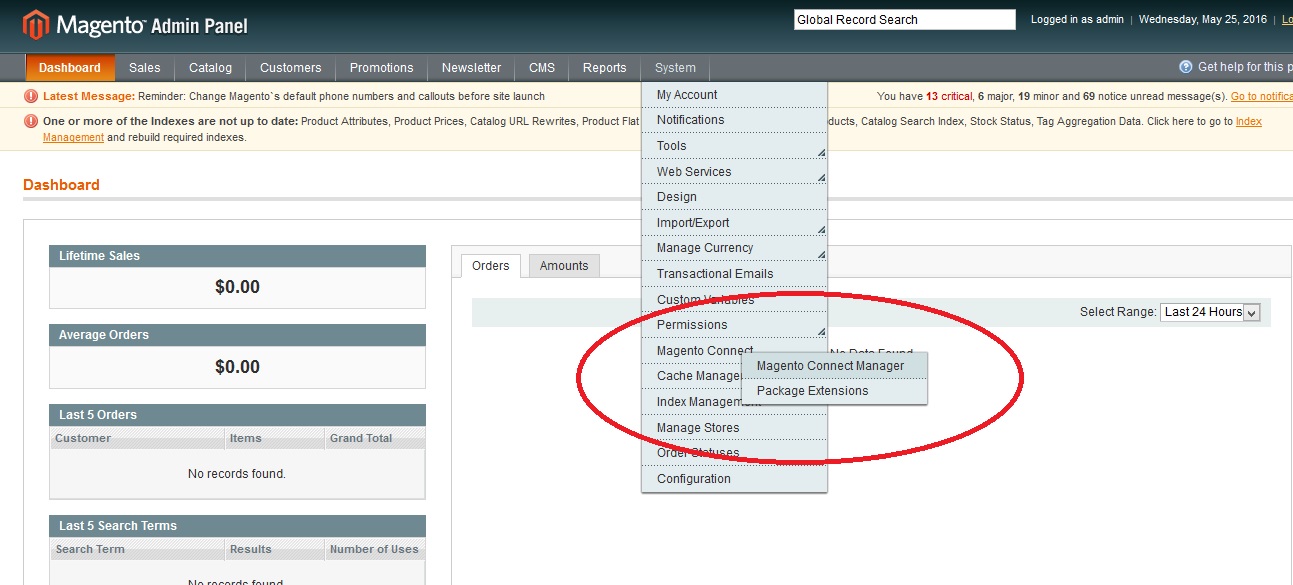
Now you have the extension key for the theme you chose. Installation is done through the Magento admin interface using Magento Connect Manager, which is the option available in Magento admin interface to install extensions, plugins and themes. Go to System -> Magento Connect -> Magento Connect Manager.
It will take you to a login page for the Magento Connect Manager, input the same admin username and password as that of your Magento Admin
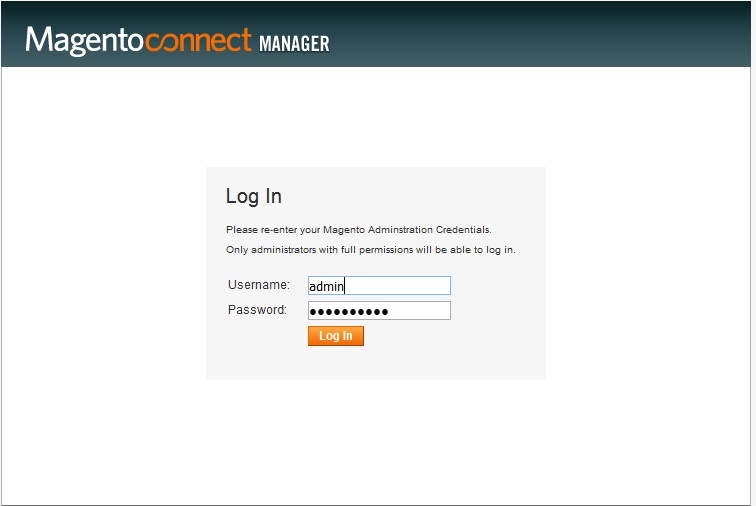
Login and you will be taken to the Magento Connect interface which lets you install the extensions. Enter the extension key you received for your theme earlier, in the column “ “. However, there is one thing you might come across. Sometimes, pasting the key exactly as you got from the site might not work and might give you an error. In such case, try the link as follows with your extension key name.
http://connect20.magentocommerce.com/magento-community/magento_classic_theme_free
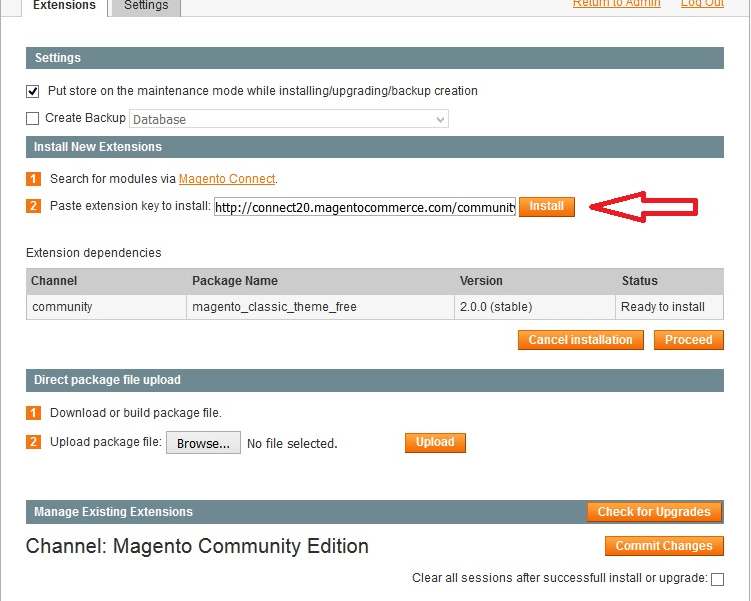
Click on the button named ‘Proceed’ and it will display a screen at the bottom of the page with the installation steps.
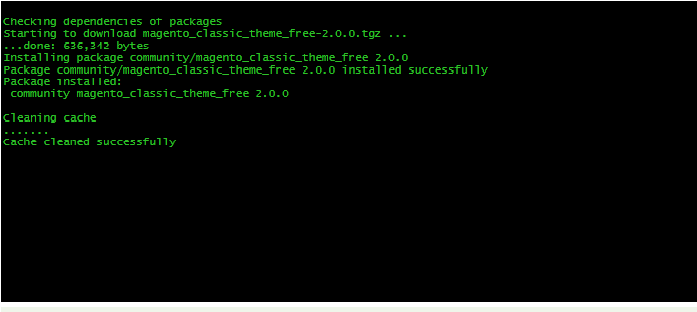
The theme has now been installed successfully. Now, let’s go back to the admin area to switch the default theme to the one we installed now. Click on the link ‘Return to Admin’ on the top right of the page and it will take you back to the magento dashboard.
Changing Theme
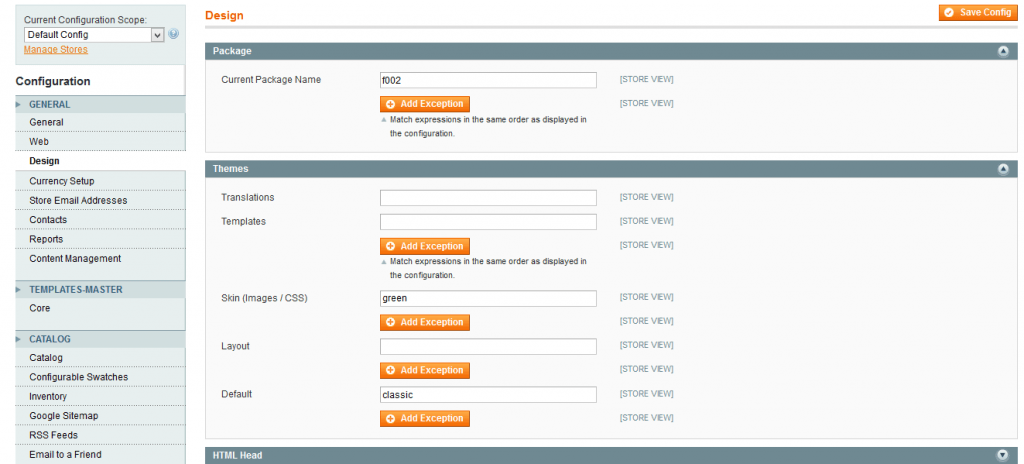
Now go to System -> Configuration -> Design and follow the installation manual of the theme you chose. In my case, the magento_classic_theme_free which I chose had the following actions to perform, in order to change the store theme.
Under Design tab, I had to set the package name as f002. In addition, under the Themes tab, the Skin(Image/CSS) option was set. The theme provider had various options provided out of which I chose green. Now you can set the theme name as well.
Now, move on to Template Master -> Modules Section. This is the last part of theme installation.
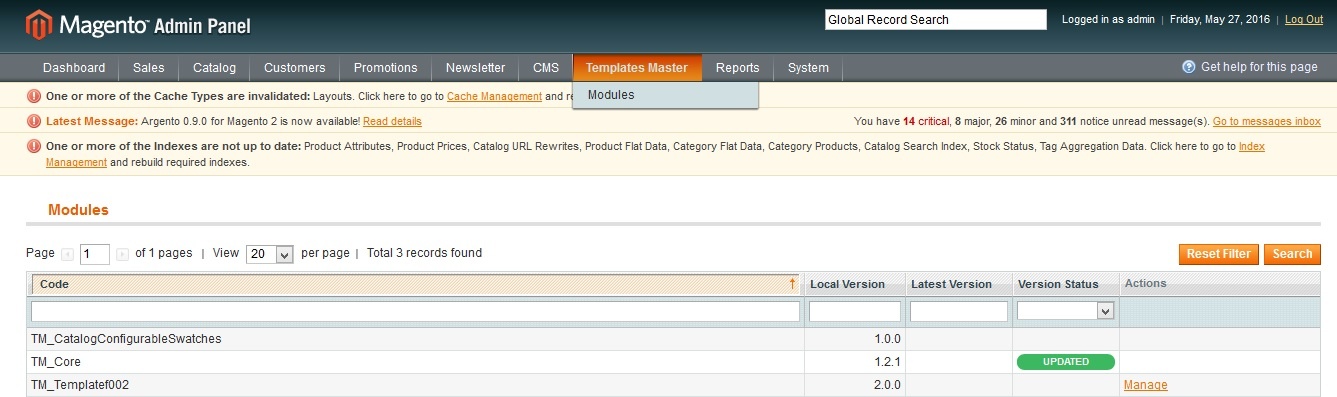
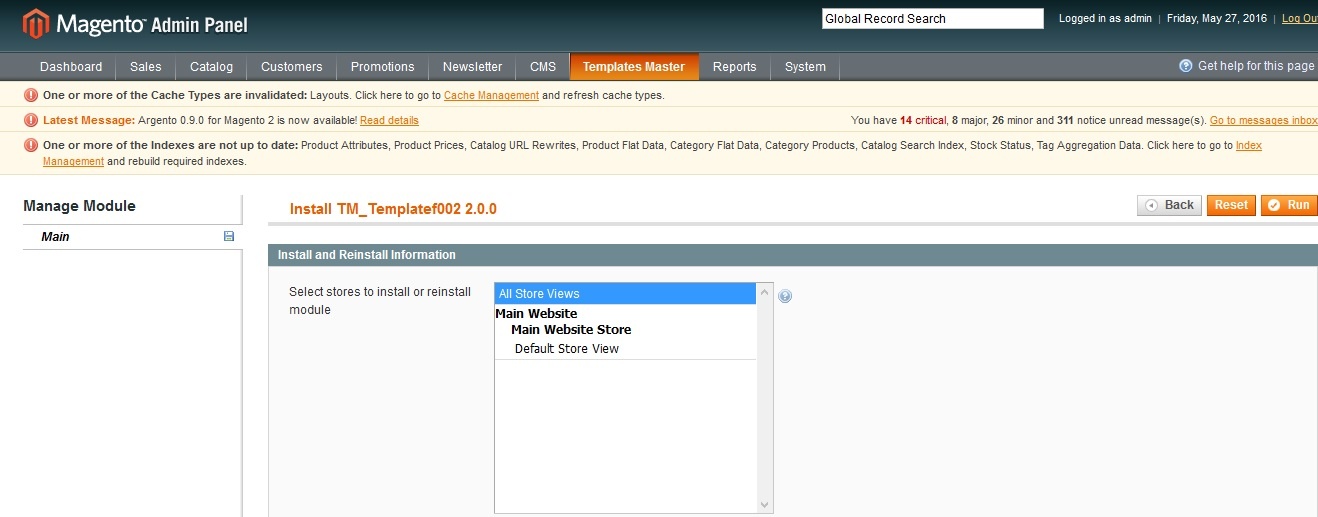
There, click on your theme name which will ask to which store would you like to apply this theme. I chose ‘All Store Views’. Similarly, choose the one of your choice and click Run to save the changes.
NB: What mentioned above is specific to the theme I chose. Whichever theme you select, you would have an installation manual along with it. Read it thoroughly and proceed.
Testing the new theme
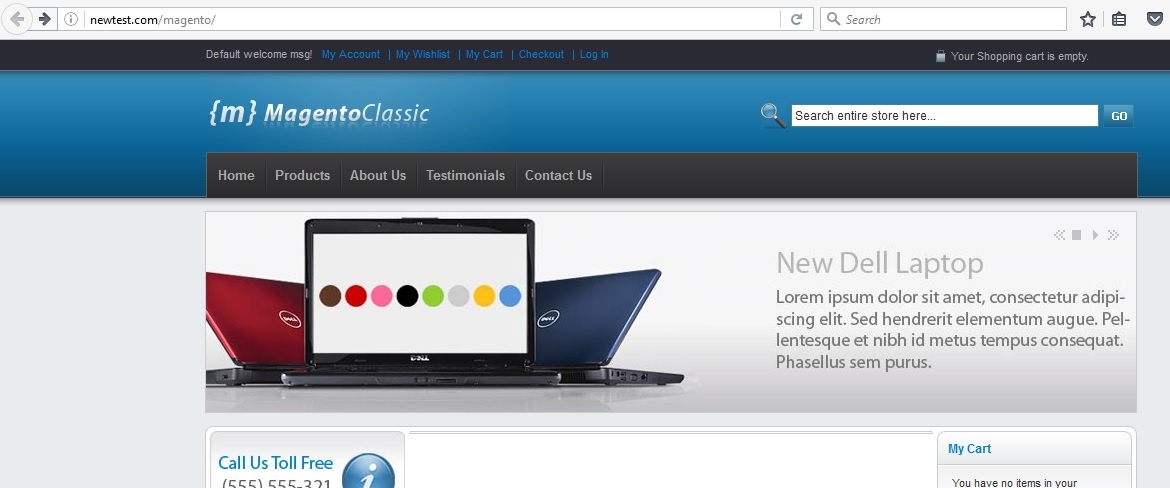
Now, that’s it !!! You have successfully installed the new theme on to your store. Now, go to your store, clear your browser cache and check if the theme has changed. In my case, my store view had changed from the default to the theme I had applied.
Hope this post helps you to install and switch the theme of your magento store.
