Proftpd is the world’s most popular FTP Server for Linux. It allows you to connect to your Linux server using an FTP client, in order to transfer files. This tutorial will show you how to install Proftpd in CentOS Linux. It takes less than 5 minutes.
This tutorial assumes you:
- Have a CentOS 6 Linux installed.
- Have full root access to the server.
This installation can be done by Copahost technical support on our managed dedicated servers.
Preparing the server to install proftpd
First of all, let’s install the EPEL Release repository for CentOS.
yum install epel-release
Now let’s update the current modules of our server.
yum -y update
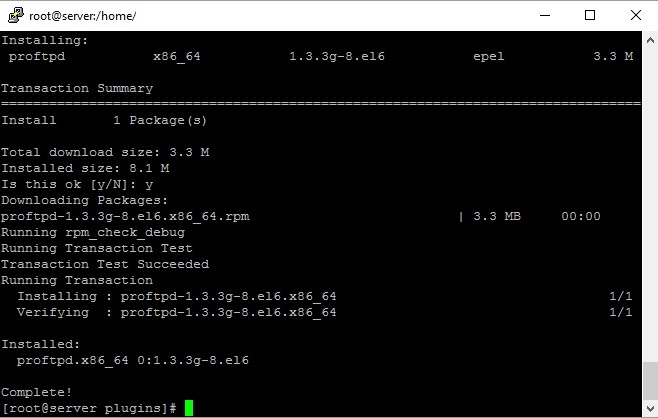
Now let’s install proftpd, by issuing the yum command:
yum -y install proftpd
Here’s a sample output of the installation:
Start Proftpd. Then, set it to start automatically on boot
These commands will start the service. Afterwards, we will configure it to start automatically at the boot time.
service proftpd start
chkconfig proftpd on
Disabling SELINUX
We recommend installing nano editor, in order to edit proftpd config file. You can also use vim editor if you prefer.
yum -y install nano
Now we need to disable SELINUX, because it may prevent Linux users from logging in. We need to edit the /etc/sysconfig/selinux file.
nano /etc/sysconfig/selinux
You must find this line:
SELINUX=enforcing
And replace with:
SELINUX=disabled
After finishing editing, press CTRL+X and then Y. Then, press ENTER to save it. Afterwards, you will need to reboot your server so that this change takes effect.
Create an FTP user and password
Now you must create a user in Linux, and define its password:
adduser test
passwd test
By creating the user test, its files will be stored in the foder/home/test
Now you can open your favourite FTP client, and test your FTP site server running.
