In this article, we will explain how to use and manipulate a HTML image. There are many possibilities to use images in an HTML page, forms, link tags, etc.
Table of contents
- The HTML image tag
- Image size
- Images with links
- Centering an image
- Using an image as the background of a page
- Position of images
- Image as a form button
- Image border
- Conclusion
HTML image tag
Images are the most common element we see when we visit any website. Images make a website look more attractive. We can create images in HTML with a simple img tag. img tag is one such tag that has no closing tag. There are many attributes of the img tag which are useful in creating better-looking images in HTML. Two of these attributes are required in the img tag, src, and alt.
src
Technically, we don’t insert images in HTML, we link images to HTML. The img tag creates a holding space for the referenced image. We use the src attribute to link the URL of the image. The following HTML code has an img tag with the src attribute.
<img src="spiderman.jpg">
The output is:
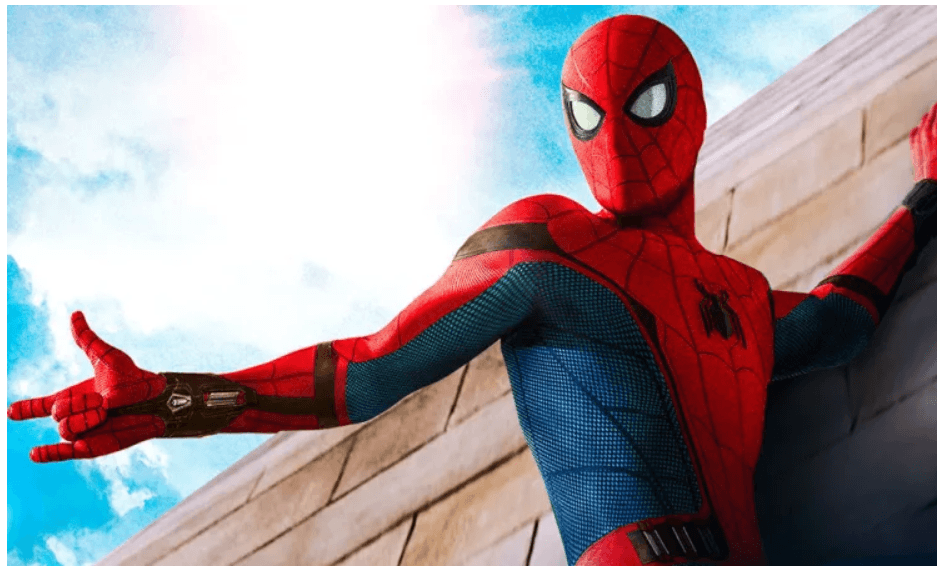
We can see a picture of spiderman. In the src attribute, we inserted the link of this picture of spiderman.
alt
What if the image does not load because of some reason? The img tag has an alt attribute to solve this problem. Whenever the image does not load on the web page, the text given in the alt attribute shows up at its place. The following HTML code has an img tag with an src attribute and alt attribute. The link I used in the src attribute is a non-working link.
<img src="non-existent-image.jpg" alt="Sorry! the image can't load">
The output is:

Observe the output. The image doesn’t load because we provided a non-working link. There we can see the text which we gave in the alt attribute before. This is how the alt attribute works.
HTML image size
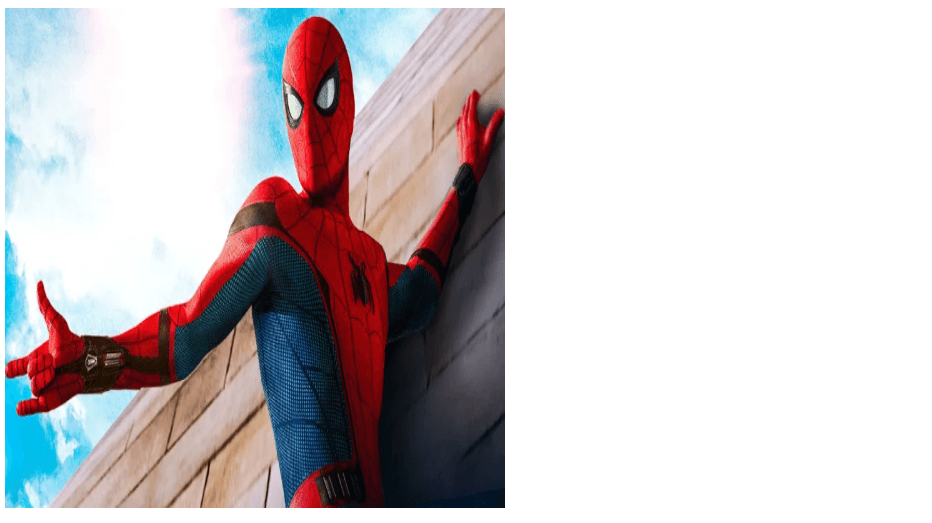
There is no fixed size for an image in HTML. We can change the size of images according to our requirements. The height attribute is used to change the height of an image and width attribute is used to change the width of an image. The values for both the height and width attributes are given in pixels. The following code has two images of spiderman, one with no height and width specified and second with the height and width of three hundred pixels.
<img src="spiderman.jpg" height="300px" width="300px">
Apart from height and width attributes, We can also use CSS to change the size of an image.
<img src="spiderman.jpg" style="height:400px; width:400px">
In the above example, we used inline CSS to change the height and width of the image to four hundred pixels.
The output after changing the size:
Images with links
We can also use images as a link in HTML. This means, whenever someone clicks the image, a link will open. This can be done by putting the img tag inside the <a> tag. The following example is an image that behaves like a link.
<a href="https://www.google.com">
    <img src="spiderman.jpg" style="height:400px; width:400px">
</a>
The output is:
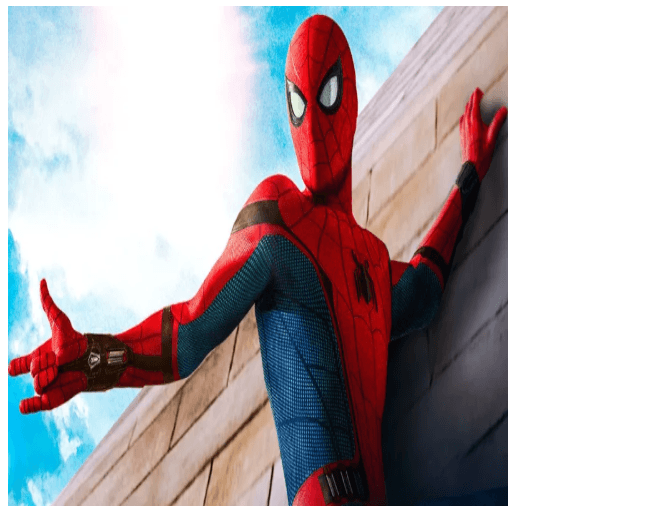
Observe the above code. The img tag is inserted inside the <a> tag. The link to google’s homepage is given to the href attribute of <a> tag. Now, when we click the image, the Google link will open.
Position of images
We can also align images according to the surrounding elements. For this, we need to use the align attribute. We can align the surroundings to the top, middle, bottom, right and left. The following code shows how to use the align attribute.
<h2>align="bottom"(default):</h2>
<p>Your friendly neighbourhood.
<img src="spiderman.jpg" width="50px" height="50px" align="bottom">
My name is Spiderman.</p>

<h2>align="top":</h2>
<p>Your friendly neighbourhood.
<img src="spiderman.jpg" width="50px" height="50px" align="top">
My name is Spiderman.</p>

<h2>align="middle":</h2>
<p>Your friendly neighbourhood.
<img src="spiderman.jpg" width="50px" height="50px" align="middle">
My name is Spiderman.</p>

<h2>align="right":</h2>
<p>Your friendly neighbourhood.
<img src="spiderman.jpg" width="50px" height="50px" align="right">
My name is Spiderman.</p>

<h2>align="left":</h2>
<p>Your friendly neighbourhood.
<img src="spiderman.jpg" width="50px" height="50px" align="left">
My name is Spiderman.</p>
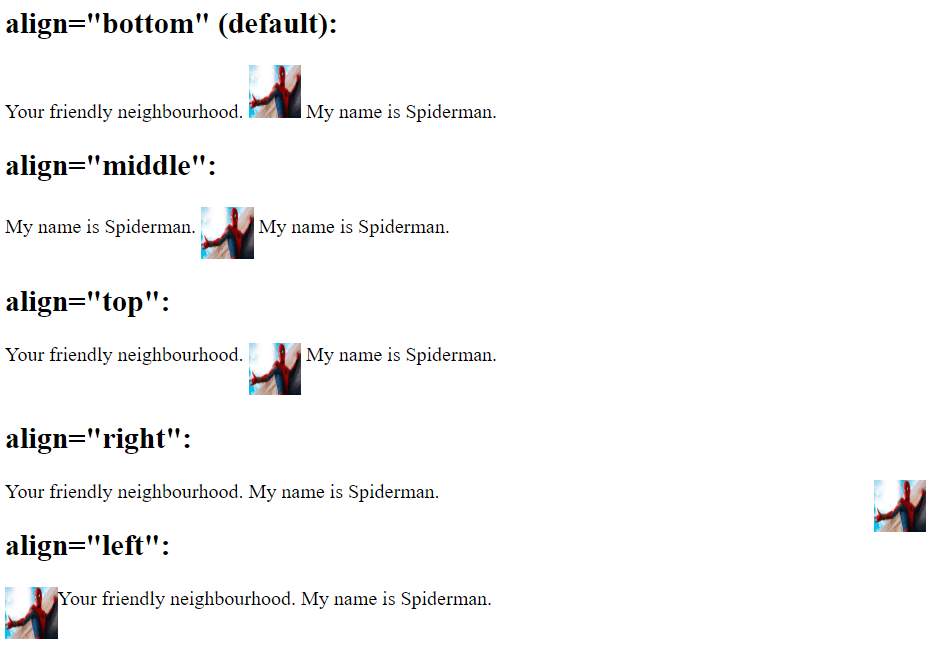
Observe the above code, the surrounding paragraph is aligned to the spiderman’s picture according to the value of the align attribute.
Here is one more example of the align attribute. The alignment can be done in various ways, depending upon your requirements.
<p><img src="spiderman.jpg" width="50px" height="50px" align="left">
Your friendly neighbourhood.</p>
<p>Your friendly neighbourhood.</p>
<p> My name is Spiderman </p>


<p><img src="spiderman.jpg" width="50px" height="50px" align="right">
Your friendly neighbourhood.Your friendly neighbourhood.Your friendly neighbourhood.</p>
<p>Your friendly neighbourhood.Your friendly neighbourhood.Your friendly neighbourhood.</p>
<p> My name is Spiderman. My name is Spiderman. My name is Spiderman.
My name is Spiderman. My name is Spiderman.  </p>
The output is:
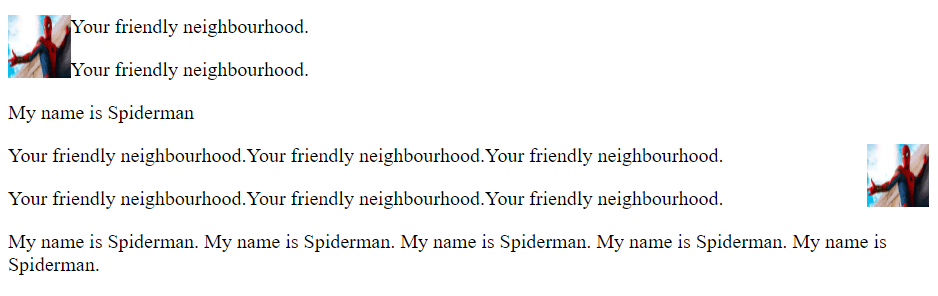
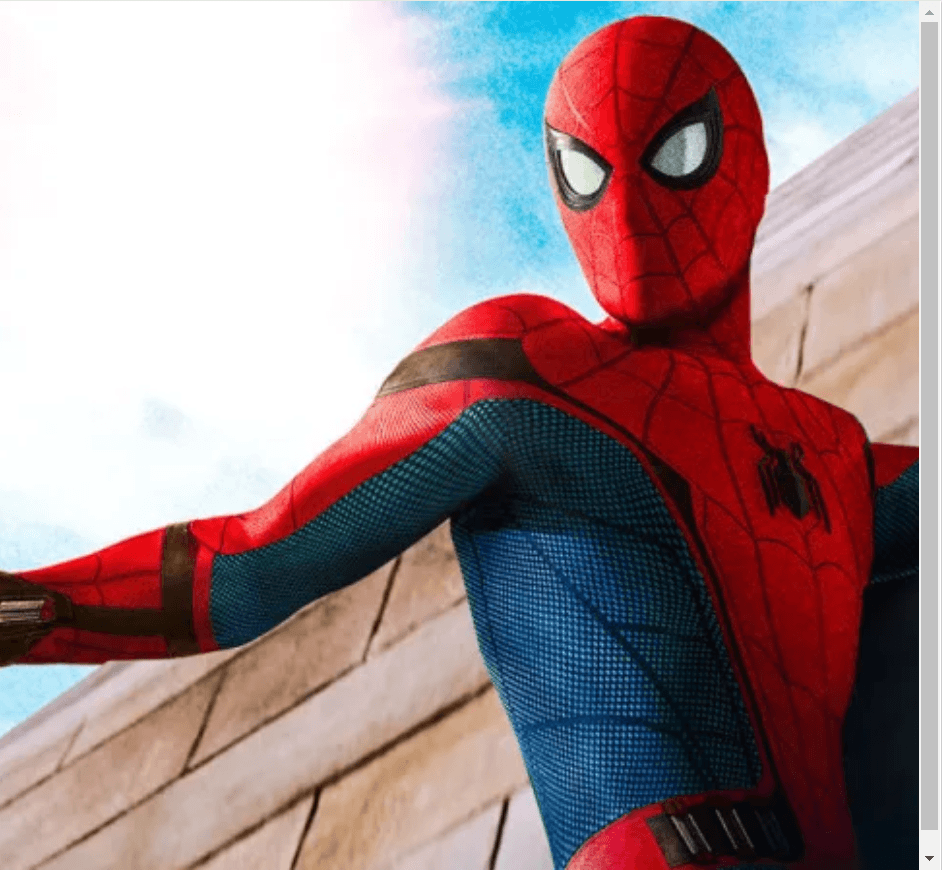
Image as the background of the HTML
The background of a web page can be modified in various ways. We can change the background of a web page, or we can use an image as the background. Images are frequently used as the background of a web page in HTML. We can apply CSS to the body tag of the HTML to set any image as the background. The following HTML has a spiderman’s image as the background.
<html>
  <head>
   <style>
     html { height: 100%; }
     body{
     background-image: url("spiderman.jpg");
       height: 100%;
       background-position: center;
       background-repeat: no-repeat;
       background-size: cover;
     }
   </style>
  </head>
<body>

</body>
</html>
The output is:
Observe the code inside the head tag. First of all, I have fixed the height of the HTML tag to its full extent, i.e. the hundred percent. Then I used various styling properties for the body tag. I will explain every property one by one.
background-image:
We use this property to set the URL of the image we want to use as the background.
height:
Then I used height property once again, this time to stretch the body tag to the hundred percent.
background-position:
The background-position property is used to set the starting point of the image. I set the background-position as center because I wanted the image of the background to be in the middle of the page.
background-repeat:
We use the background-repeat property to define whether we want to repeat the image or not. We can repeat the background image vertically by using repeat-y as the value and horizontally by using repeat value. But I used no-repeat as the value of this property because I don’t want to repeat the image throughout the background.
background-cover:
When we use an image as the background, we have to stretch the image to cover all the background of the web page. To do this, we can use background cover property and set it to cover.
These all properties are necessary to use an image as the background of an HTML page.
Centering an HTML image
The majority of web developers prefer to align an image to the center of the web page. The image looks way more appealing when it is in the center of the web page. We can use CSS to align an image to the center of the web page. The following image is centered on an HTML page.
<html>
<head>
<style>
img {
  display: block;
  margin-left: auto;
  margin-right: auto;
}
</style>
</head>
<body>

<img src="spiderman.jpg" alt="spiderman" width="400px">

</body>
</html>
The output is:
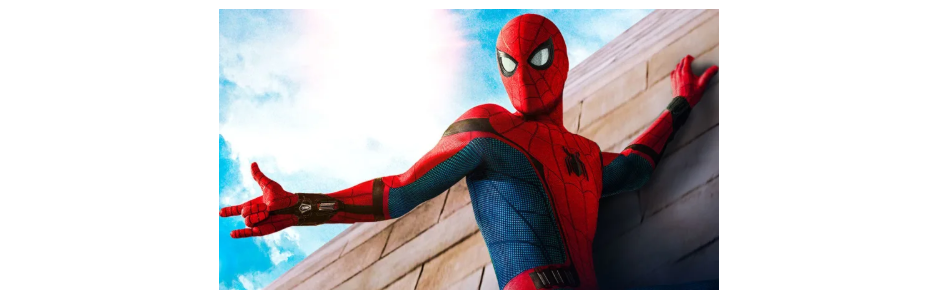
Observe the above code. I used an img tag to add a picture of spiderman. I gave a width of four hundred pixels. To align the image to the center of the page, I used a few CSS properties. I will explain each CSS property is used one by one.
display:
First of all, I used the display property. I set its value to block. We use display property to specify the behavior of the image. When its value is set to block, it makes sure that the image is in the new line and takes up the whole width.
margin-left and margin-right:
We also used the margin-left and margin-left properties of CSS. These properties define the margin from left and right respectively. For centering the image, we can set both of these properties to auto because the browser will automatically adjust the margins from both sides.
Using an image as a button in the form
We can use images in almost everything. Earlier, we used images in the background and as a link. Further, we can also use images as a button in a form. To do this, we need to add the img tag inside a button. We also need to apply CSS to center the image, so it can look better. The following code has a form that contains an image as a button.
<html>
<head>
  <style>
   img {
      display: block;
      margin-left: auto;
      margin-right: auto;
    }
  </style>
</head>
<body>
   <form action="">
     First name:<br>
     <input type="text"><br><br>
     Last name:<br>
     <input type="text"><br><br>
     <button type="submit" width="90px">
        <img src="spiderman.jpg" alt="spiderman" width="90px">
     </button>
 </body>
</html>
The output is:
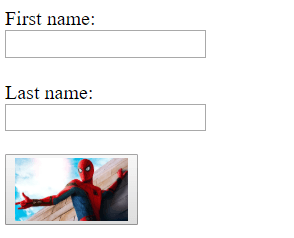
Observe the above code. The form has two input fields and a button. Instead of a text, we put an image there. To do this, first we used a button tag and set its type as submit, so I can submit the form. Then inside the button tag, we added an img tag. But to make it look better and attractive, we applied some CSS to the img tag as well as the button tag. Earlier, we learned how to center an image, I used the same code here(observe the head tag). Then we set the width of both, button and image as ninety pixels. You can set the width according to your requirements.
Image border
Images look much better and attractive when borders are applied. The img tag has a border attribute which can be used to apply a border to the image. The following image has a border of five.
<img src="spiderman.jpg" alt="spiderman" width="400px" border="5px">
We can also apply a border by using CSS. The following image has a border of five pixels with black color and solid style.
<img src="spiderman.jpg" alt="spiderman" width="400px" style="border: 5px solid black">
The output is:
Conclusion
Images are one of the most important aspects of HTML. We can use images almost everywhere in an HTML. We can use CSS with the img tag to improve the appearance of images. Moreover, there are a few attributes that are also helpful.
