In this article, we’ll go to show you how to work with meta tags in HTML5. This article is based on the video recorded by Gustavo, from Copahost. We recommend that you watch it.
So, the topics of this article are:
- What is Meta Tags In HTML
- Title Meta Tag
- Cautions about Title Meta Tag
- Description Meta Tag in HTML
- Page Without Meta Tag Description
- Test of yours Meta Tags
- Keywords Meta Tag
- Robots Meta Tag
- No Index Robots
- The Follow Attribute
- Viewport Meta Tag
- Checking a Responsive Layout
- Refresh Meta Tag
- Conclusion
What is a Meta Tag In HTML
First of all, you have to understand what Meta Tag is.
The Meta Tags are some hidden parts of your HTML5 page which have the function to inform the browser about metadatas. They are very important for your web browser.
Witch this you can just show the browser how to deal and how to display properly your web page, and also for the search engines, just like Google.
This way you can just show the search engines how to index and how to describe your site properly.
There are hundreds and hundreds of meta tags available for us to work with, in HTML.
In this article, like in the video, we’ll go to talk about the six most important meta tags. They are description, keyword, viewport, robots, title, and refresh.
Most of the meta fresh are hidden. So, It’s important to remember that all the meta tags must be inserted inside the head of your HTML file.
So, all the meta tags should go inside the head section, it is, inside the tags <head><head>.
Title Meta Tags
First of all, let’s understand the title meta tag. So, the title meta tag is simply the page title that will be shown on the tab of a web browser.
But, if you don’t have a title set on your page, you can see on the tab the name of the file you are dealing with. As it’s a local file you can see the file name on the tab, in the place of the title. So, let’s see the sample page below:
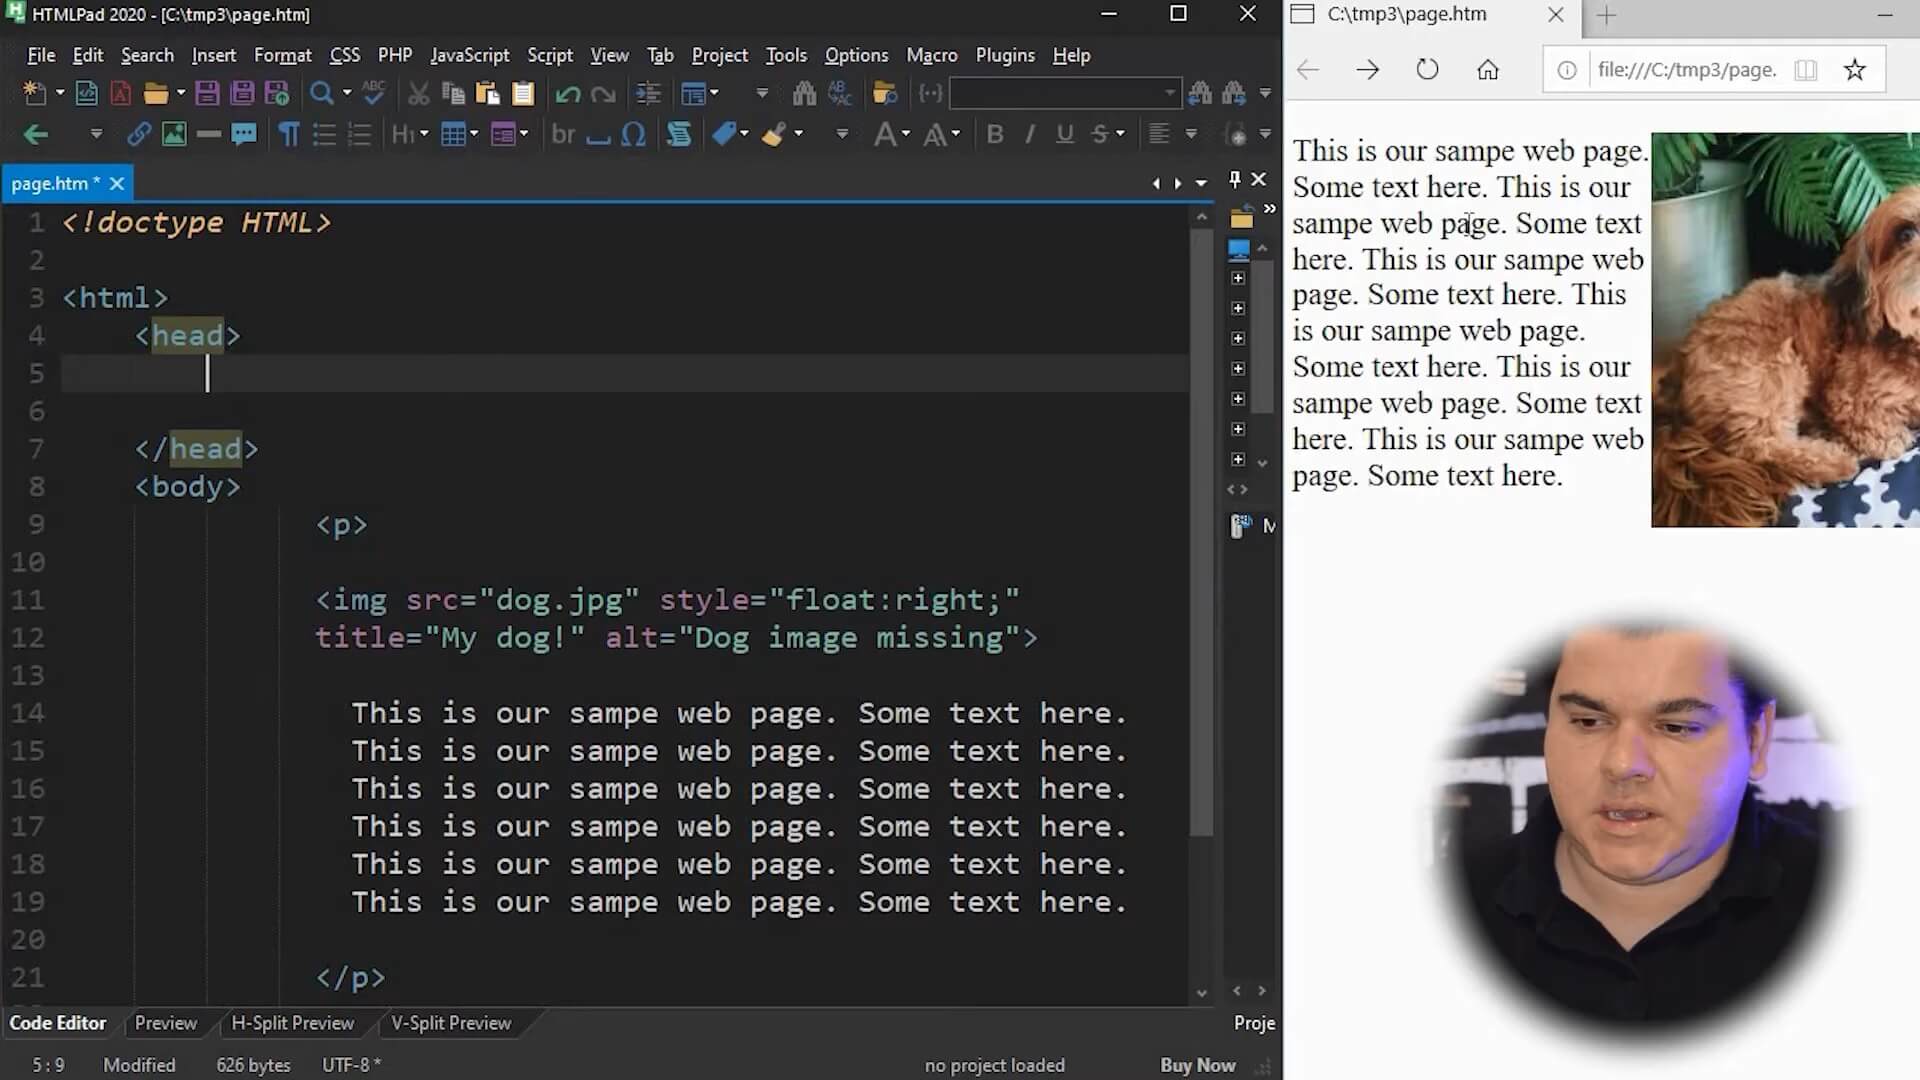
But, if it was a remote file you would see the URL of it. If you don’t have a title set on your page, you can see on the tab the name of the file you are dealing.
As it’s a local file you can see the file name on the tab, in the place of the title. If it was a remote file you would see the URL of it.
So, let’s see how to set the title to a web page.
The title meta tag is slightly different from the other meta tags. Instead of the meta tag, you should use the Title tag, it is, <title></title>. So, this is slightly different from the other meta tags.
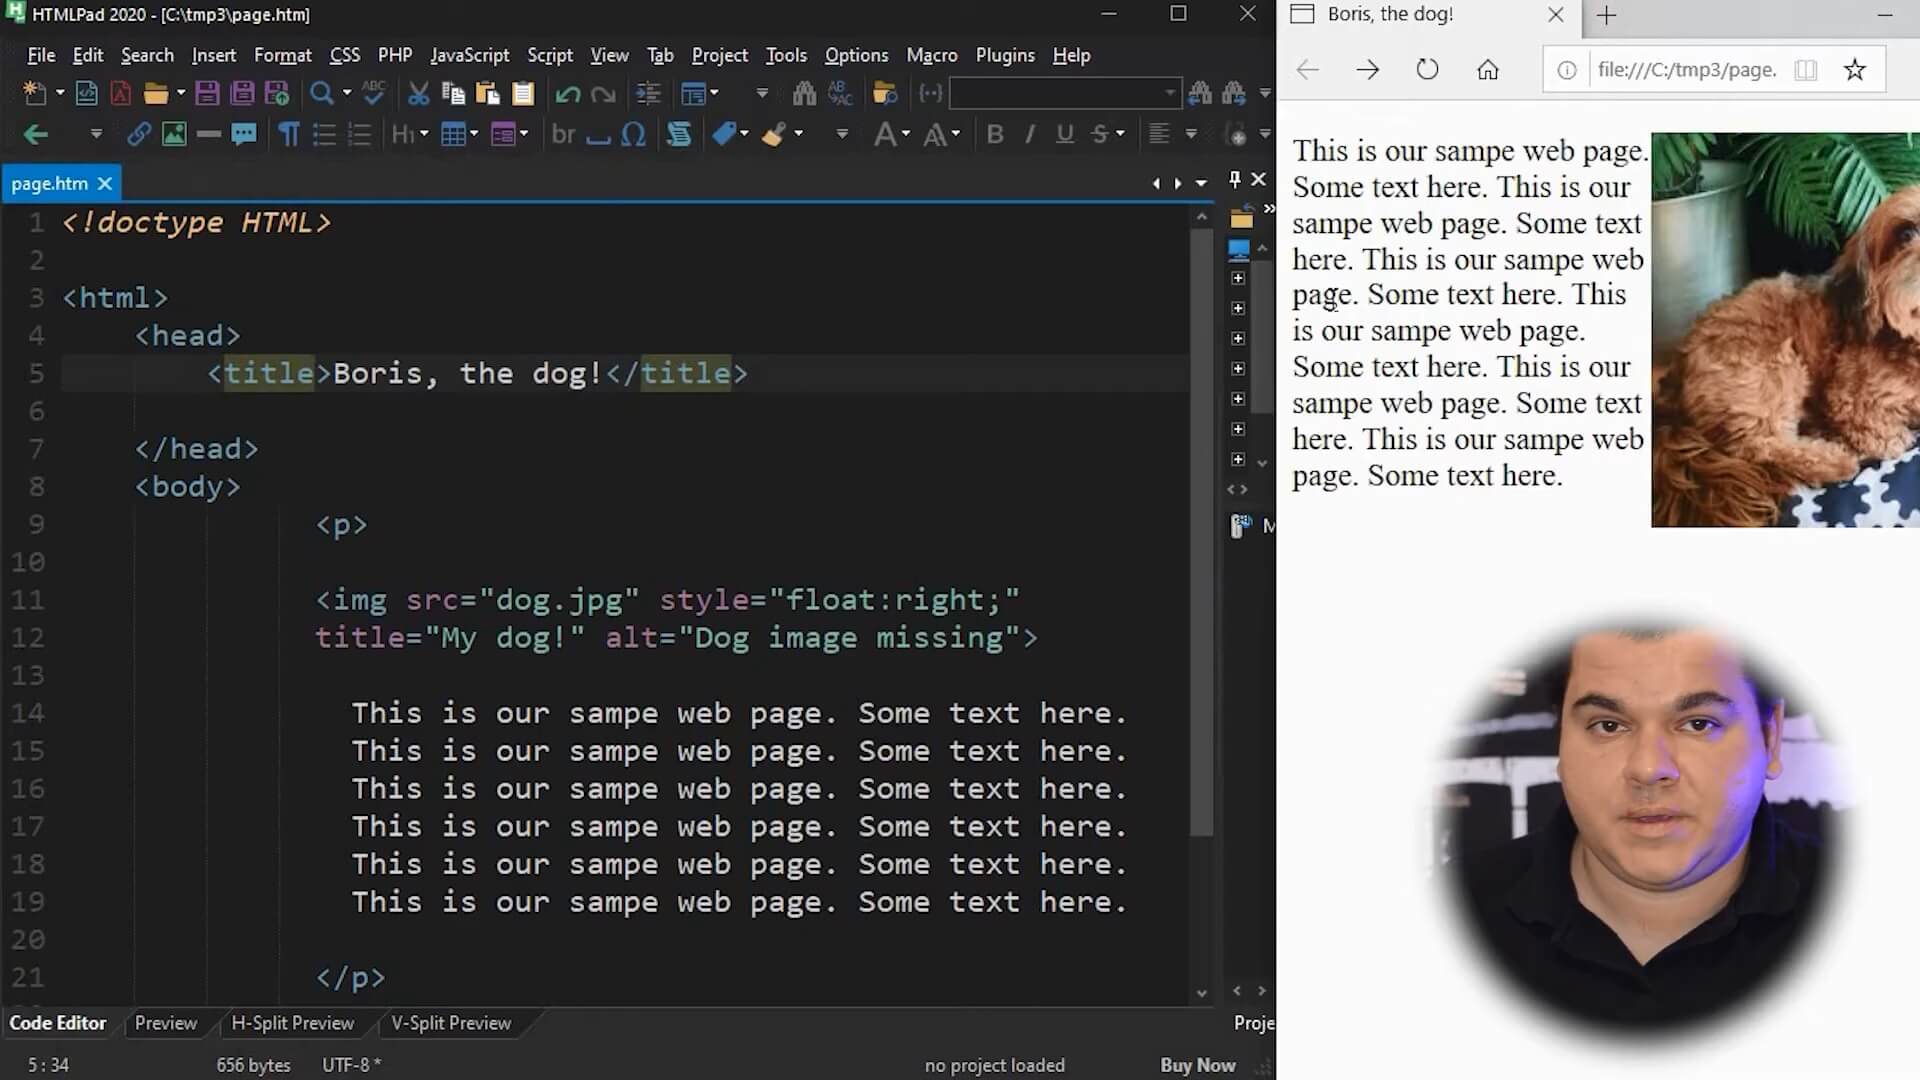
To set the Title, we simply have to place the page title inside that tag, like in the sample code below:
<title>Boris, the dog!</title>
So, now, after saving the file, you will have the page title set on the tab, like the sample below:
Cautions about Title Meta Tags
You must remember that the page title must be limited.
The ideal number of characters is between 30 and 35. Just don’t go over this.
But, if you need it, we also recommend a smaller title.
Most of the people have many tabs open on their web browser. So, the smaller your title is, the best people will read it.
For Google, it’s recommended not to overlap 30 or 35 characters on the title.
Description Meta Tag in HTML
The Meta Description tag is one of the most important for a Website.
It is simply essential for you to show the search engines, like Google, how to index, and how to describe your website. So, the Meta Description tag must contain the description of your web page.
For example, if you’re talking about your dog, you must have a description talking about your dog briefly. Like the sample code below:
<meta name="description" content="The web page about Boris, the dog!">
But remember, a meta description can’t be so long. Then, it must be limited to between 150 or 160 characters.
So, Let’s see the behavior of the meta tag description on Google. For instance, in the next image, you can see the Google search results.
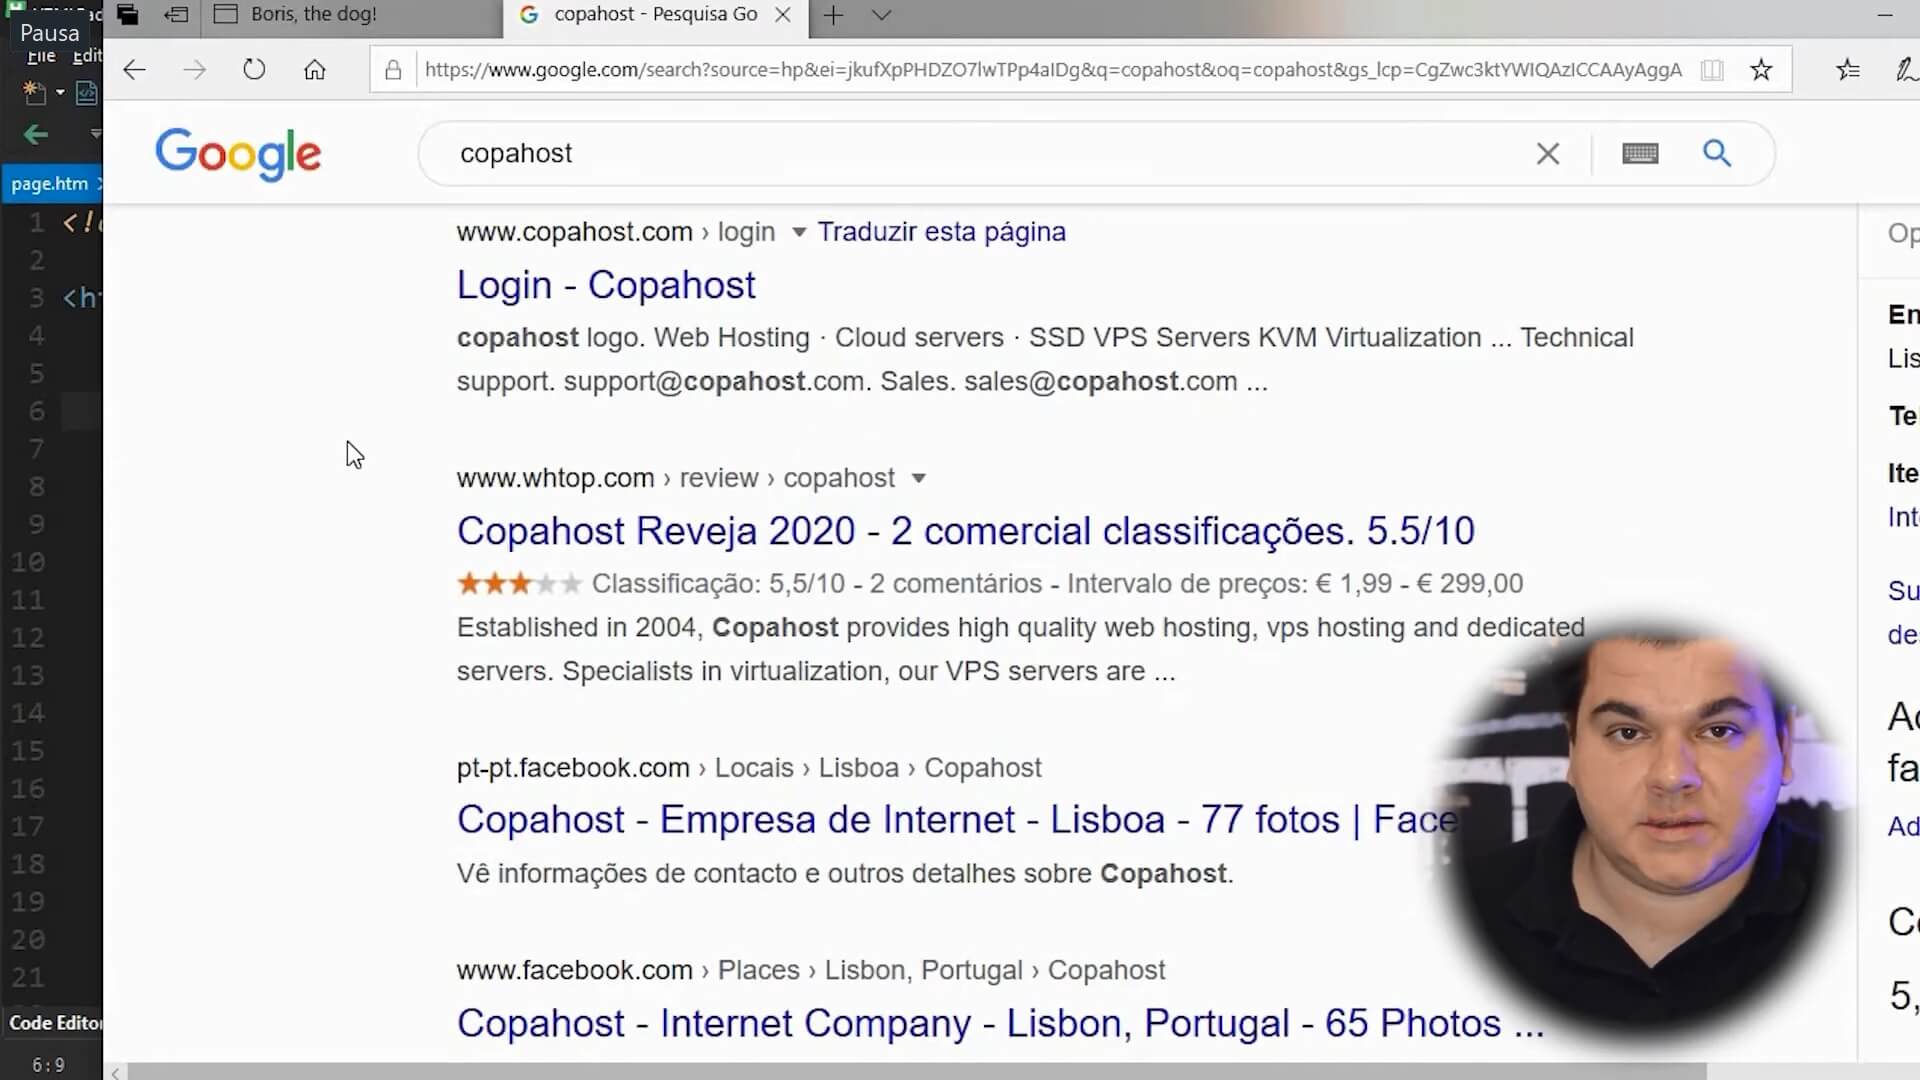
The blue part is the title tag, the contents of the title tag. Below that, we can see the description, which is the meta description. If someone just places the description over 150 characters, you can see the three-point in the end.
Page Without Meta Tag Description
Let’s say you don’t have a Meta Description. In this case, Google will simply retrieve the content of your web page and place as a description of the search results.
But, this is actually not good, as Google prioritizes pages with meta descriptions correctly set.
By having a correct and accurate Meta Description, you are simply telling Google, or the search engines, your page is right about that keyword you are looking for. In other words, a great Meta Description influences a lot on your SEO. And websites with great SEO receives lots of visitors.
Test of your Meta Tags
To test your meta tag we can recommend Firefox. It’s a great browser with a great Meta Tag control
So, now, let’s use the Firefox browser. It has better control over the meta tags.
First of all, we must keep in mind that the meta tags are hidden, but there is a method for you to check them.
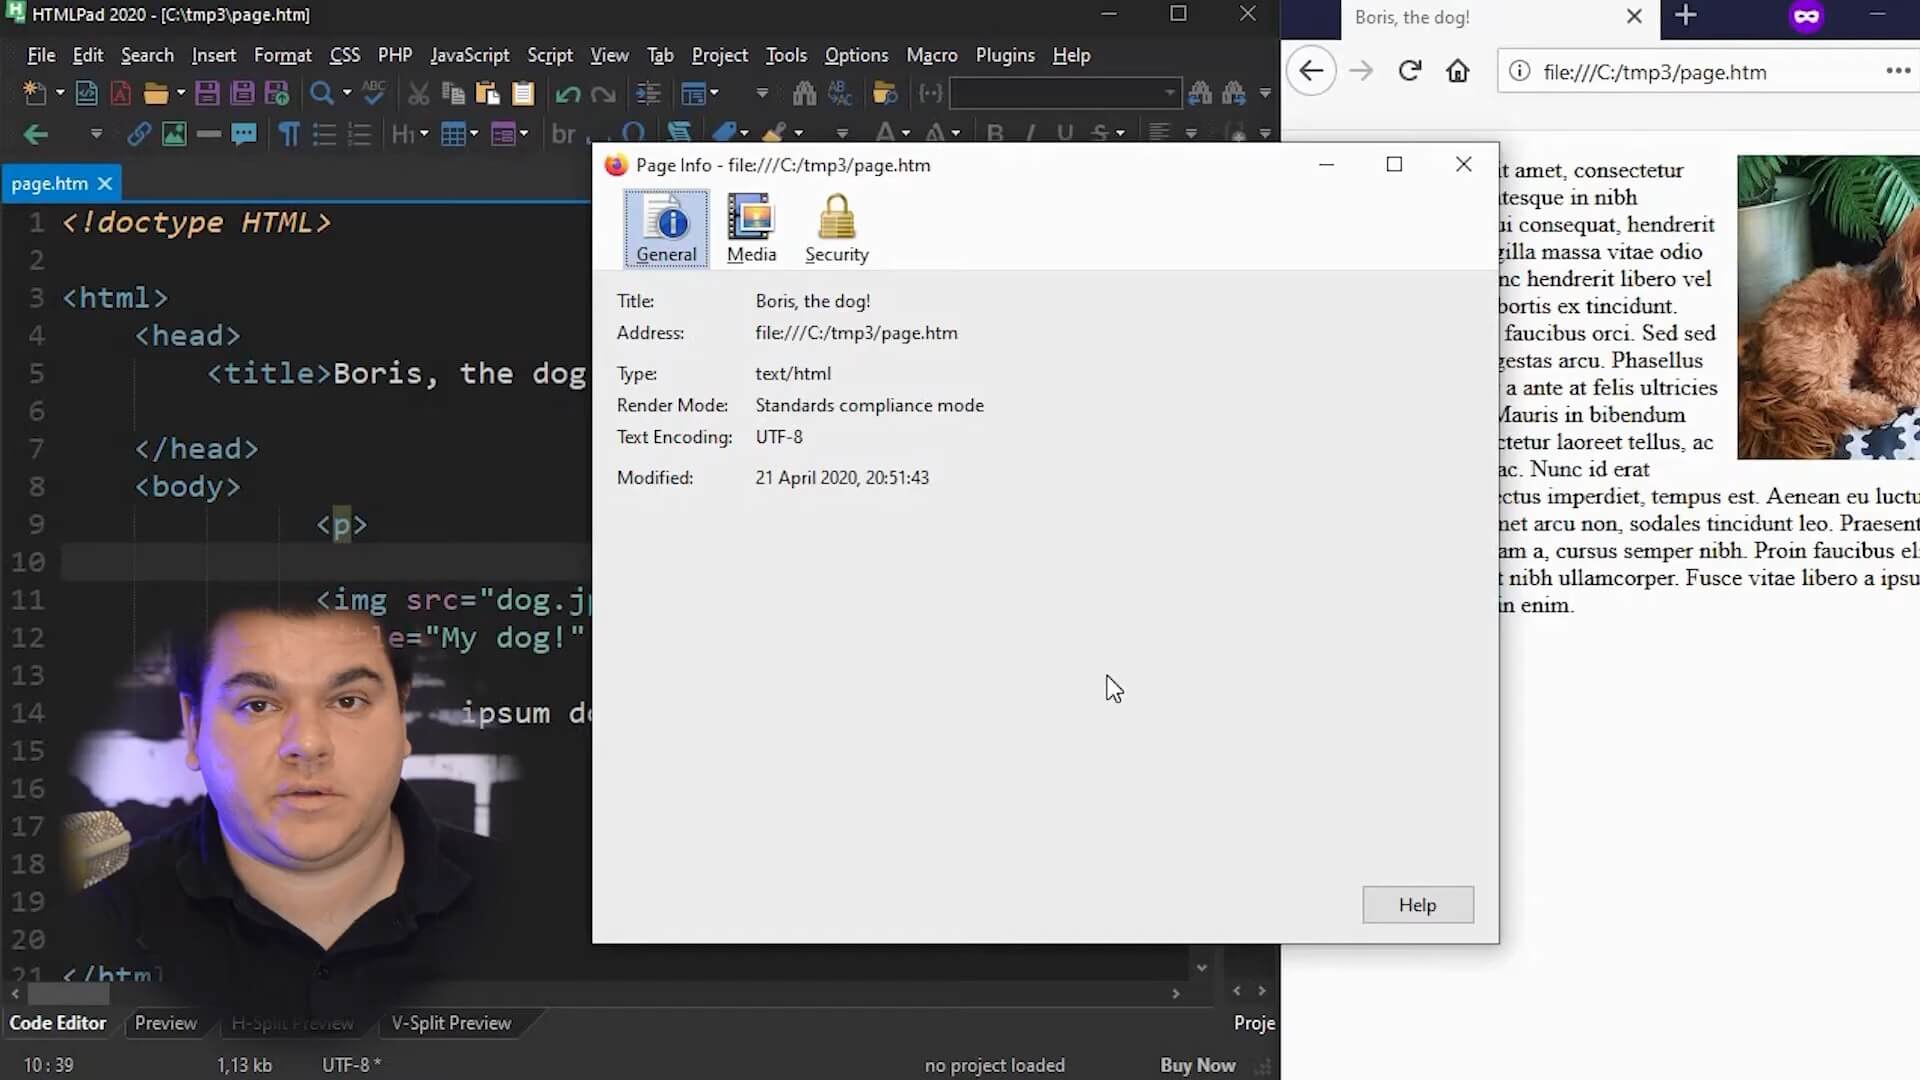
With the Firefox Browser, you can click with de right button of the mouse. After that, click on “view page info”.
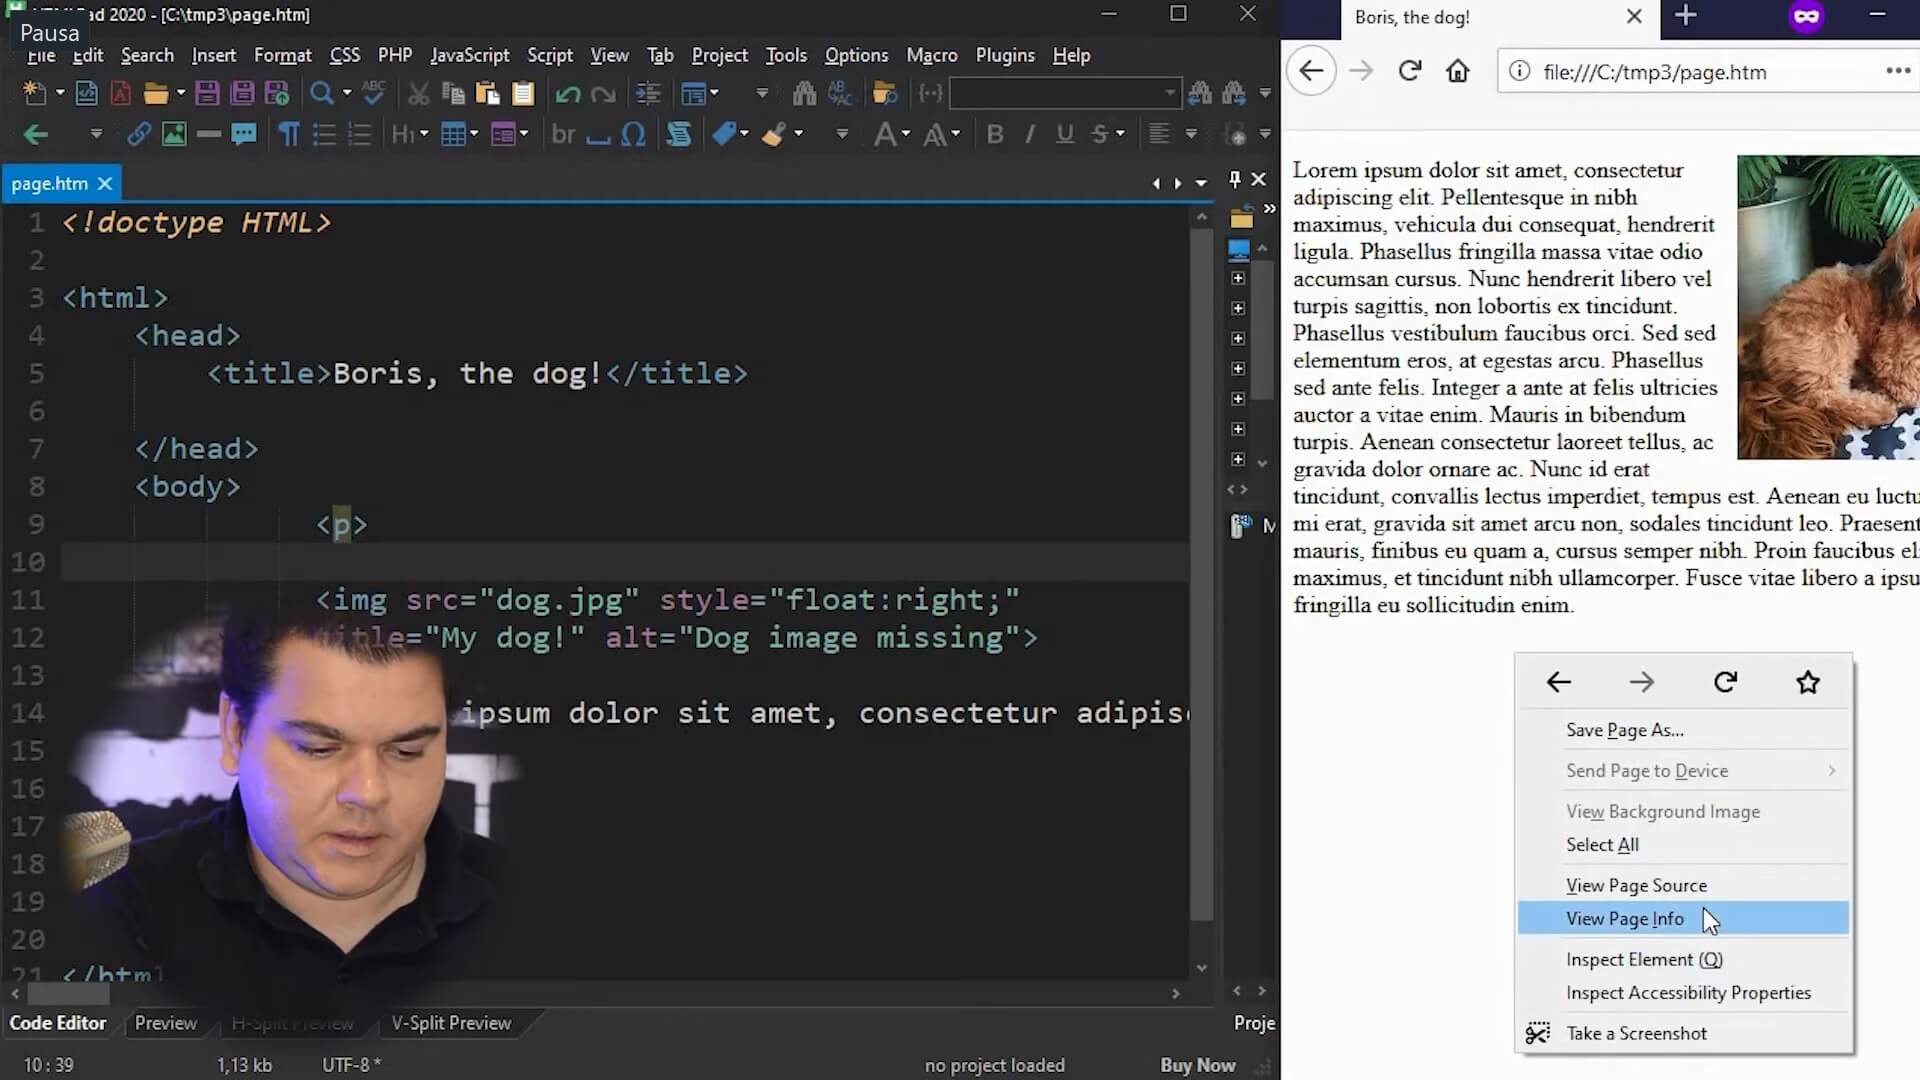
So, now, using the same sample of the video, you can see there is nothing showing there. It is because this page currently only has the title, which isn’t really a meta tag. It’s part of the meta tags, but not a standard meta tag. So it will show an empty space here.
But, if you make the first tag: the meta tag of description, you will see how the meta tag looks like.
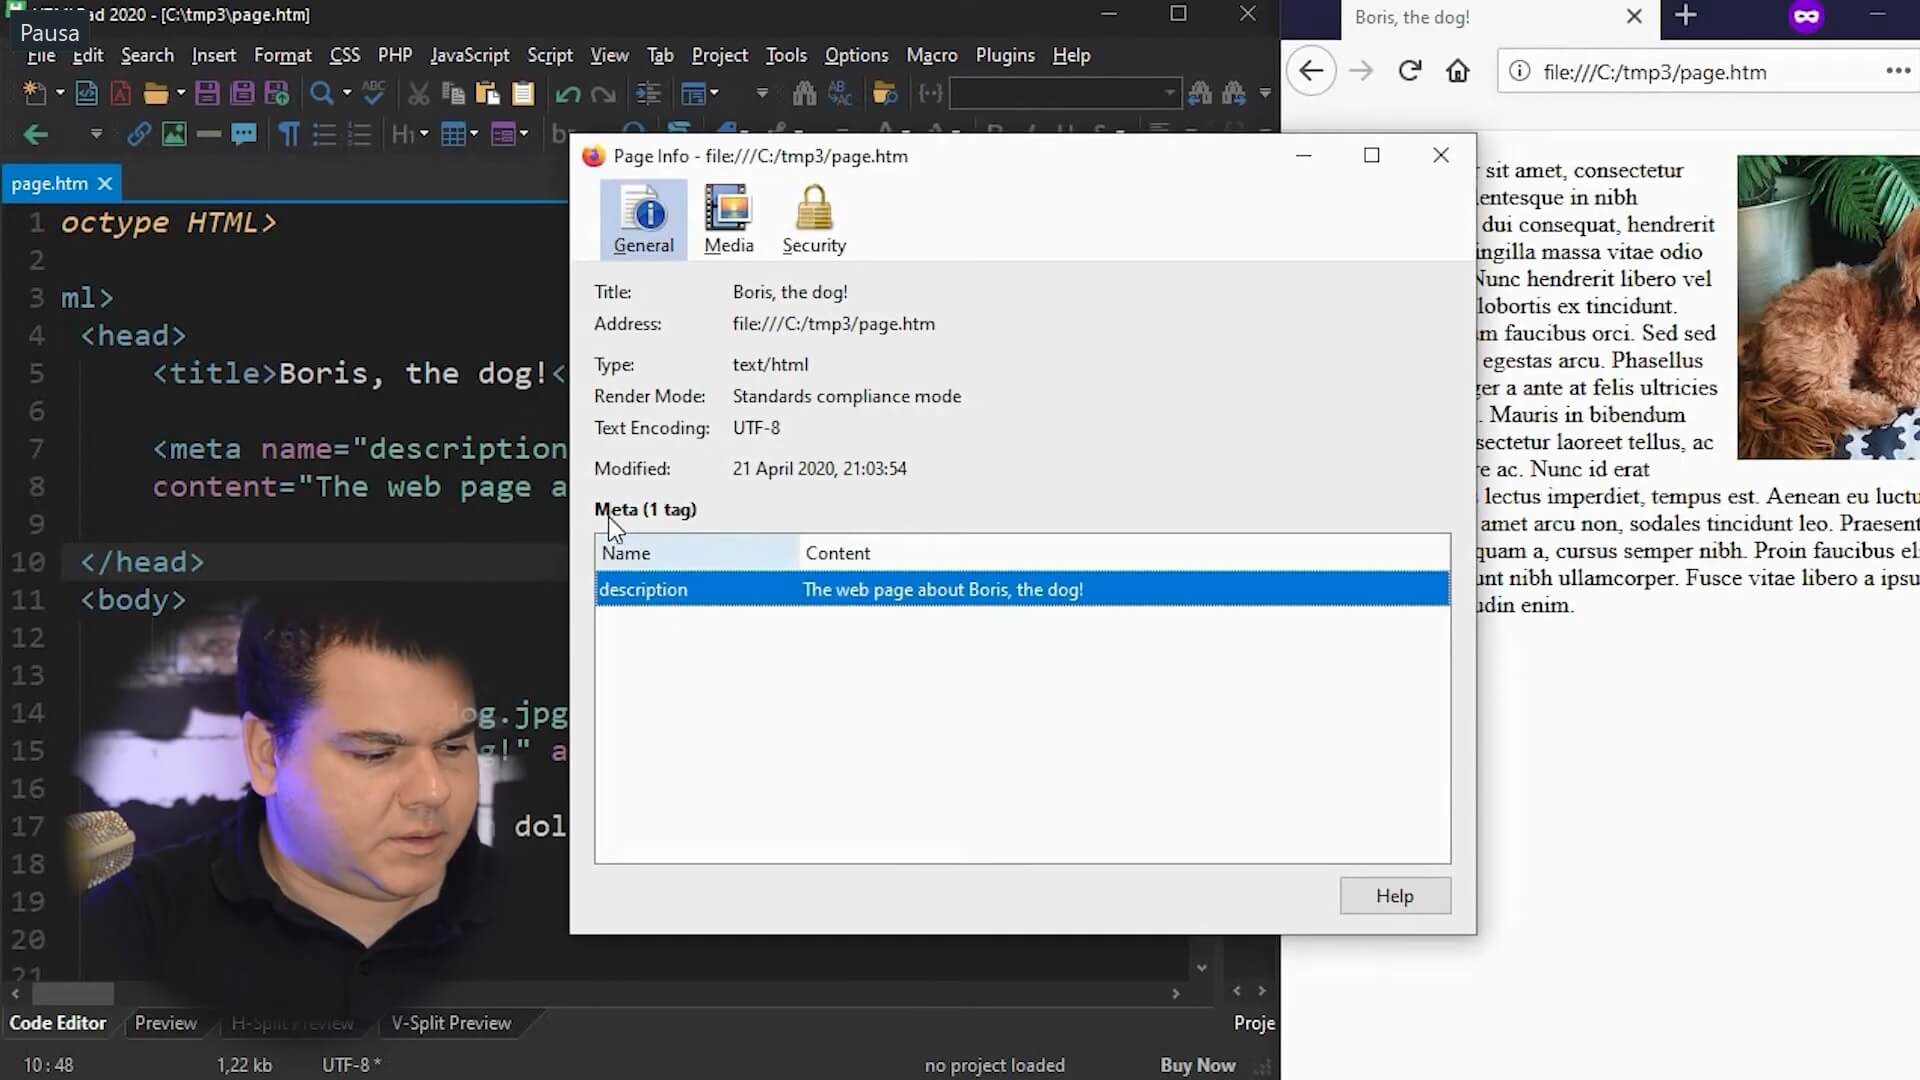
In first, you can see the name attribute, where you can place the name of the meta tag, in this case, the description meta tag. And then, you can see the content which is the content of the meta tag.
Every meta tag must have these two attributes: name and content.
Keywords’ Meta Tags
Now let’s see about the keywords meta tag. With the meta keywords, we are telling the search engines which keywords this page is about.
Keep in mind that “keywords” is in the plural. So the meta tag keywords look just like the description. We should have the name attribute and the content attribute. Like the sample below:
<meta name="keywords" content=" ">
In the content attribute, we must place the keyword separated by a comma.
In our sample below we have the name “keywords”, always in the plural. And the content: “dog”, “Boris” which is the name of the dog, “Yorkshire”, “Pets”.
<meta name="keywords" content="dog, boris, workshire, pets">
In the meta keywords tag, we recommend you use no more than ten keywords. It’s an important way to tell the search engines which keywords your page is about. So, you can use anything under ten keywords, it’s fine to use one two three, it’s not a problem.
Robots Meta Tags
Before we see about robots meta tag, let’s understand about the search engines robots. Robots are a big server that visits and crawls every page on the web. This is called “indexing“. It copies the content, the text content of the page. It copies the images, and also the meta tags. Your title, description and other meta tags.
So, in the robots meta tag you can whether authorize or not the search engines to index that page.
There are many web pages with important information, private information, that you simply don’t want the robots, the search engines, to index.
So, with this meta tag, you can simply deny or block them, preventing them from searching and from indexing your content in the web.
So, in the sample code below, you can see how the meta tag “robots” look like.
<meta name="robots" content="index,follow">
In the example before, it is a sample robots meta tag with the content index and follow. By using the content index comma follow you are talking to the search engine “please index my page and please follow my links”. There are some other options in this meta tag for you to use. Using index and follow, is a recommended configuration for those who want your website to be indexed.
No Index Robots
Let’s say you have a page with private information and you don’t want this you appear in the search engines. So, if you don’t want your website to be indexed, you must simply change the meta tag for noindex.
<meta name="robots" content="noindex,nofollow">
By using the noindex attribute you are simply talking to the search engines please don’t index my web page I don’t want this page to be listed in Google.
The Follow Attribute
If you had one or more links on it, Google would follow these links. It is, he Crawl all these links.
You can place simply nofollow to tell Google: do not follow the links in this web page, even if the links are internal, to the same website or even if the links are external, to other web sites.
So, our recommendation is always to use index and follow which is the standard configuration for you to have your website indexed by Google.
Viewport Meta Tags
The viewport meta tag will adjust your website to mobile phones. It’s known by Responsive Meta Tag, because, with it, you can activate the responsive layout in your web page.
In the sample below, we have the web page the default web page without any modification without the viewport meta tag.
But, if we just create a meta tag, you can see the difference.
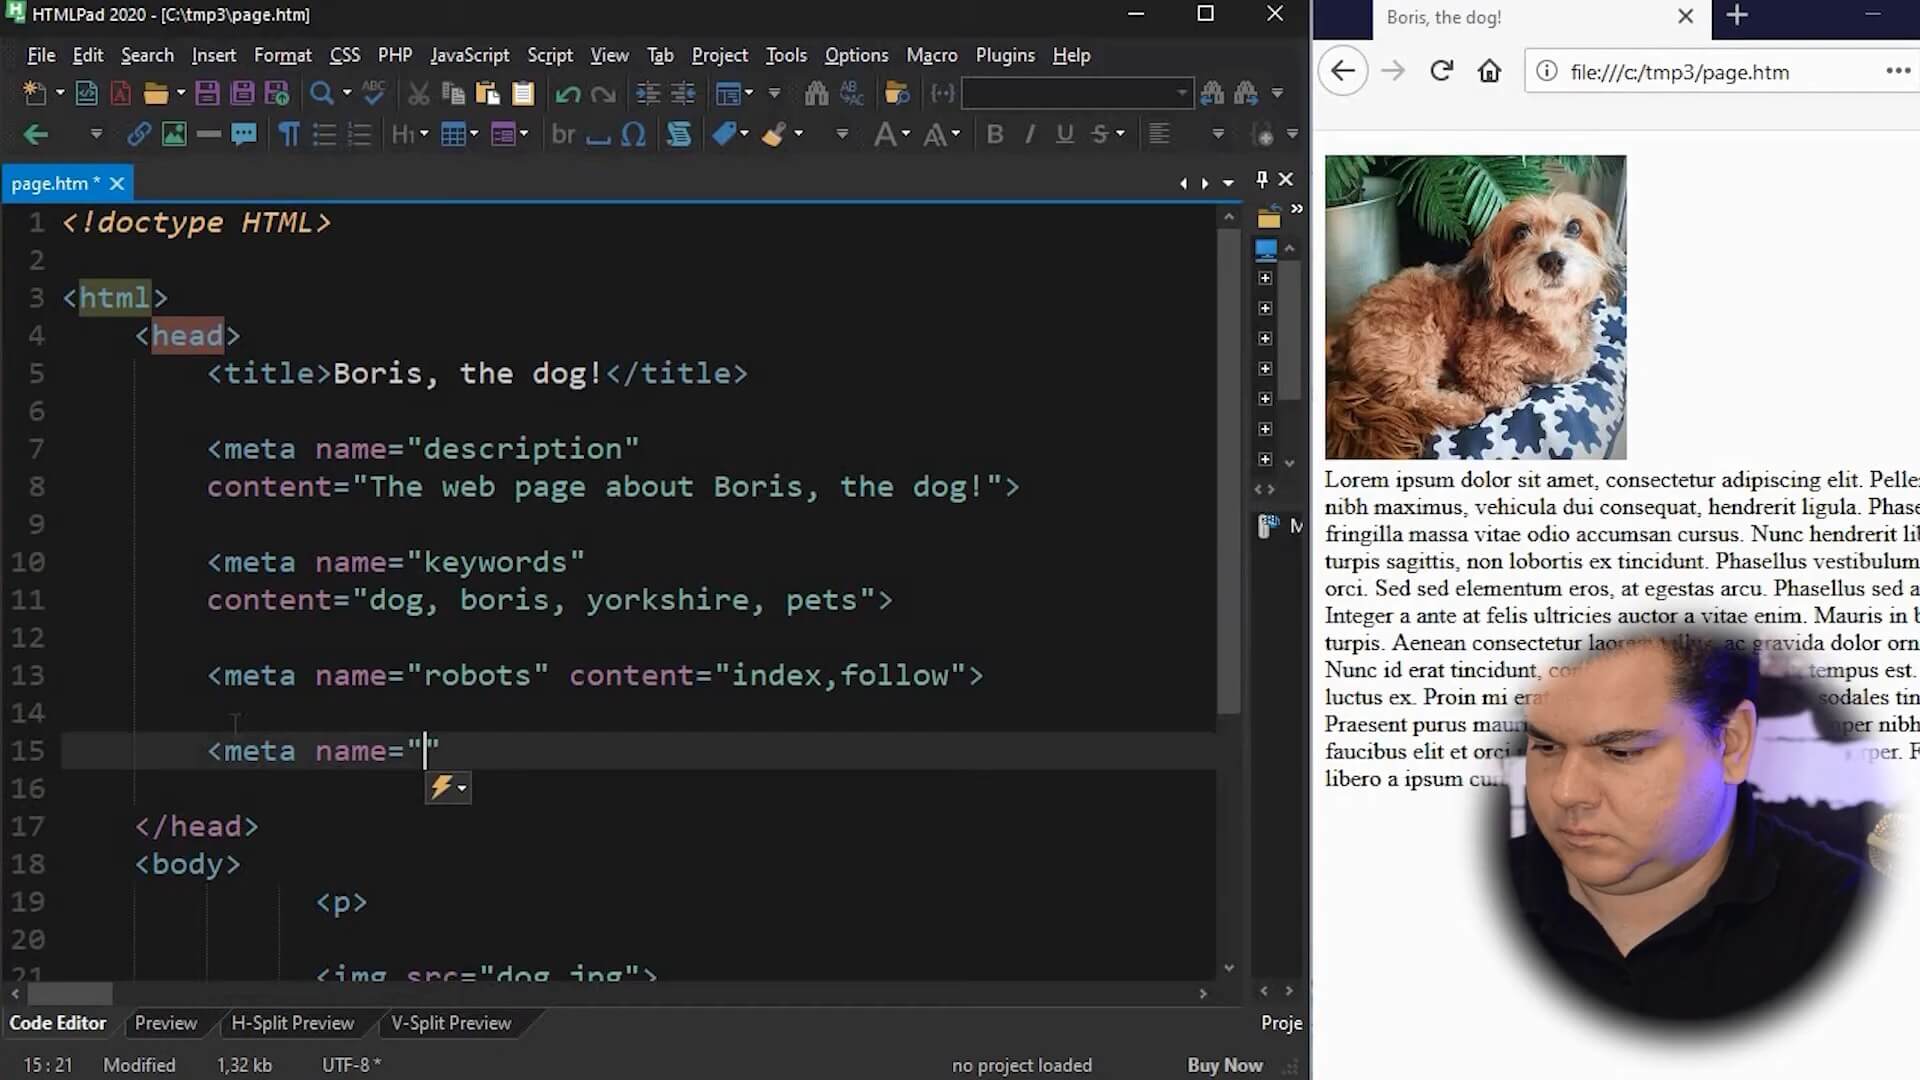
So, the viewport meta tag has two elements. First of all width and initial-scale. We should use the width as “device-width”, just like in a sample and the initial-scale equals 1.0. Like the code below:
<meta name="viewport" content="width=device-width, initial-scale=1">
Checking a Responsive Layout
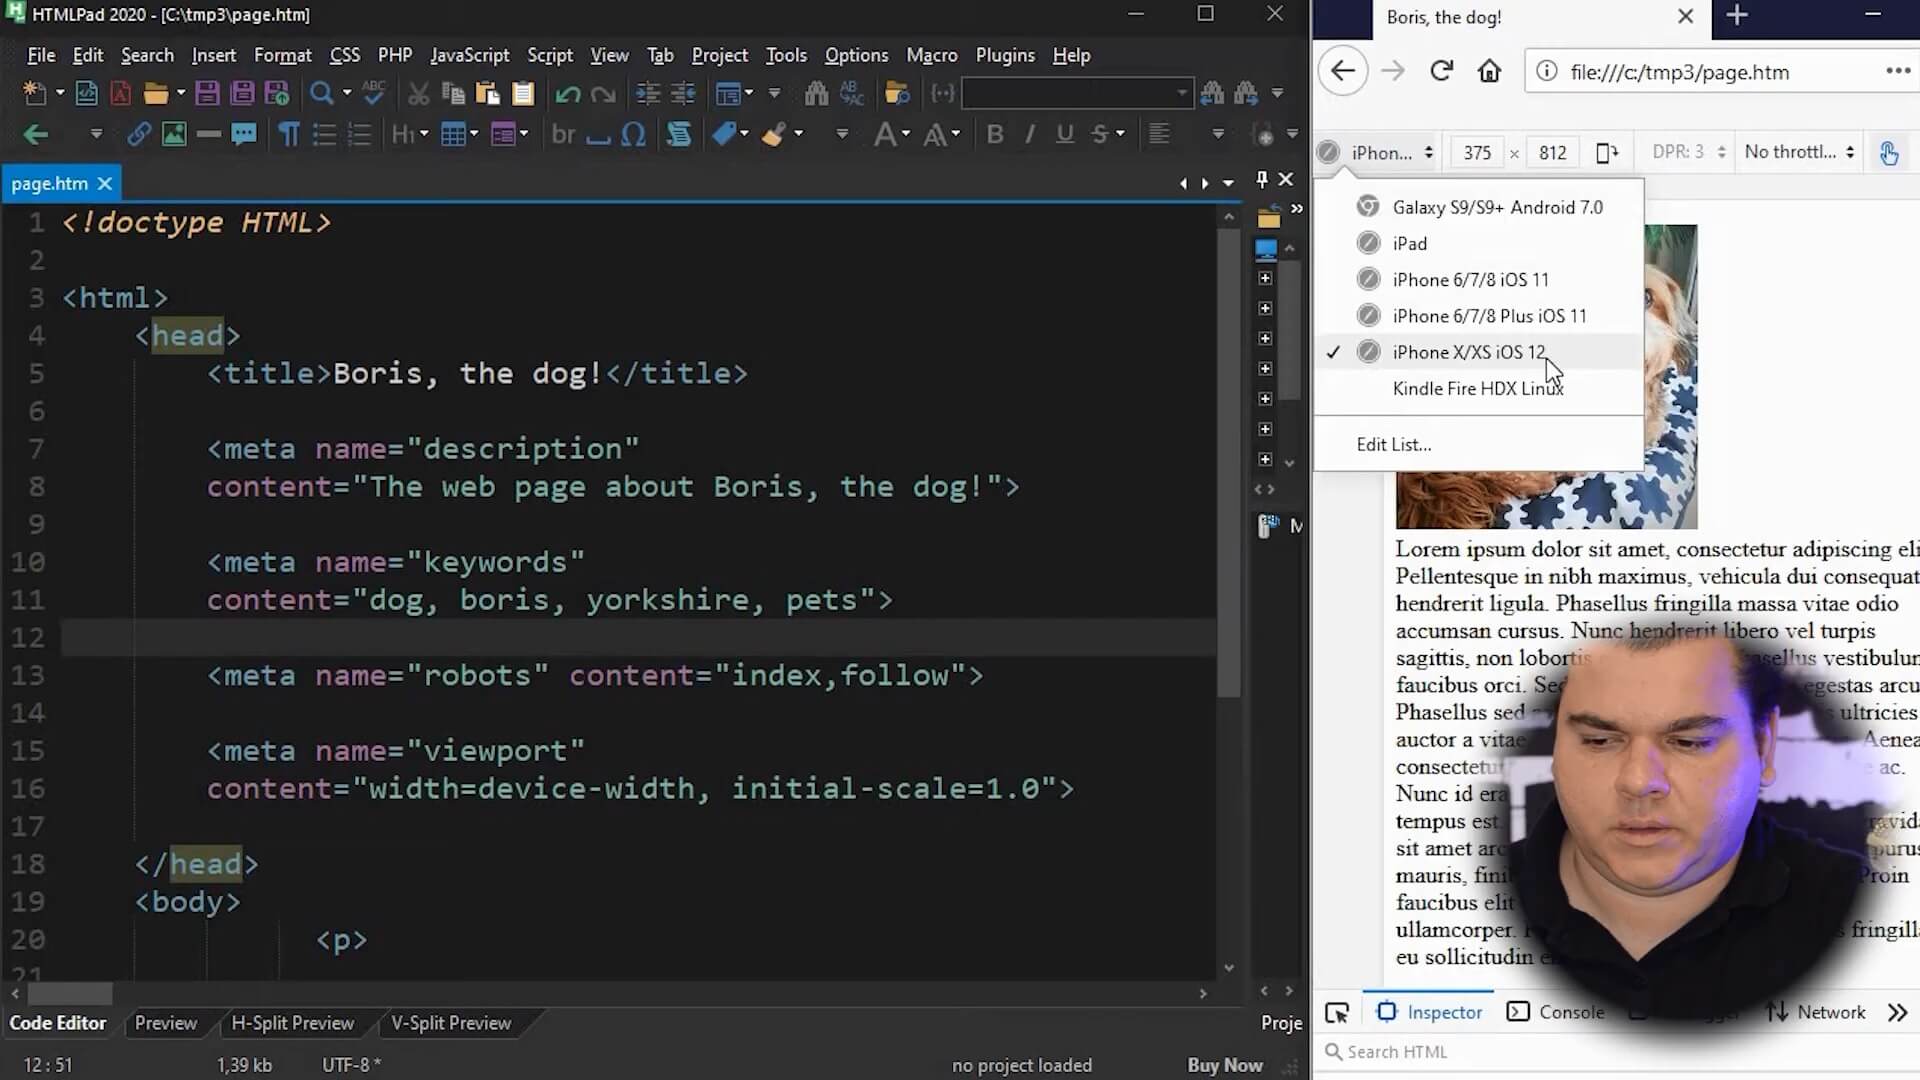
In Firefox and also in Google Chrome, and some other browsers, there is a way to emulate a mobile phone. In Firefox and Chrome, you can push ctrl+shift+i to see those options. This way you can just see the web page just like it would appear on the mobile phone or other sizes.
Now in the mobile simulator, we can just choose the model of the mobile. In the sample below, we will testing in iPhone X mobile size. So this is how it looks like with the meta tag viewport:
For instance, try to change the initial-scale from one to two. Save the page and reload it with F5.

After that, as you can see in the image before there is a big zoom on the page. The default, the best configuration is 1.0.
Now, if you remove this meta tag, you can see, like the image below, how it would look like without the viewport meta tag.
As you can see the viewport meta tag is very important so that your site appears nicely in the mobile devices.
Refresh Meta Tags
The meta refresh tag can be used for basically two reasons. The first is to refresh your webpage from time to time and the second is to make a redirection to another page.
In the code below, you can see how it looks like.
<meta http-equiv="refresh" content="2">
So as you can see this tag is slightly different from the others. So in this meta tag we used “http-equiv” instead of “name”. The http-equiv means to simulate a server-side response header. This is a standard for the meta refresh and meta content meta tags.
So, if you use the meta refresh tag with the content “2”, that means the page will reload automatically every two seconds. If you set there, let’s say, for “20” the page will reload every 20 seconds, not 2.
Another important configuration for this meta tag is placing the URL. So, Try to set 20 seconds for the refresh time and URL equal “https://www.copahost.com”.
<meta http-equiv="refresh"
content="20;URL:https://www.copahost.com">
If you do that, that means that after 20 seconds the page reload to this URL set. If you want, you can try with another number of seconds.
Conclusion
Now we have known how the meta tags are configured on a website. With this content, you can make your HTML page with the most important meta tag.
If you have any questions, send us a message, give a comment with your question.
