We went through the steps required to install Simple Machines Forum or SMF in the post How to Install Simple Machines Forum SMF . This post will now deal with the initial configuration of Simple Machines Forum so that you can start publicizing the forum. While installing the forum, we created an admin user who will be the super user of the forum.
Login to Simple Machines Forum admin control panel
We start by considering that my forum’s installation URL is http://copablog.com/forum/
The admin interface of the forum will have a URL similar to http://copablog.com/forum/index.php?action=admin
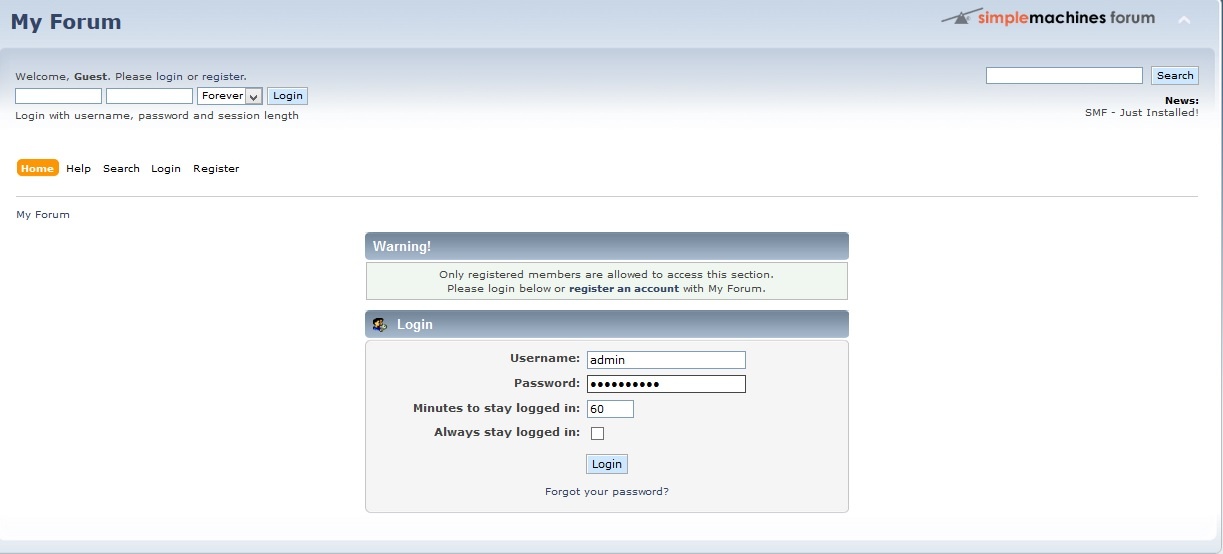
You will get the admin URL from the softaculous interface, if you installed SMF through softaculous. Enter the login details which you gave during installation.
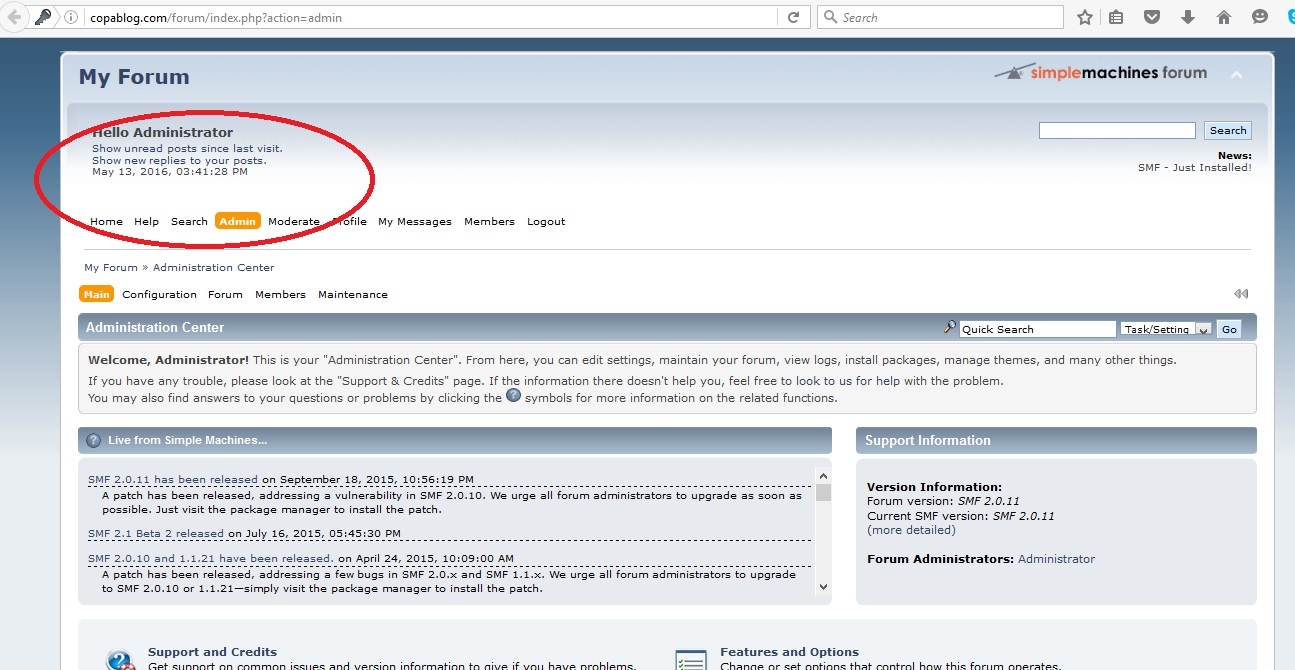
Once the login details are verified, you will be taken to the admin dashboard of Simple Machines Forum.
Initial Configuration of Simple Machines Forum
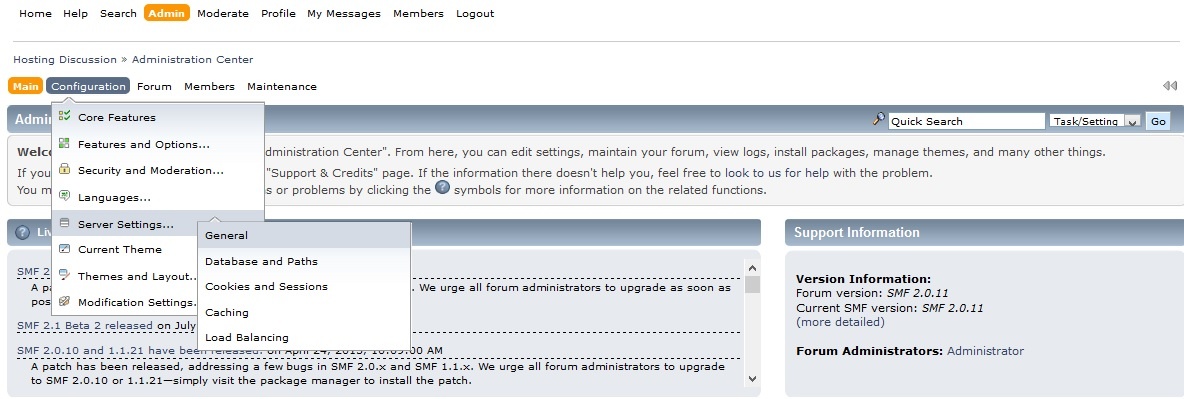
Let’s straight away get into the configuration part. We will start with the basic configuration. Under the Admin tab, go to Configuration -> Server Settings -> General.
Here is where we give the forum name and decide on the basic settings. Following details are required here.
Forum Title - The name of your forum, let's say I want my forum to be known as Hosting Discussion.

Maintenance Mode - Until you are done with the forum configuration and you are ready to launch, you
can keep the forum in maintenance mode. This will make sure that anyone who browses the forum will
get a maintenance page, but admin users can use the forum as usual. This will help you work on the
forum, make changes to it and view the changes without making it public. The subject and message for
display mentioned there are the details viewable to public when check the forum.

Enable Compressed Output - Would be a good idea to check this option as it will compress the output
there by reducing bandwidth consumption.

Disable evaluation of templates - Leave it unchecked if you are a beginner. You might want to see
any errors in templates if required. You can disable it as you become an expert as it might sometimes
 slow down your forum, however for the time being let it be unchecked.

Disable Hostname Lookups - Not of very importance, and if enabled might some time slow down your
server. Hence leave it unchecked.
Under the same tab, there are options for Cookies & Session, Caching, Load Balancing etc which you can leave as default as you are configuring this for the first time.
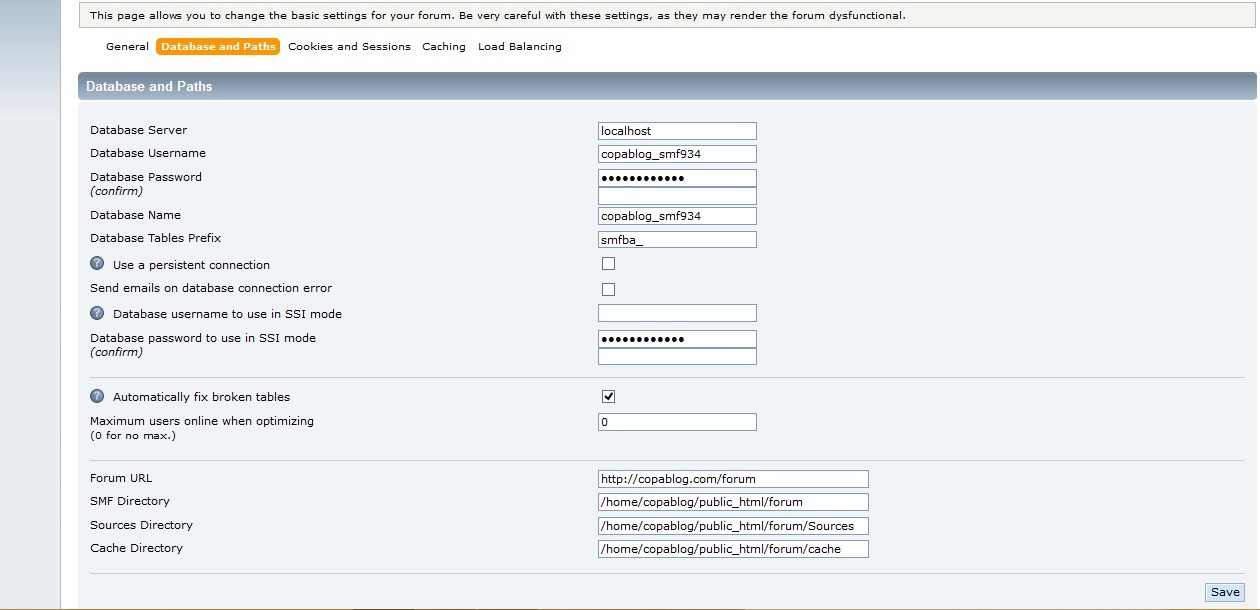
Databases & Paths
Next Option is where you mention the database associated with the forum, its username and password, and details of where your forum installation place. All these details will be automatically populated if you are using softaculous to install SMF. Otherwise you will have to manually enter these details.
Boards
Now, we have given our forum a name. We have confirmed on the forum database details and the paths to installation files. Next, we move on to creating discussion boards. SMF by default will have an example board named ‘General Discussion’. Here we are now going to show how to create another board, how to create sub-boards for various discussions etc.
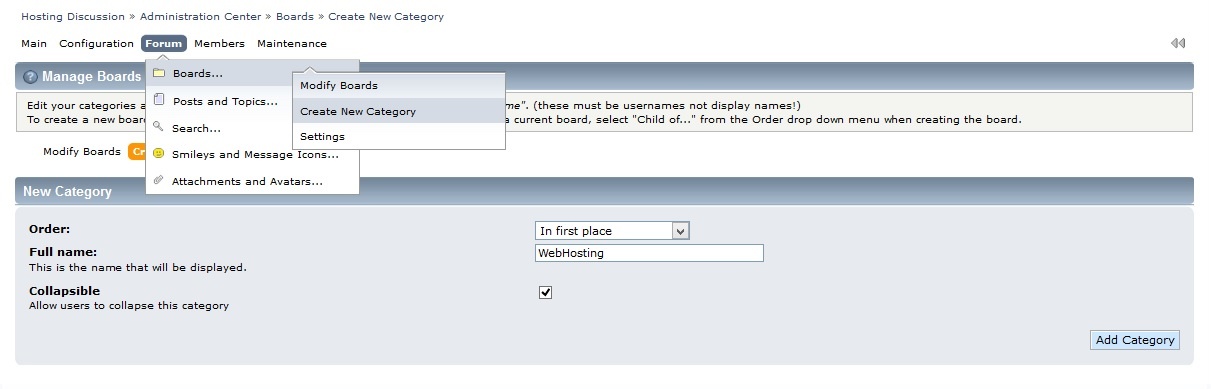
Under Admin Tab -> Forum -> Boards -> Create New Category. It will ask you where the new board is to be placed, whether as the first board or after the board which is already present. Choose based on your requirement, and give a name to your board. I am planning to make this board for Web Hosting, so named it Web Hosting.
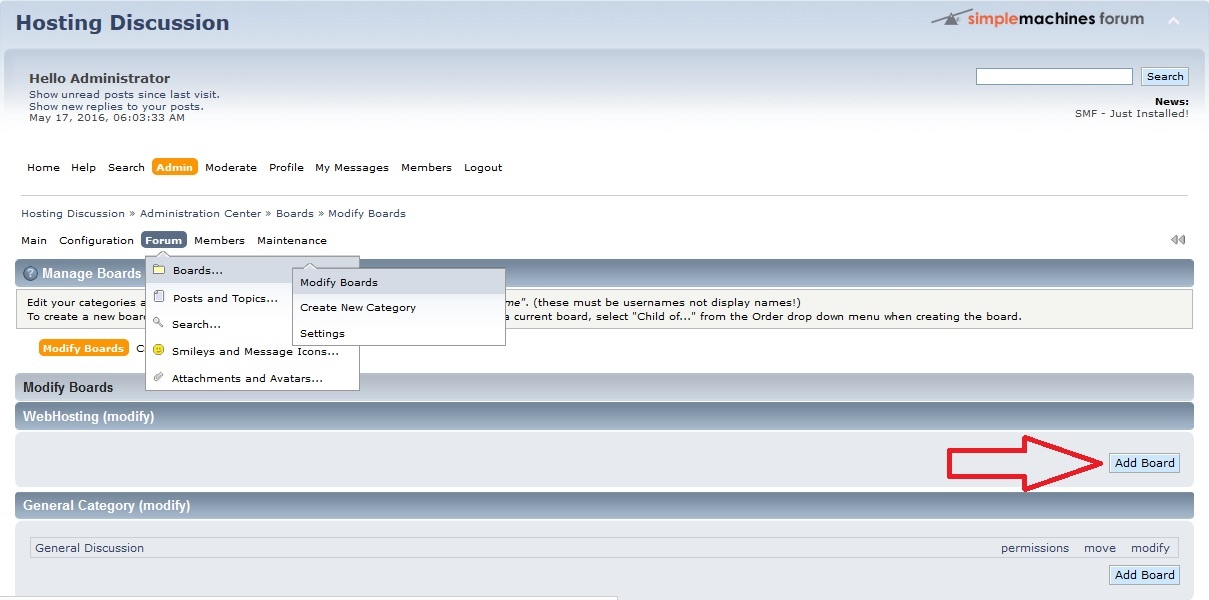
Next, I need sub boards created under Web Hosting board, so that I can categorize the discussion on Shared Hosting, Reseller Hosting, VPS hosting etc accordingly. For that, go to Forum -> Boards -> Modify Boards and click on Add Board option under Web Hosting Category as shown in the image.
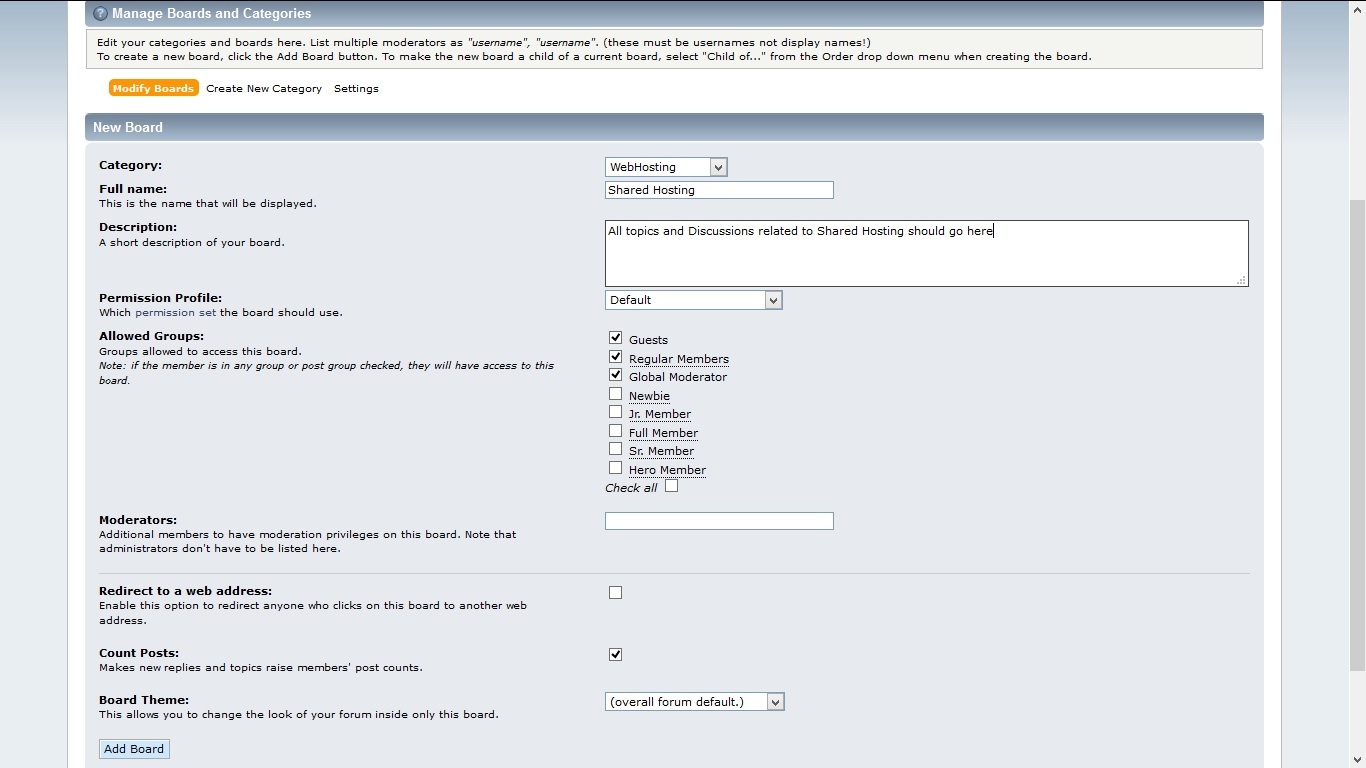
Clicking on ‘Add Board’ button will take you to an interface where you can give the sub-board name, choose where you want to place it, give a description for the new board, various permissions for users to access it etc. The image given below shows the details I entered to create a board name ‘Shared Hosting’.
Similarly I created boards for Reseller Hosting, VPS Hosting etc as well. Now, let us see how the changes we did will be visible to a guest who browse the forum.
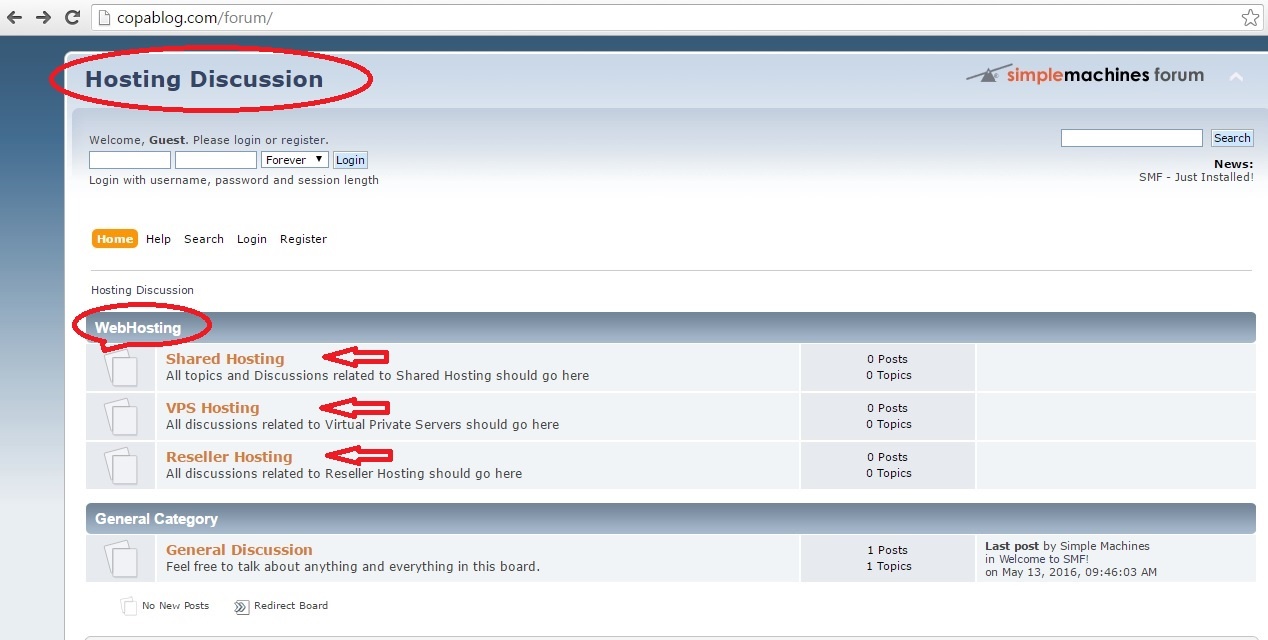
The above image shows the following:
1) We named the forum as 'Hosting Discussion' which is shown at the top left corner.

2) We create a board named 'Web Hosting', placed it as the first board which is shown in the image.
   You can also see the default board 'General Category' beneath it.

3) We created three sub boards namely
, Reseller Hosting and VPS Hosting which are
   shown with arrows. The description given are displayed just beneath the respective boards.
In the image above, you might have noticed that topics and posts to the right of each sub board is shown as 0. We have not created any topics or posts yet, because not only the admin, but any user with permission can create a topic. Hence, let’s move to user creation.
Registering a User
A user can register his account from the forum home page. Just click on the ‘Register’ link on the top left of the home page.
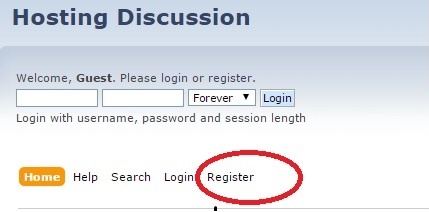
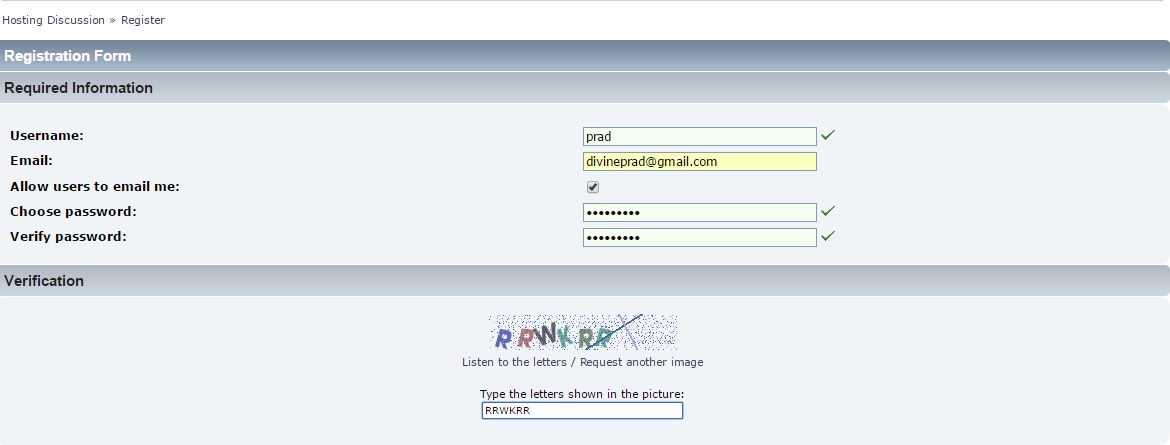
Just like any installation, you must ‘Accept the Terms of Service’. Click on the button ‘I accept the terms of agreement’ and you will be redirected to the registration form. Enter your desired username, email address and password, enter verification code displayed and you are done. You can then login using the username you registered.
Once logged in, you can setup your profile from the ‘Profile section’. In addition you can check your messages, search the forum, create your own topics, reply to posts etc.
Creating Topics & Posts
Now that you have created a user, login as that user to start a new topic. Just click on the board name you like to start the topic on and click ‘New Topic’. You can also start a new poll if you like.

The new topic will let you put a subject for the topic, and anyone with access can reply to it which is termed as a post.
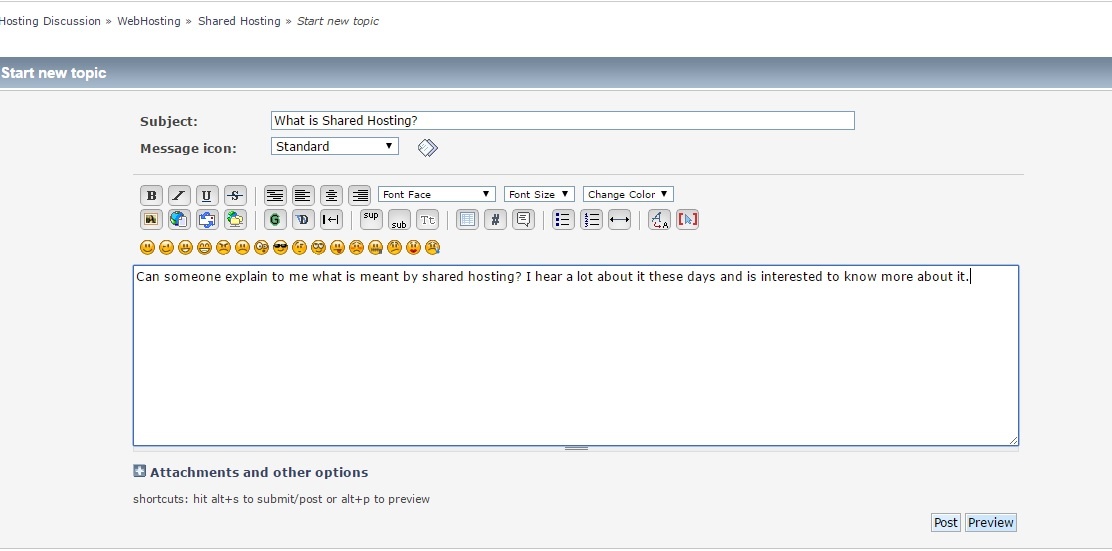
I just made a quick reply to the topic I started, and you can see how many replies you have received for the topic you created and how many views your post topic has received.

In this post, we discussed how to start a forum by creating boards, creating topics and posts, replying to posts, creating users etc. The admin panel has more advanced options like modifying themes, moderate the posts, handling forum members, member groups etc. The post has discussed only the Initial Configuration of SMF to start with, hope it helps you to get started.
