In this article, we will learn How to Use Custom Google Fonts on your website with HTML5.
This article is based on the video recorded by Gustavo Gallas, from Copahost. We recommend that you watch.
So, the topics of this article are:
- How to use Custom Google Fonts on our HTML5 Website
- Setting the font family with CSS
- Setting the font family for different HTML elements
- Other fonts from Custom Google Fonts
- How to change the font size
How to use Custom Google Fonts on our HTML5 Website
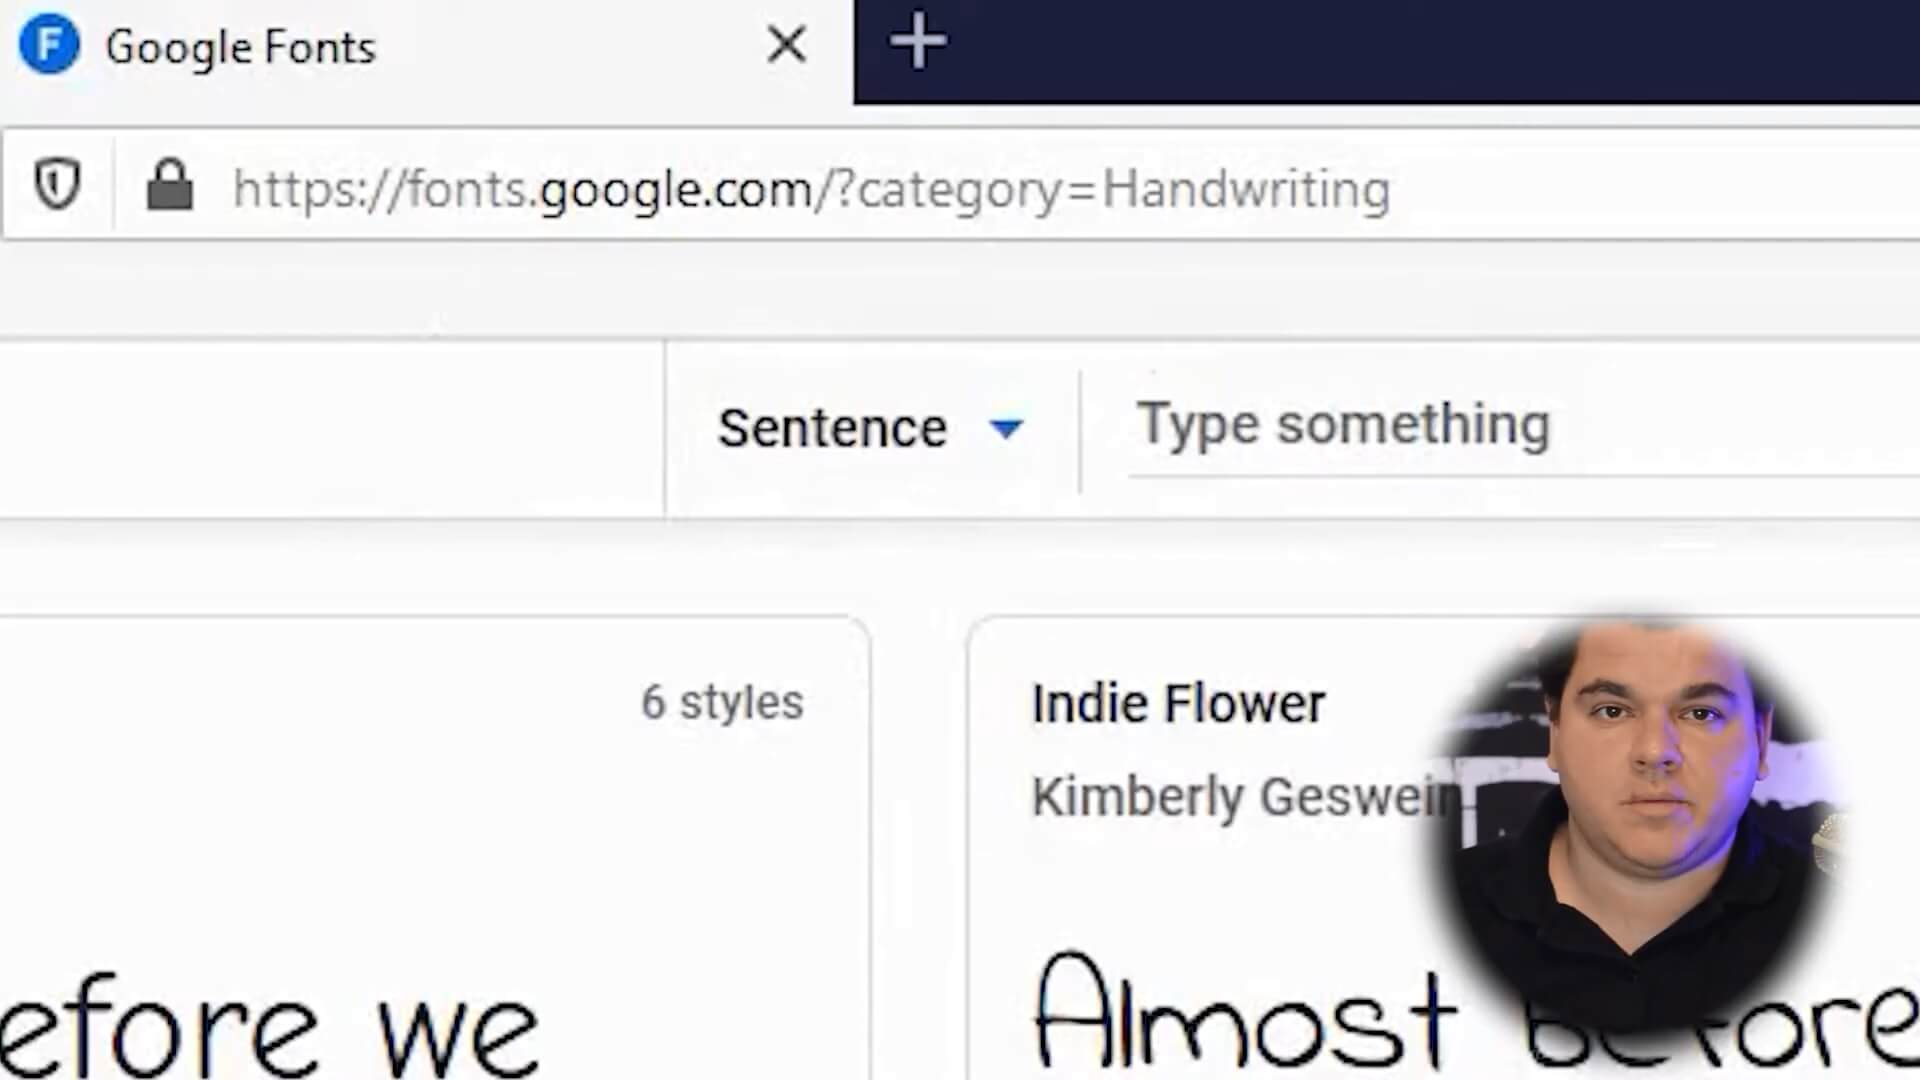
To find the font you want, you should access the Google Fonts. You can browse for Google Fonts at fonts.google.com. There are many options of fonts you can choose for use in your HTML5 Website.
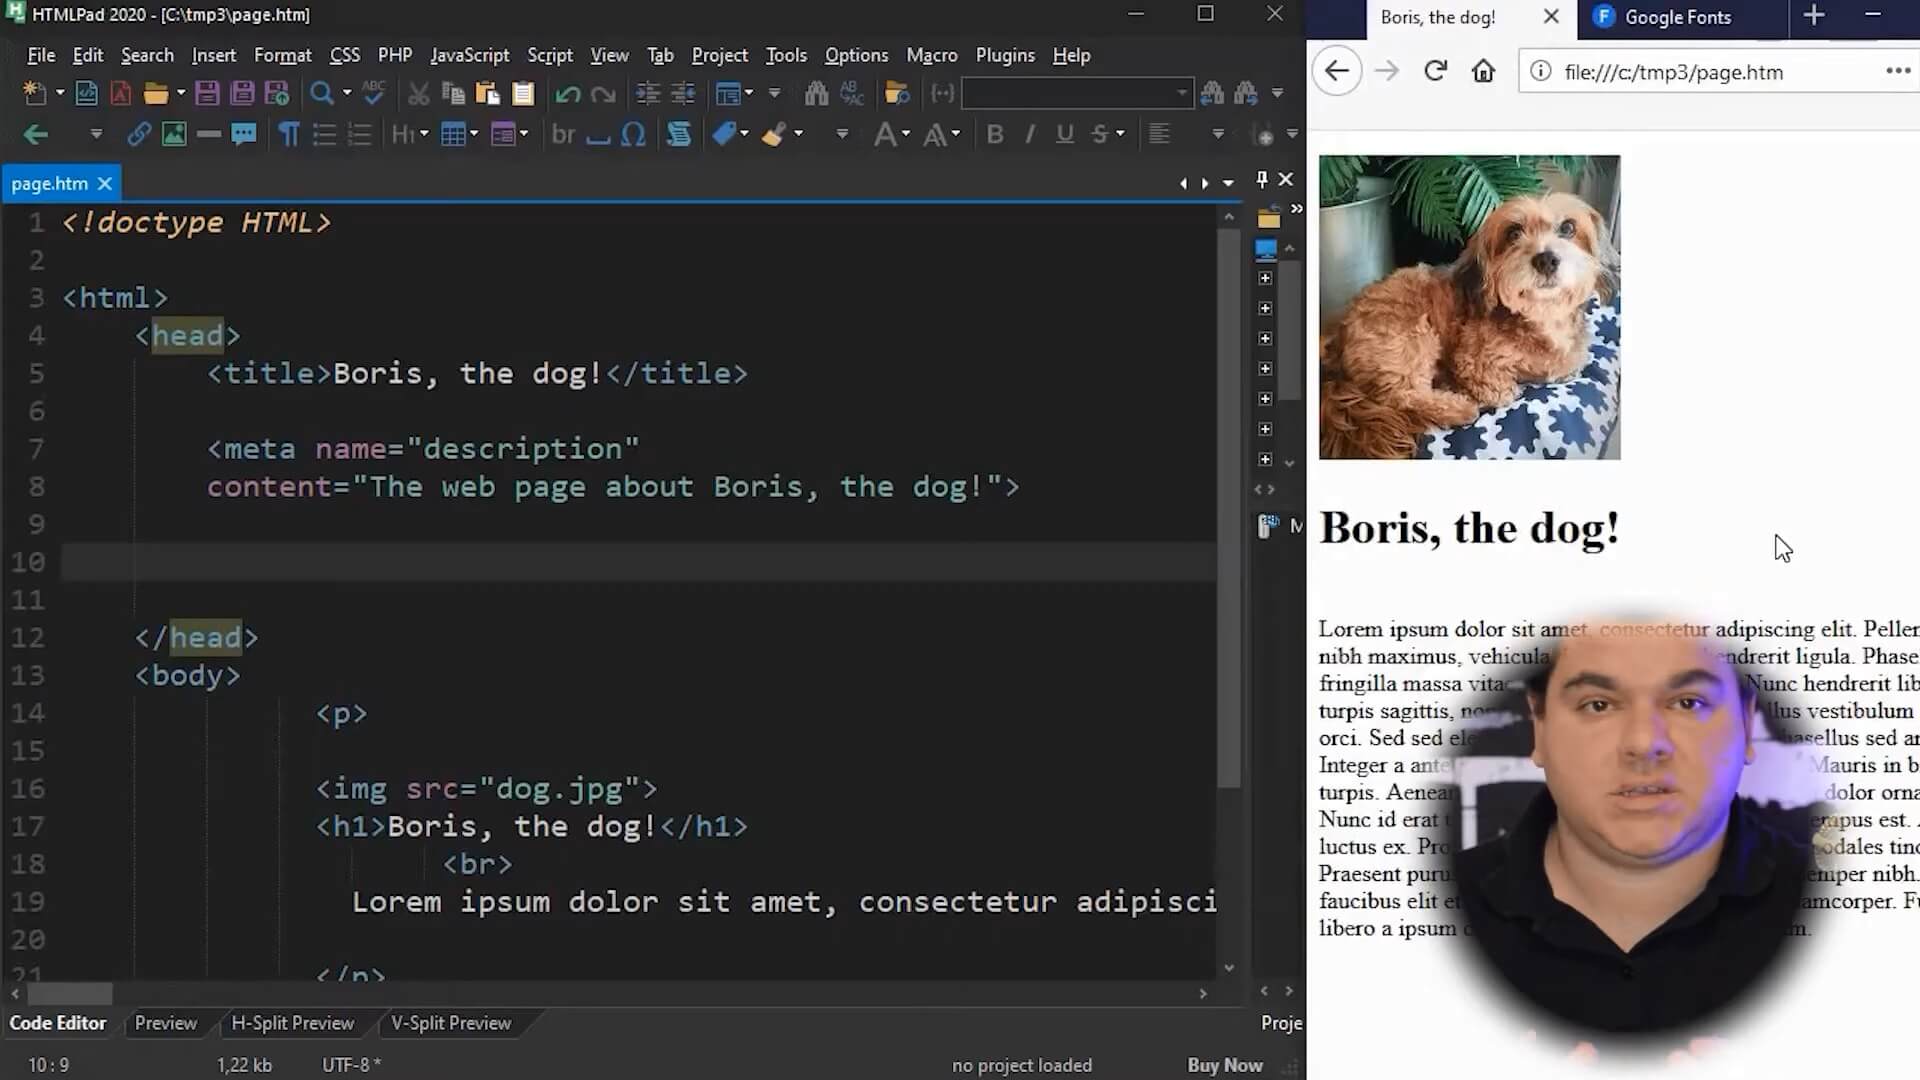
In this article, we will use the Pacifico Font. Gustavo Gallas uses the example of the website as the image below, initially, without a custom font set:
Now, you should choose a font, and then you’ll have to link this font in your Website head. To do that, we will use the link tag “<link>“.
Remember: this link must be placed in the head of your HTML file.
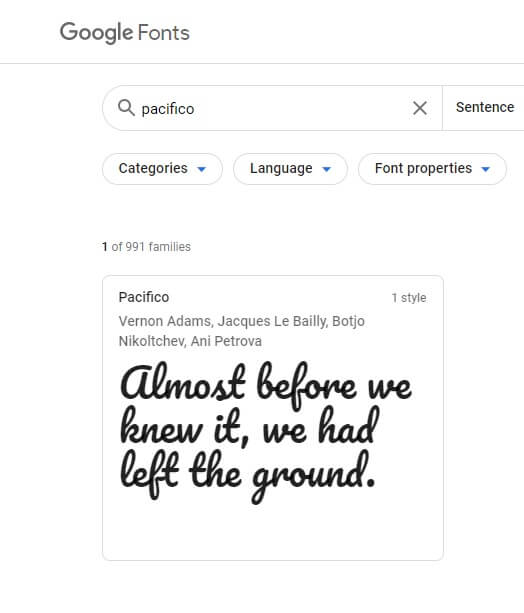
We choose the Pacifico font. To find it, let’s just write down the font name Pacifico in Google Fonts Search Box. Like the image below:
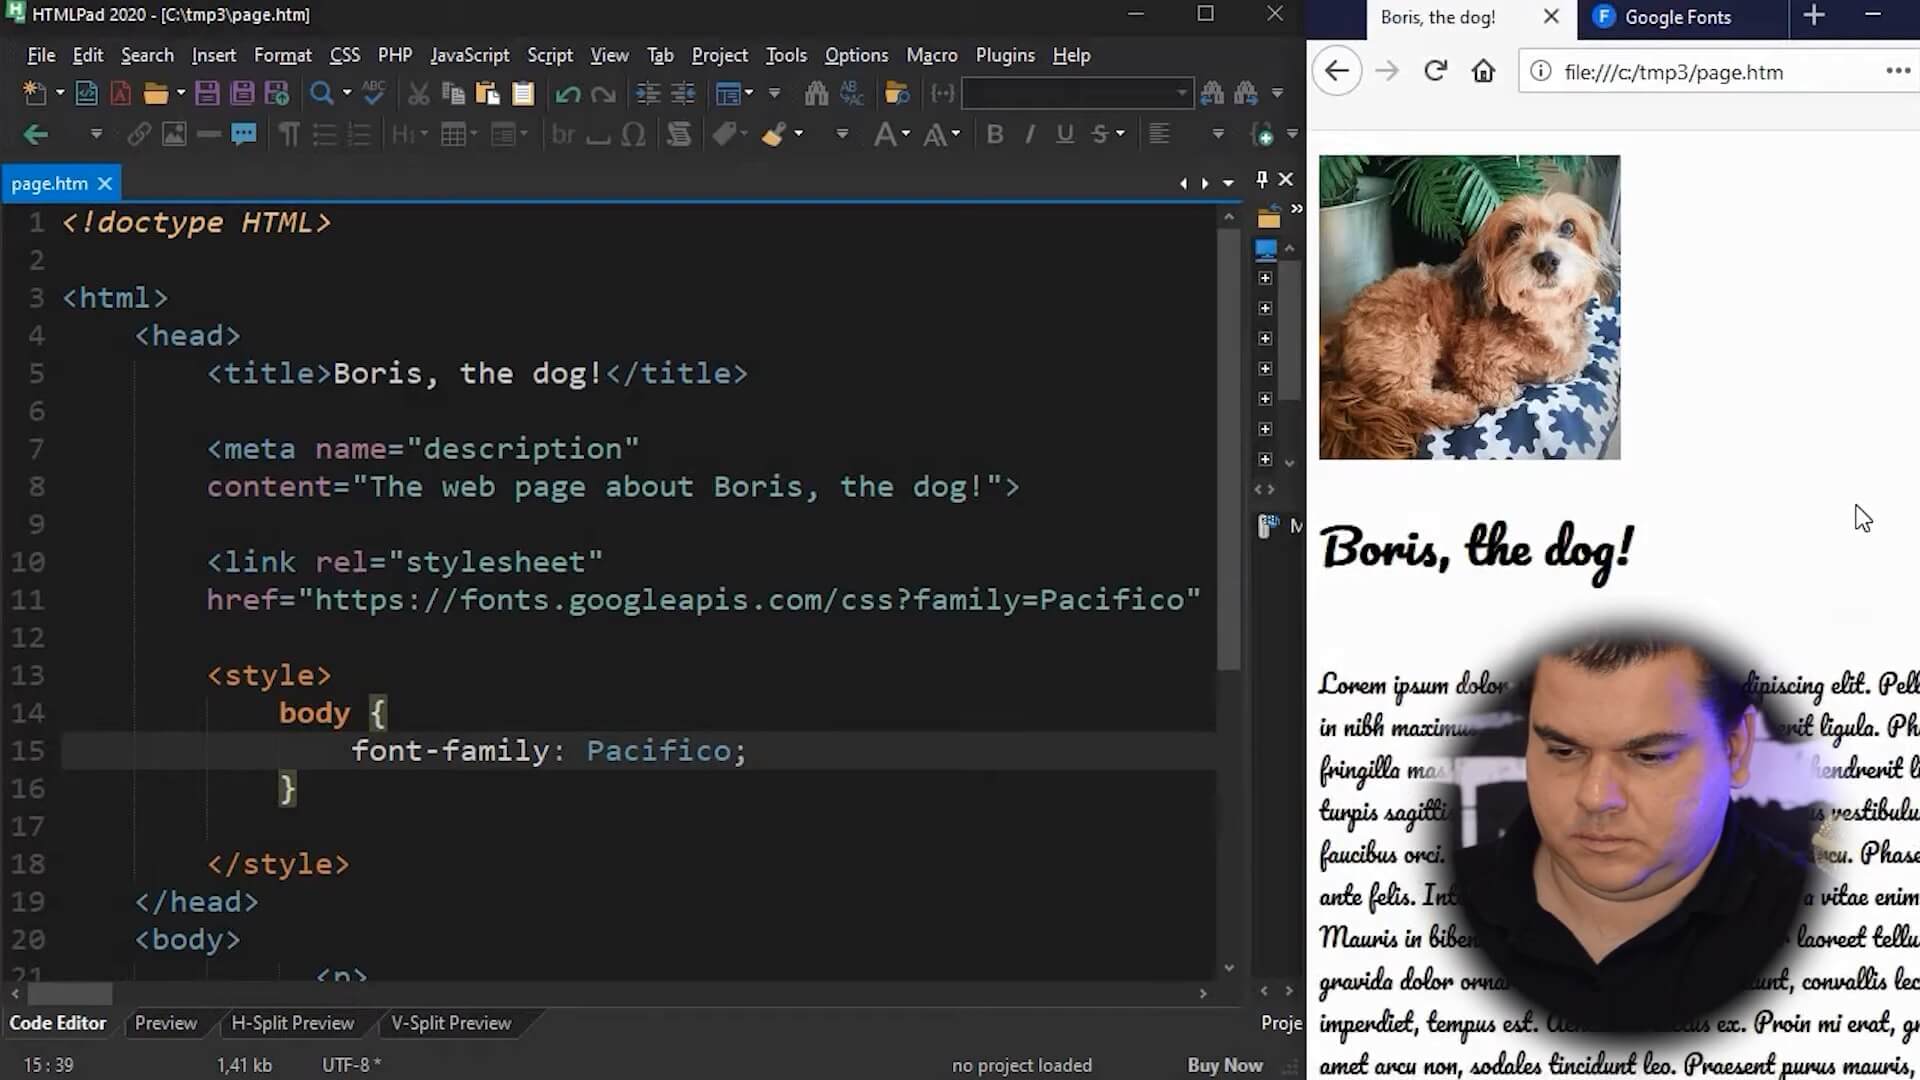
Now, we should copy this link from google fonts and paste on our head link.
<link rel="stylesheet" href="https://fonts.googleapis.com/css?family=">
After that, inside the href attribute, we must add the Source name to the right of the “Family” parameter. This name must be exactly the same as that found on Google Fonts. The copy of our link tag should be like this:
<link rel="stylesheet" href="https://fonts.googleapis.com/css?family=Pacifico">
Setting the font family with CSS
So now we have just linked the font to our HTML Website.
But, we don’t set anything yet. For do that, we must make the changes using a CSS Style Sheet. With this, we tell our browser that we want to use this font on our web page.
To do that, you should use the style tag “<style></style>“.
So it is a small style sheet we will use to set a font to HTML body. Body means the body of the HTML file.
To set this, we will use the attribute font family with the Pacifico value, which is the font we have just linked from Google.
<style>
    body {
        font-family:Pacifico;
    }
</style>
After that, when we save the page and reload it, we can see how it looks like with the new font Pacifico.
Setting the font family for different HTML elements
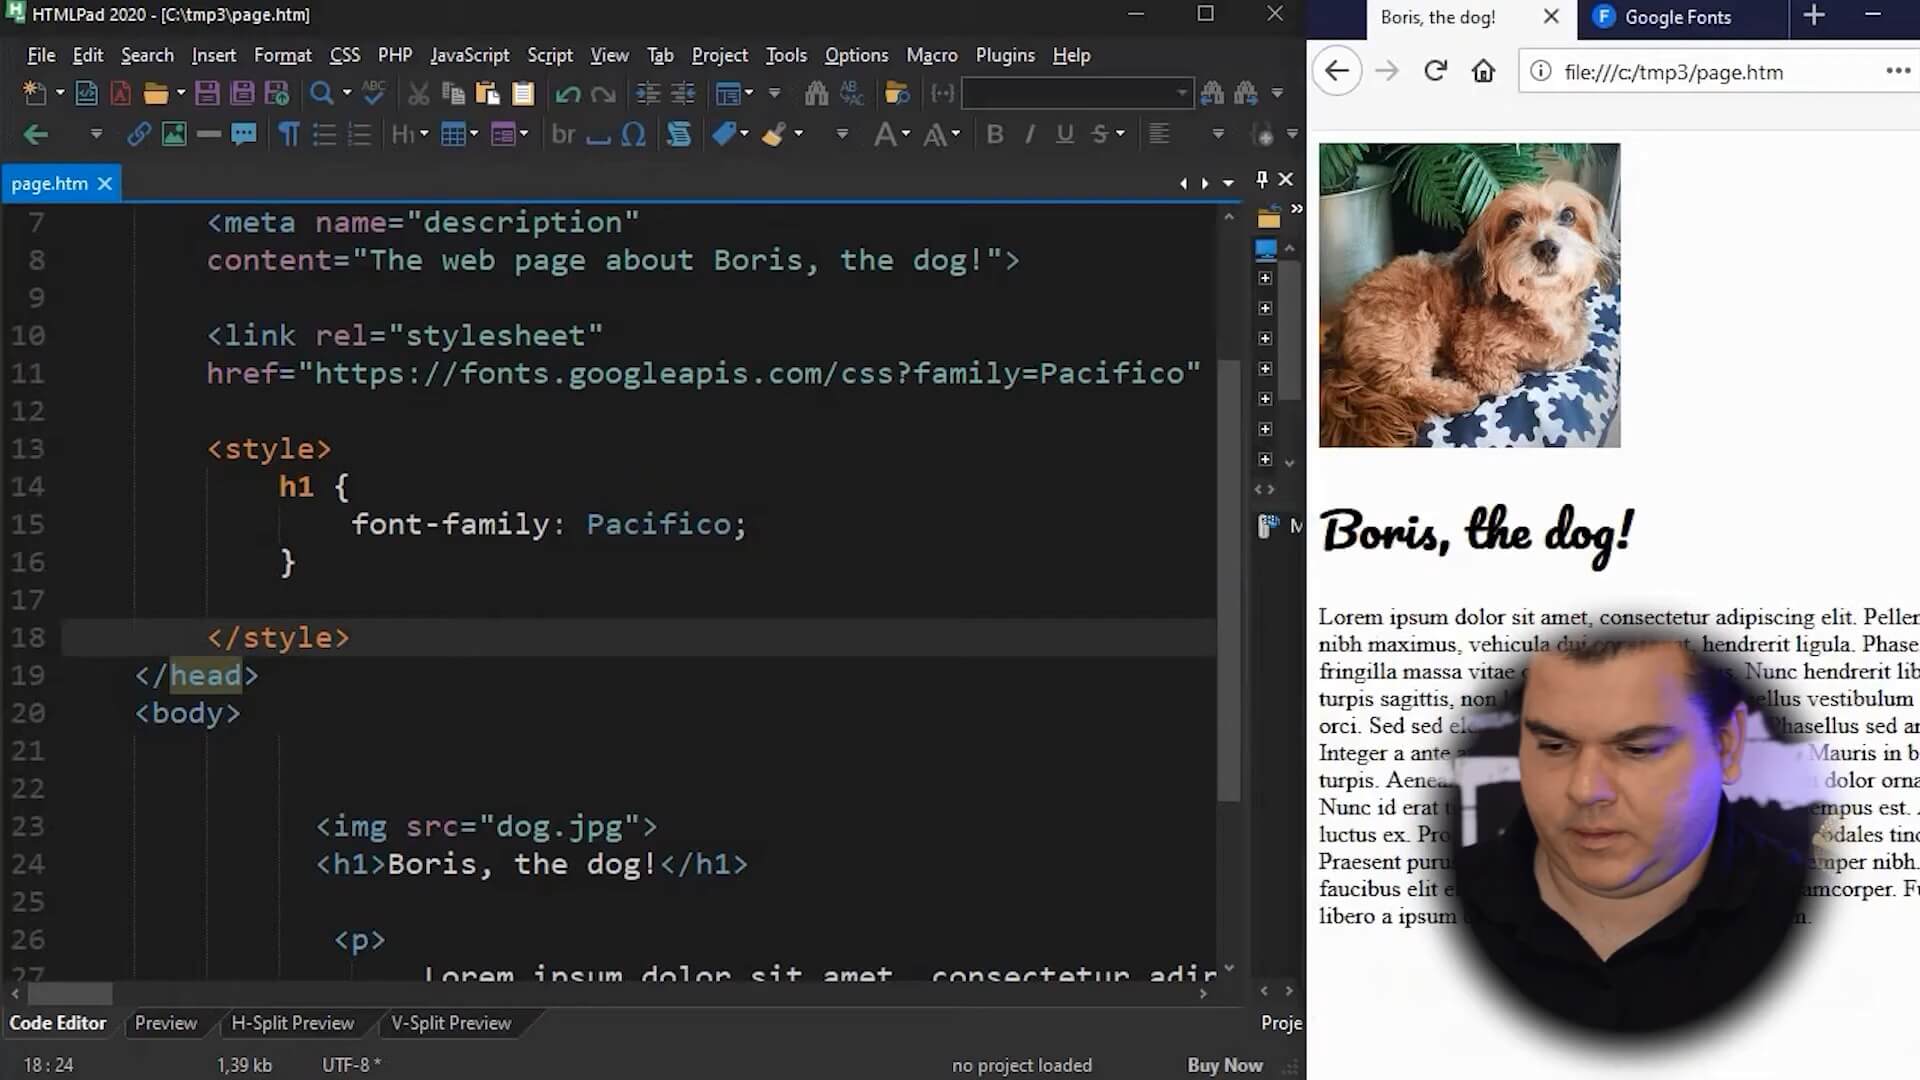
In the example webpage, we have a simple structure. We have only a header tag, an h1 tag, and then, a paragraph tag.
We set the font family for all website body. But, let’s say you only want to apply this font to the heading tag, not to the paragraph. In this case, you must go in the style and place h1, which is the equivalent of the heading tag used. This way, placing in h1 instead of body, we’re telling the browser only to apply this font to the h1 tag. The code must be like the code below:
<style>
    h1{
        font-family:Pacifico;
    }
</style>
Now, we have the paragraph with the standard font and the heading tag, the H1, with the new font. Then, this is how it must looks like:
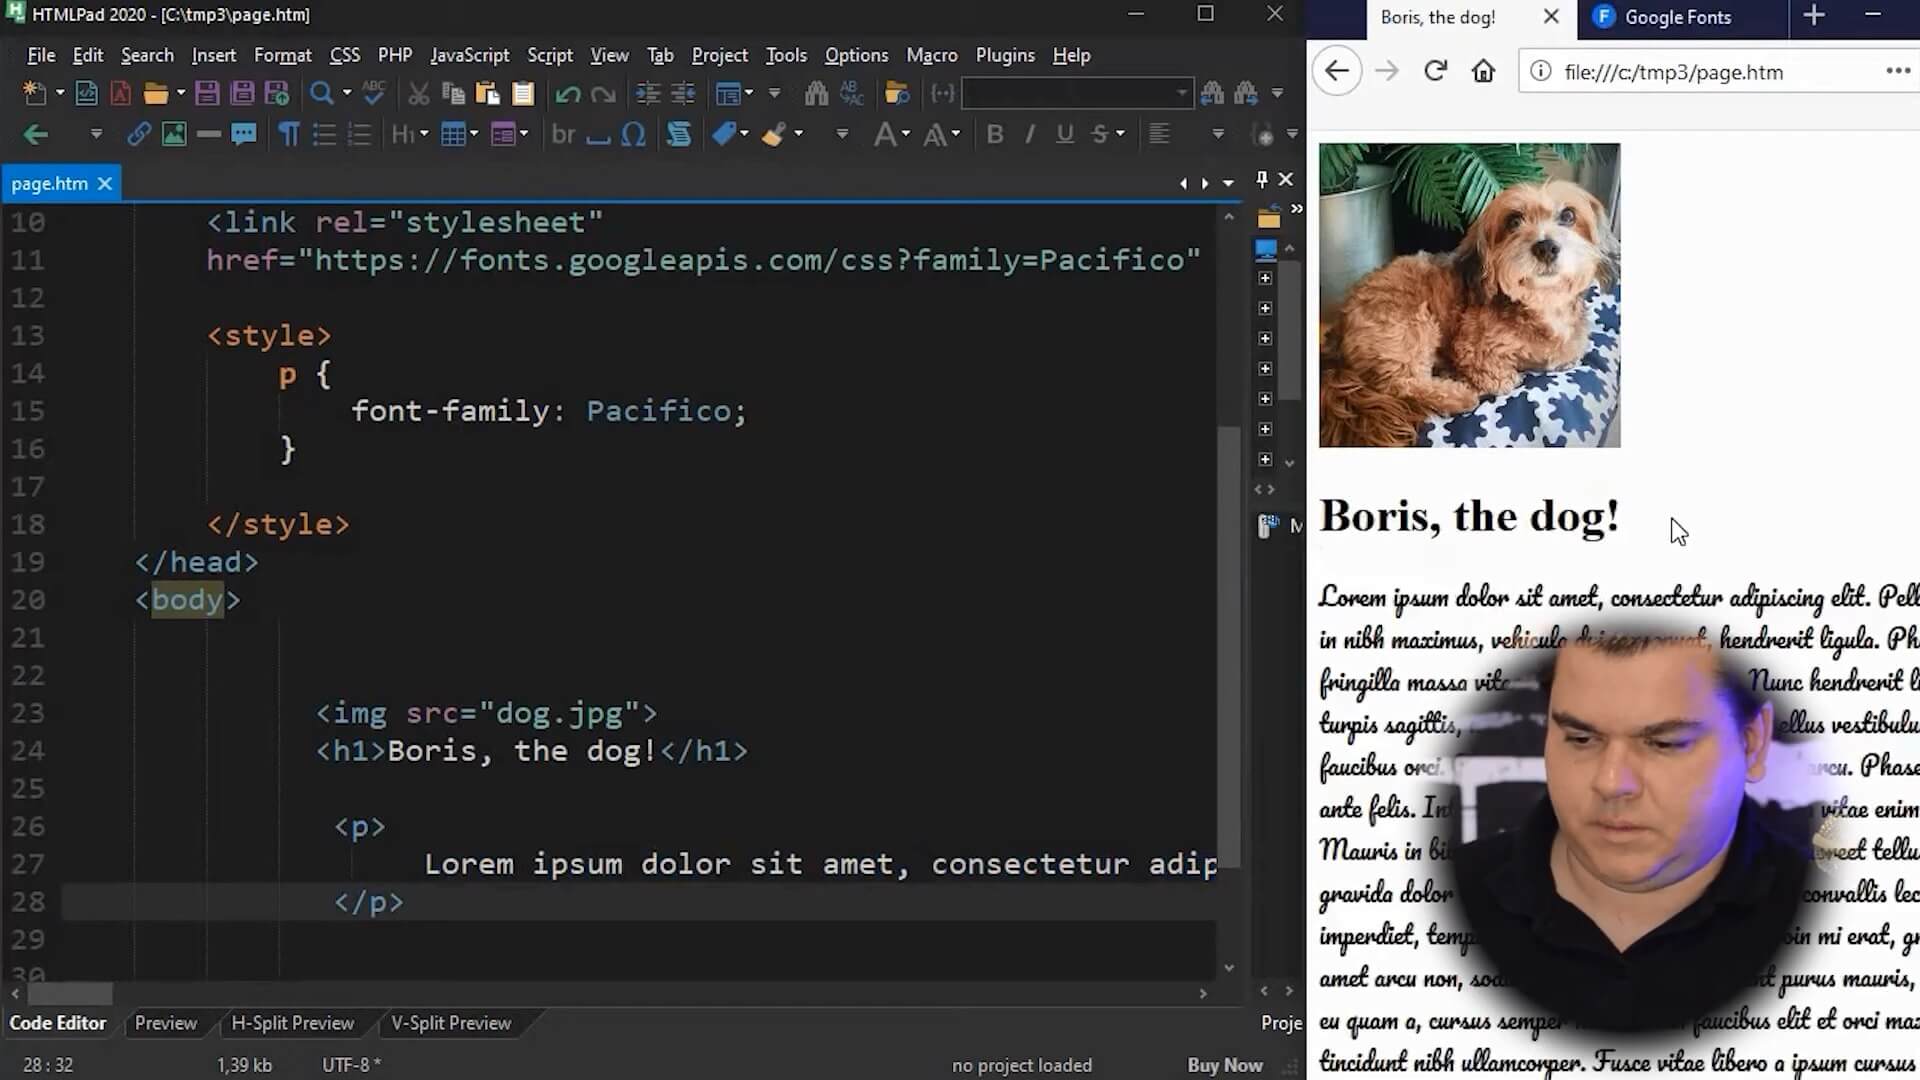
For instance, if you want the opposite, to apply only the font to the paragraph, not to the heading, it would place P instead of the h1.
<style>
    p{
        font-family:Pacifico;
    }
</style>
As we have the text with the P tag it will apply only to this paragraph. So, that’s it.
How to use other fonts from Custom Google Fonts
So if you want to use a different font from Custom Google Fonts you should only change the font name in the “family” parameter.
To explain it better let’s link a second font from Custom Google Fonts. Firstly, let’s copy the link tag used before.
<link rel="stylesheet" href="https://fonts.googleapis.com/css?family=">
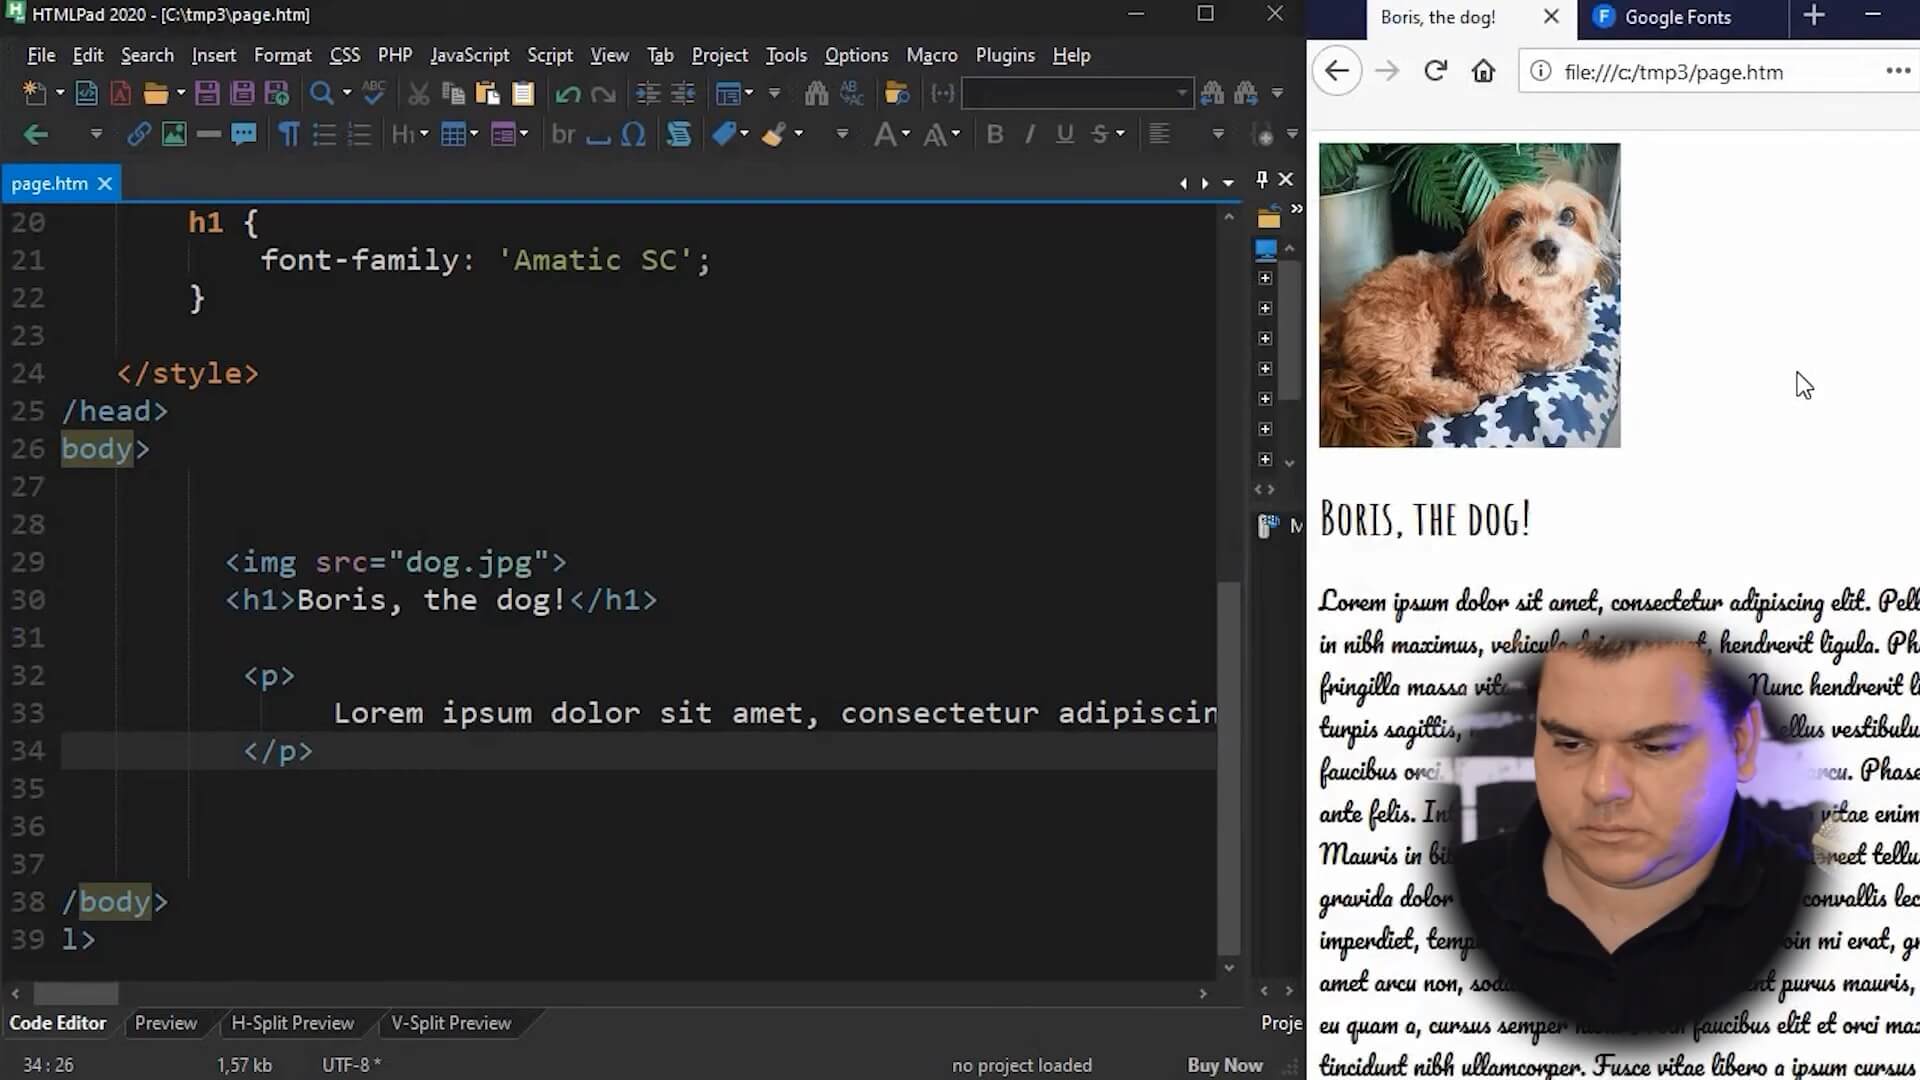
Then, we’ll come back to Google and choose another font. In this example, we choose Amatic SC font.
Finally, we just have to place Amatic SC, which is the font name, in the family parameter. Like the code below:
<link rel="stylesheet" href="https://fonts.googleapis.com/css?family='Amatic SC'">
Now we have configured for the P, for the paragraph, the font Pacifico, which is linked before. Now we are going to place for the h1 the other font called Amatic SC.
We are willing to place the font family, then we are going to reference this way the font.
<style>
    p{
        font-family:Pacifico;
    }
    h1{
        font-family:'Amatic SC';
    }
</style>
Remember that the font name has always to be equal to the font linked. If you place a different name, of course, it won’t work. And also, these link tags and also the style tag must be inside the head tag.
So we have now for the P for the paragraph, the font Pacifico from Custom Google Fonts, and for the h1, the heading tag, we have the font Amatic SC, also from Custom Google Fonts. So, now we have a different font in heading and a different font in the paragraph.
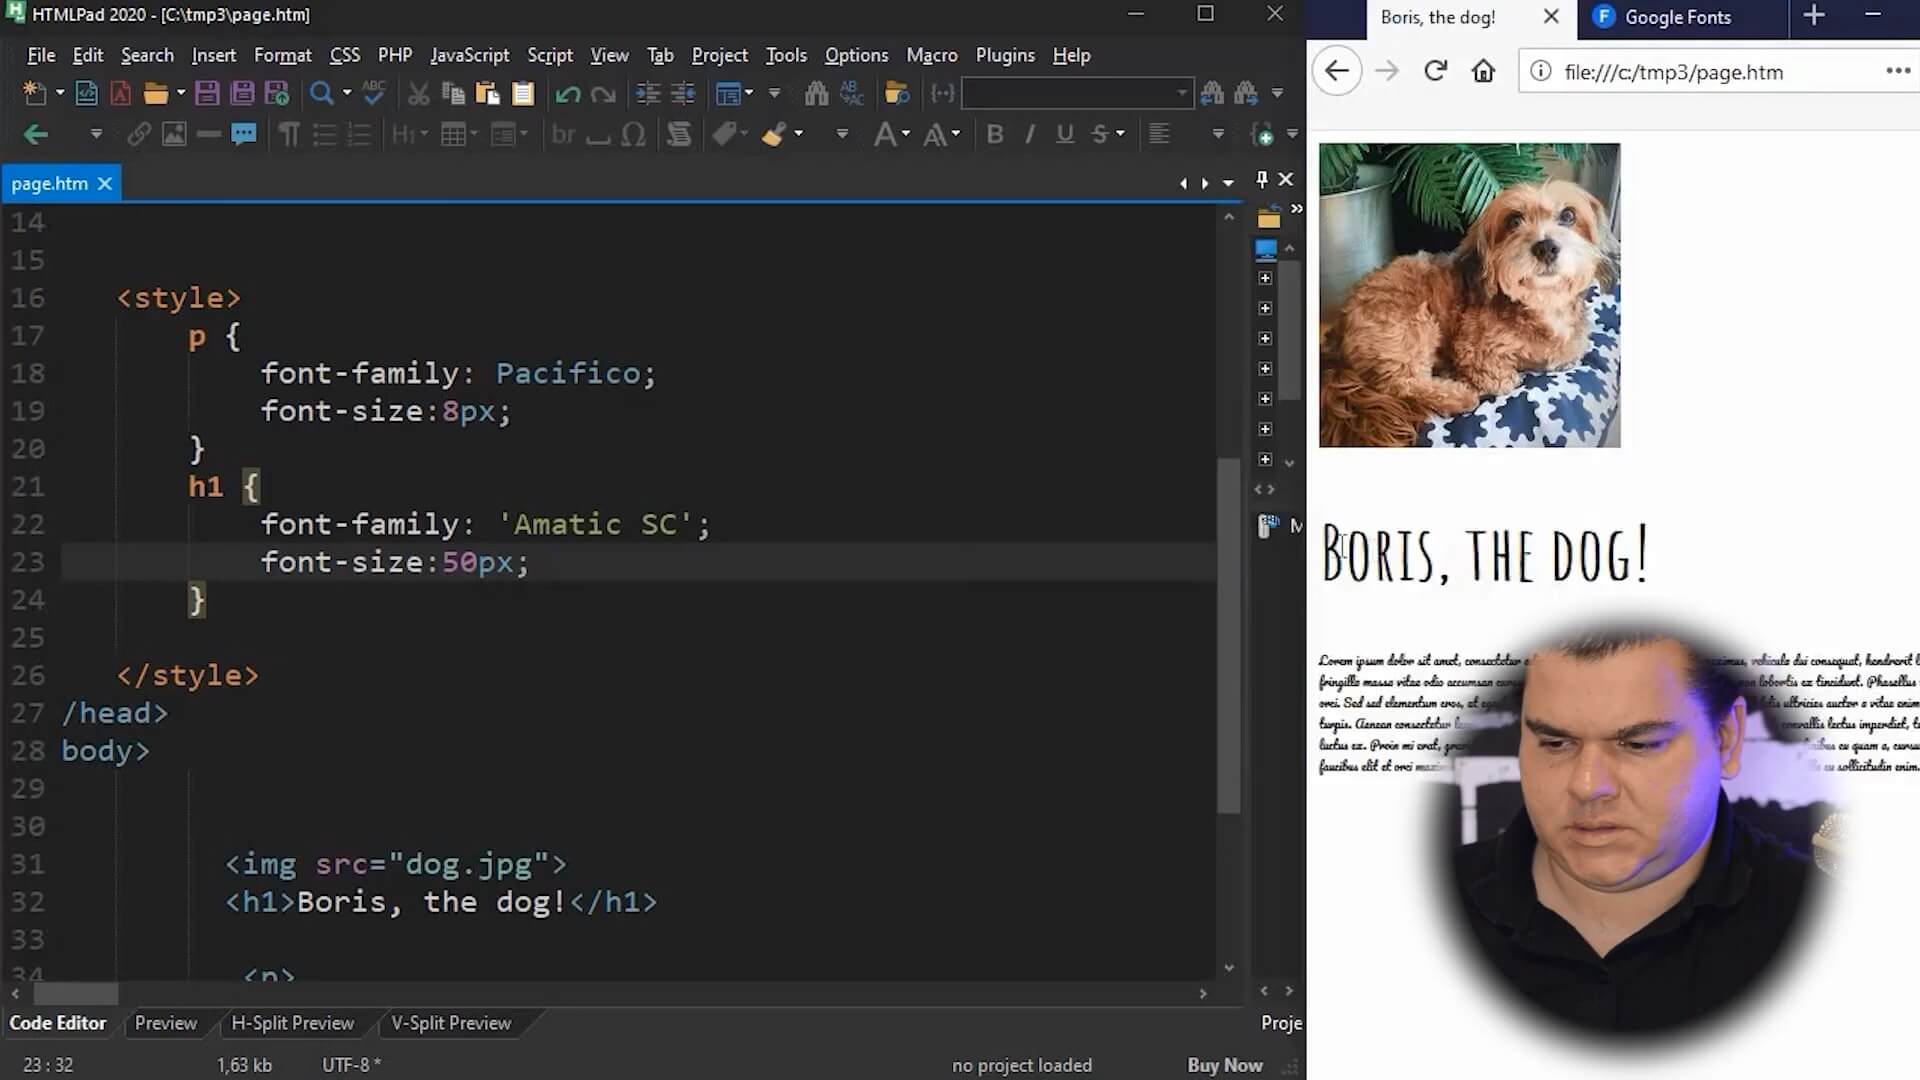
How to change the font size
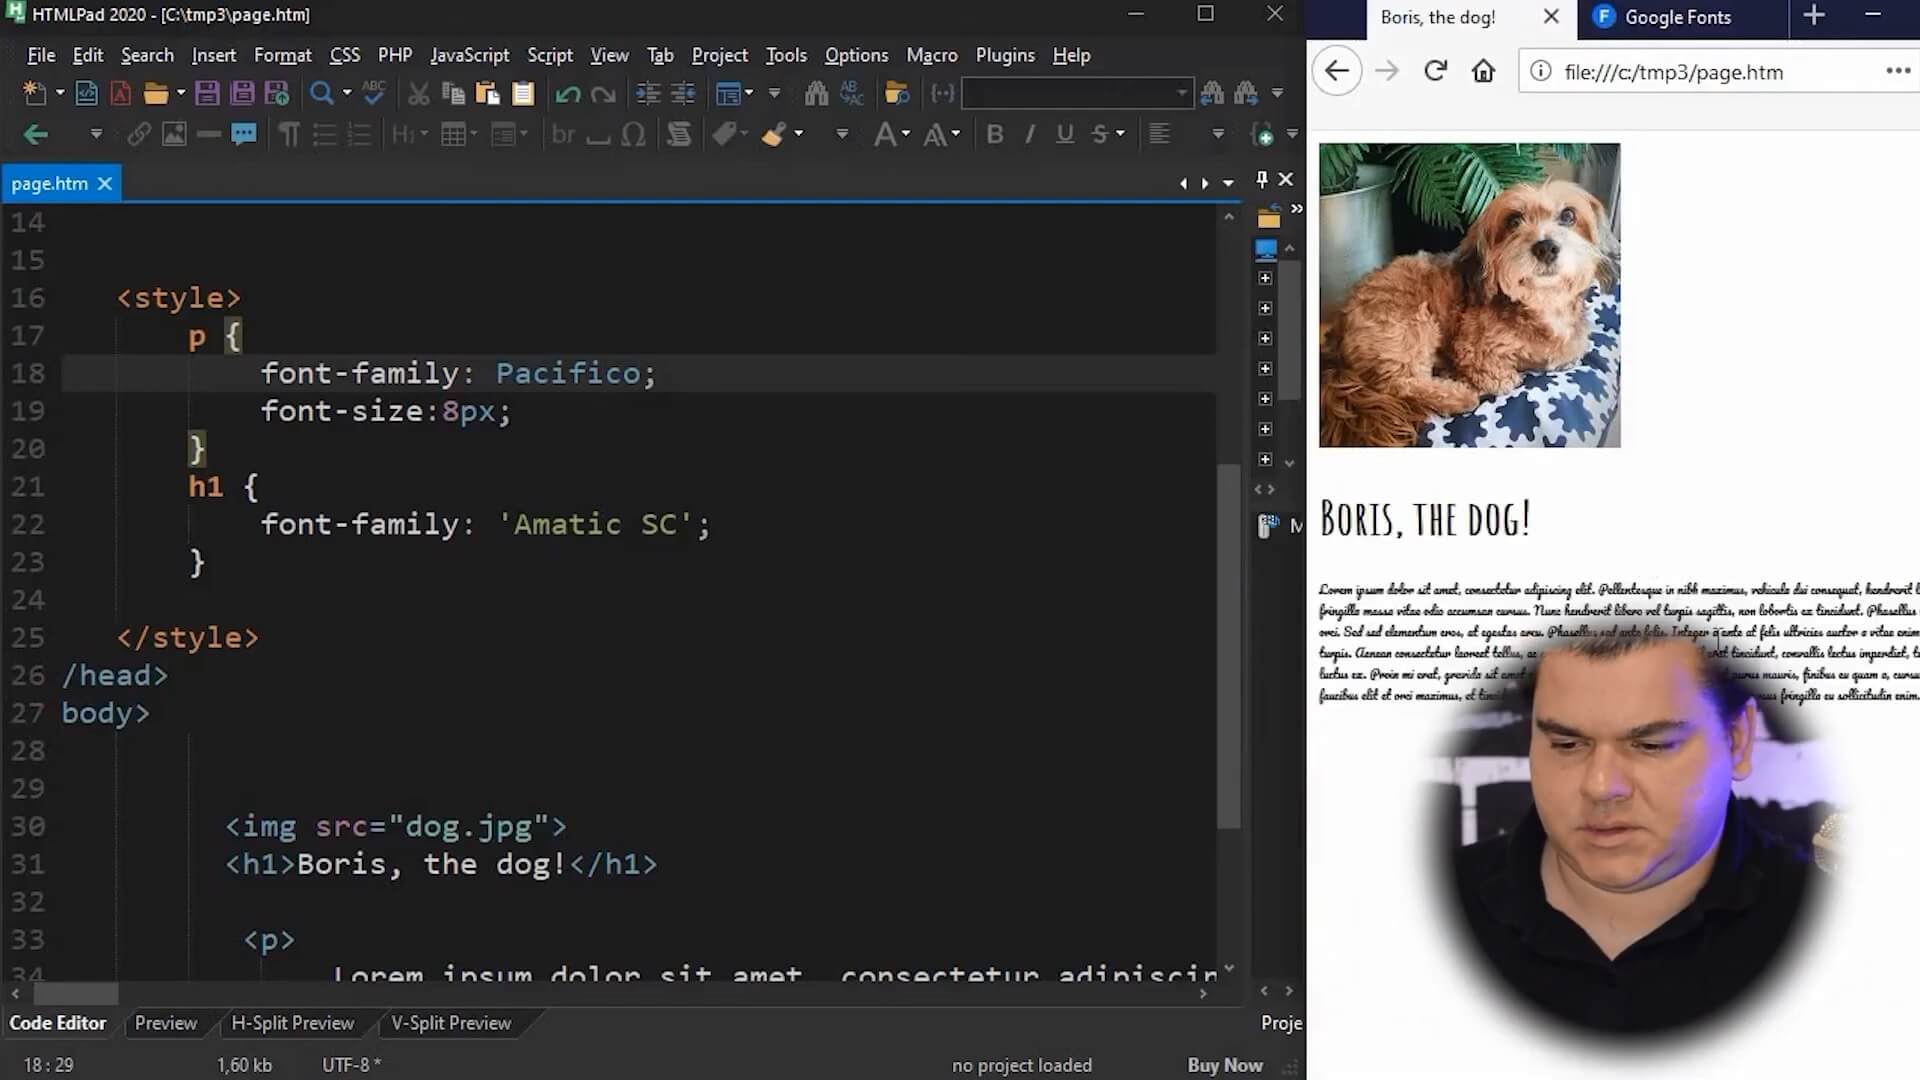
You can also change the font size for instance. You can simply add the font-size attribute to the style sheet. Let’s try to change the P font size to 8px.
<style>
    p{
        font-family:Pacifico;
        font-size:8px;
    }
    h1{
        font-family:'Amatic SC';
    }
</style>
So, now, the paragraph font size will be so small.
For the heading, let’s make a bigger size. 50 pixels so.
<style>
    p{
        font-family:Pacifico;
        font-size:8px;
    }
    h1{
        font-family:'Amatic SC';
        font-size:50px;
    }
</style>
Now, it’s bigger than before.
So this is how to use google fonts on your website. It’s very easy. If you have any questions you can just comment in this article.
