Over the years, ecommerce has gained a lot of popularity among people. Ecommerce websites sprung up like anything on a daily basis. Prestashop is the 3rd most used ecommerce platform, which is free and open source. People use this software to build their websites and sell products online. This article explains how you can install Prestashop through cPanel, the favorite control panel of everyone. This tutorial is compatible with every cheap web hosting plans from Copahost.
Install Prestashop using Softaculous in cPanel
Copahosts offers cheap prestashop web hosting with easy installation throught Softaculous, an one click installation software. Softaculous has a huge number of software in its database, where you can easily install a few clicks. Follow the step by step instructions provided below to install Prestashop.
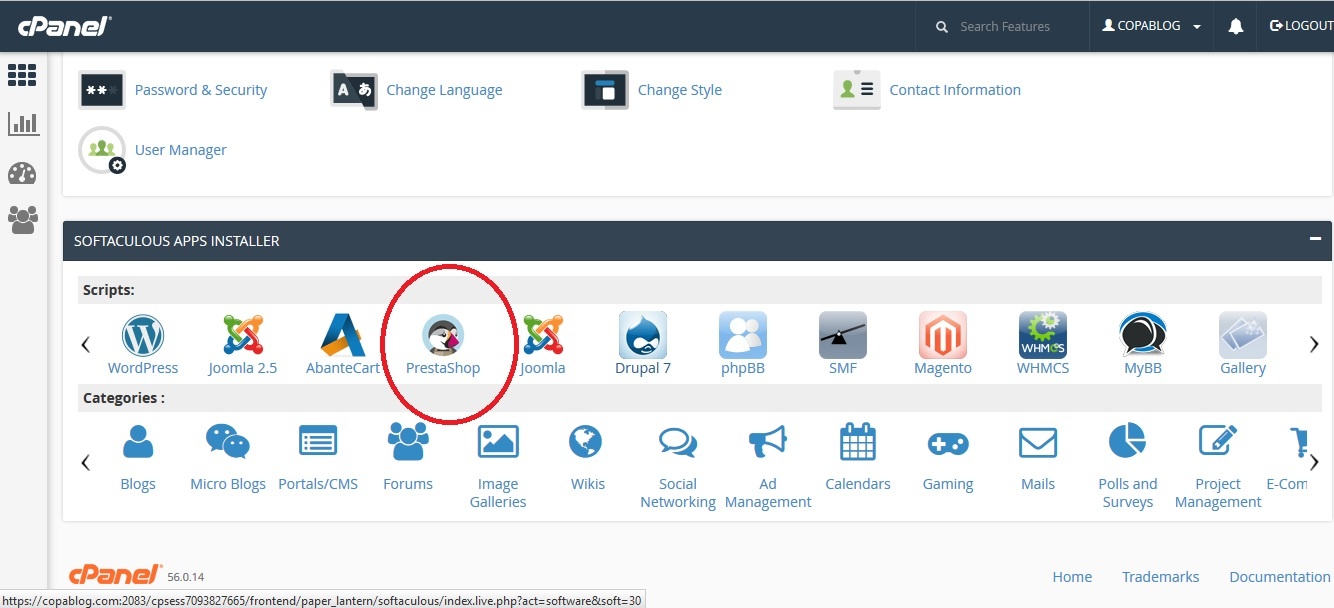
Login to cPanel and scroll down to the section for Softaculous Apps Installer in your panel.
It will list the software available for installation. Click on Prestashop and it will take you to the installation page.
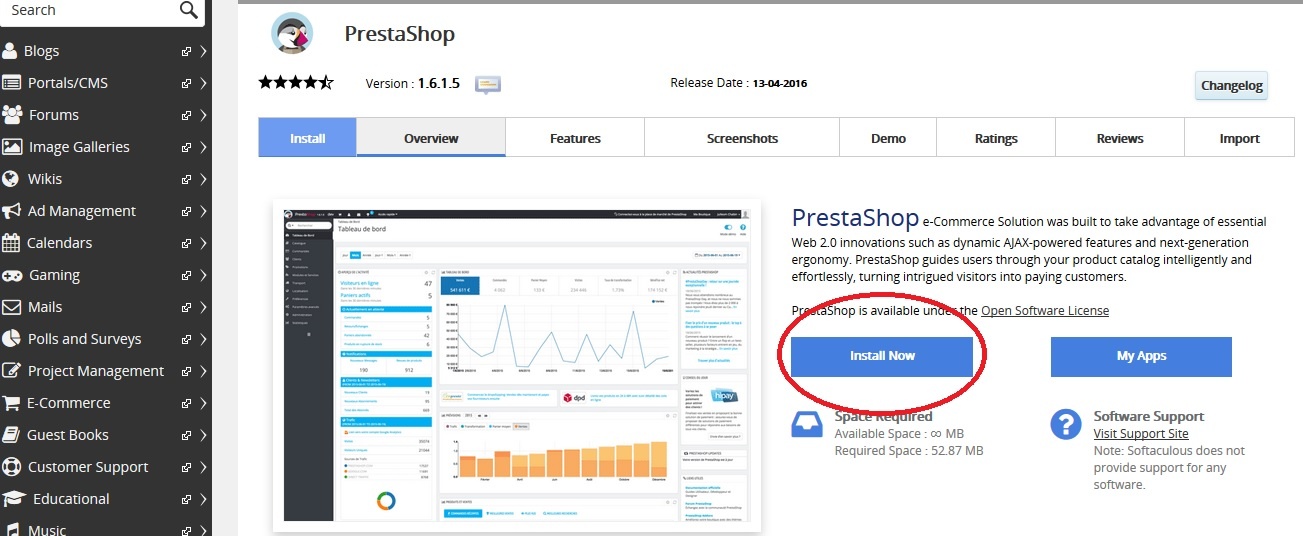
It will take you to an interface which lets you install the software, shows the space requirements, lists the current installations if any etc.
Click on the button named ‘Install’
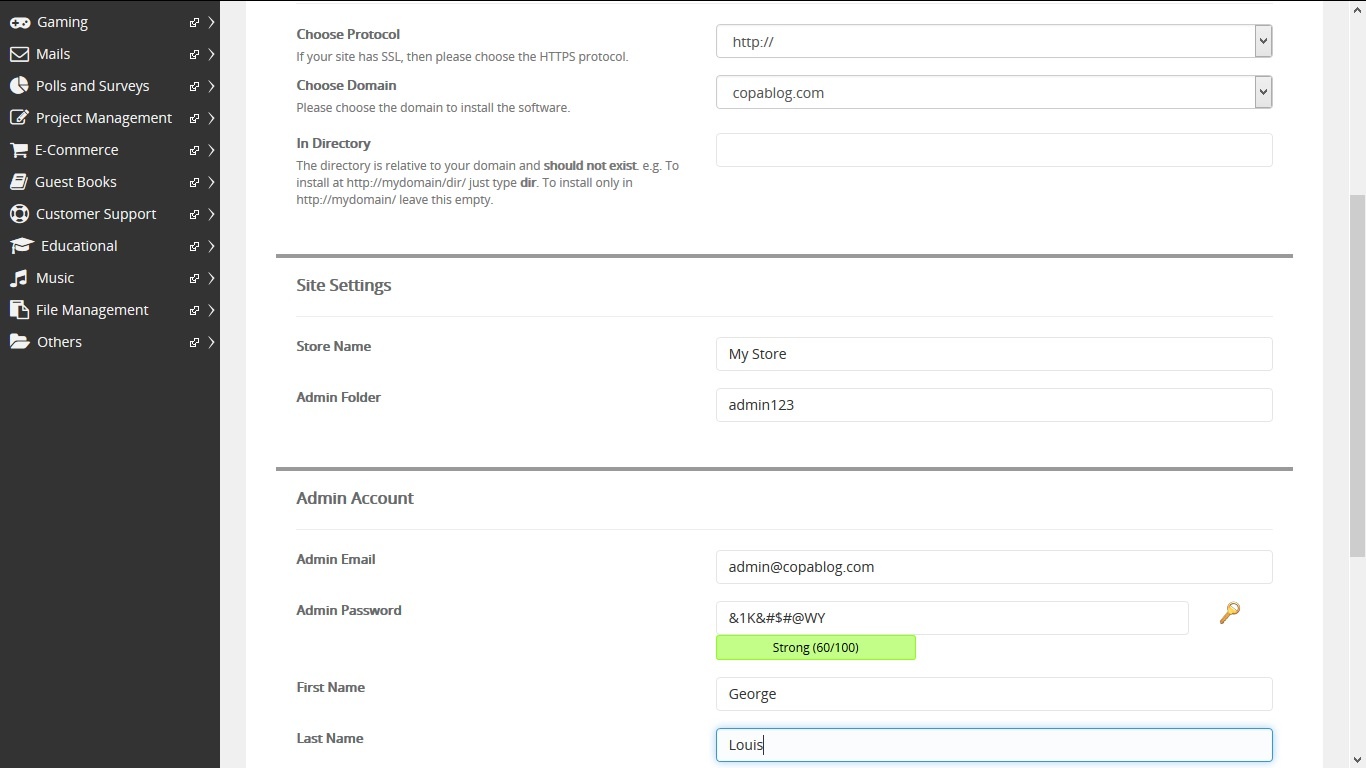
It will ask you to fill out some details. Enter the details as follows
a) Choose Protocol - http or https based on whether you require SSL or not.
b) Choose Domain - enter the domain name under which you install the shop
c) In Directory - If you want the shop to reside in a subfolder, enter the directory name there.
   Otherwise leave it blank so that shop will be installed in the base directory and will be
   accessible as http://domainname
d) Store Name - Choose any name that you would like to give for your store
e) Admin Folder - The store will have an admin interface which will reside in this folder. You
   can give any name to the folder, except 'admin' which is not allowed.
f) Admin email - Email address of the store administrator
g) Admin Password - Make sure to give a strong password. Recommended to generate a random password
   by clicking on the key icon to the right of this column.
h) First & Last Name - Enter the name of the store administrator.
Once you enter the details, you can click on the Install button and you are ready to install prestashop.
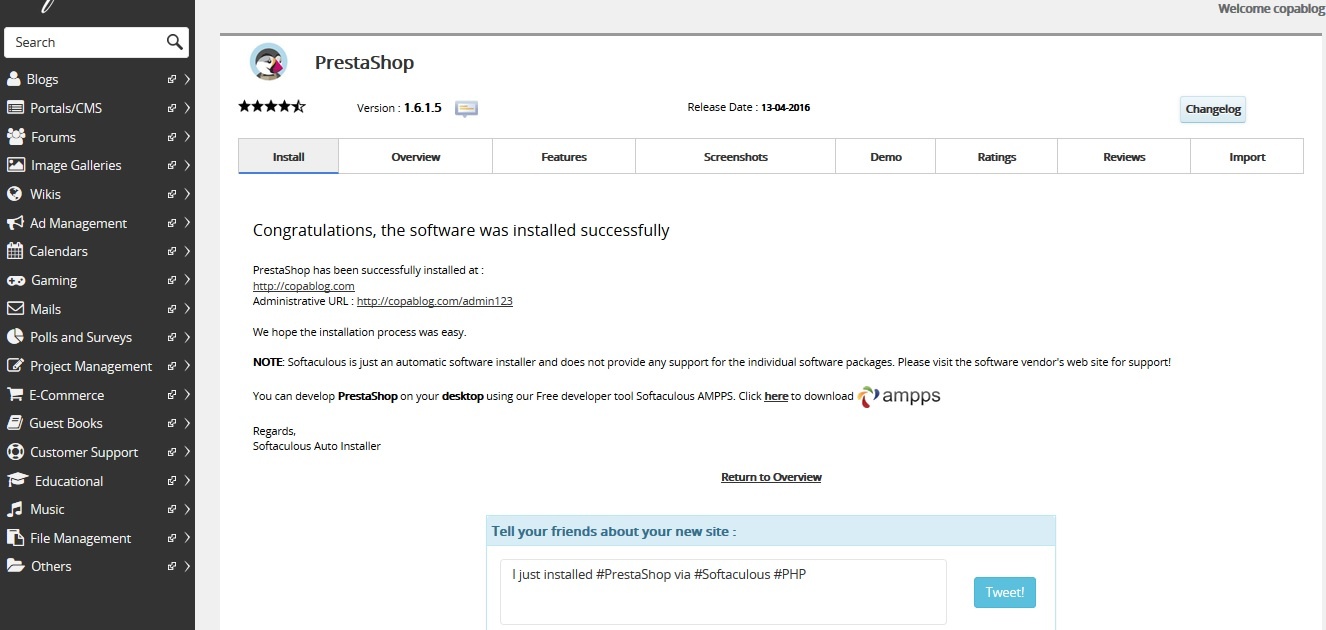
Within a few seconds Prestashop will be installed. The installation will automatically create the required database, username and password and you just don’t need to know anything about it. As simple as that !!!on the Install button and you are ready to install prestashop.
If you want to review or modify any of the details later, you can do so by going to the Overview section and clicking on the edit button to the right of your installation.
Accessing the Store and Admin Area
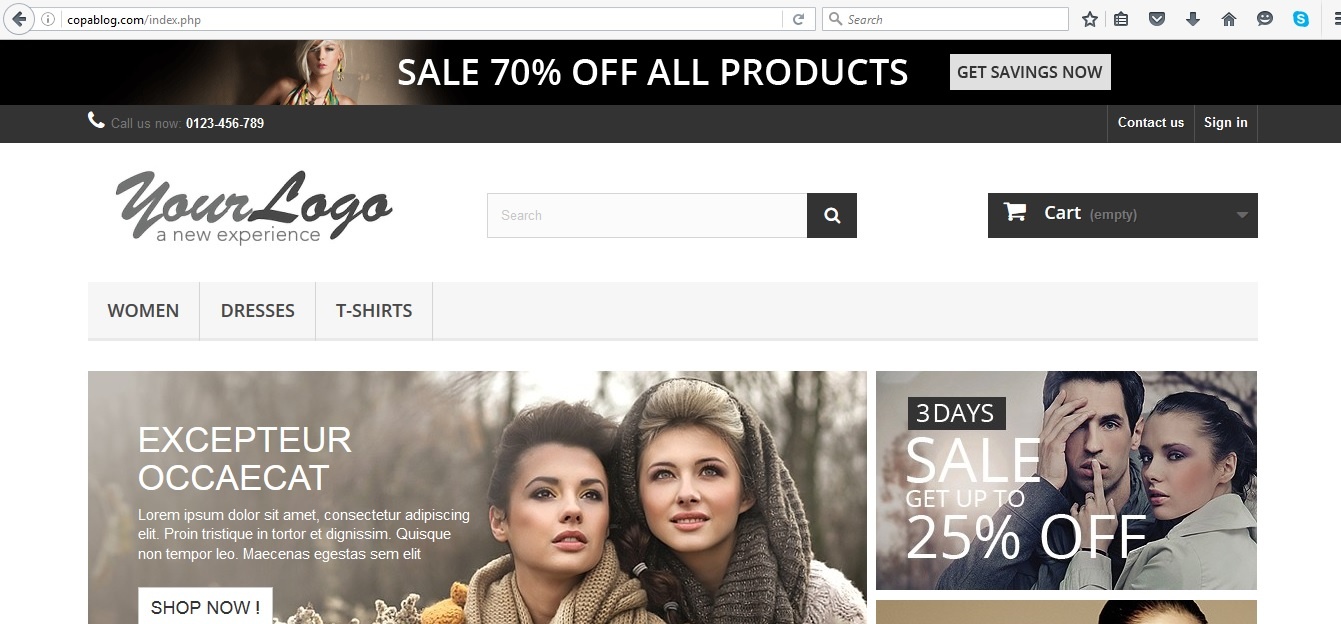
Now that the installation has completed successfully, you can try accessing your store. I installed the store at the root of my domain, hence I can access it as http://copablog.com (for example) . You can see that the store have demo contents.
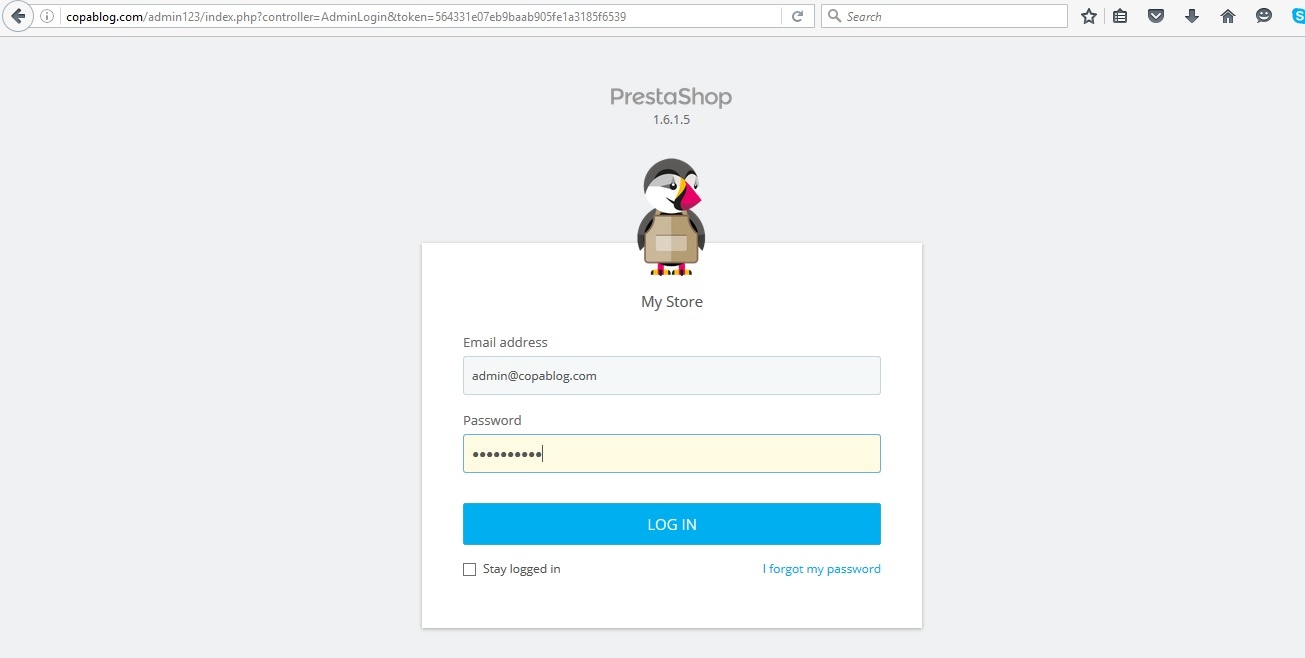
I shall now proceed to modify the demo contents and configure the store according to my requirements through the admin dashboard. Remember, I had set the admin folder as admin123 hence I can access the admin area as http://copablog.com/admin123 (for example). Login using the administrator email and password you had set while installing the shop.
Starting with the Store Dashboard – Adding Products
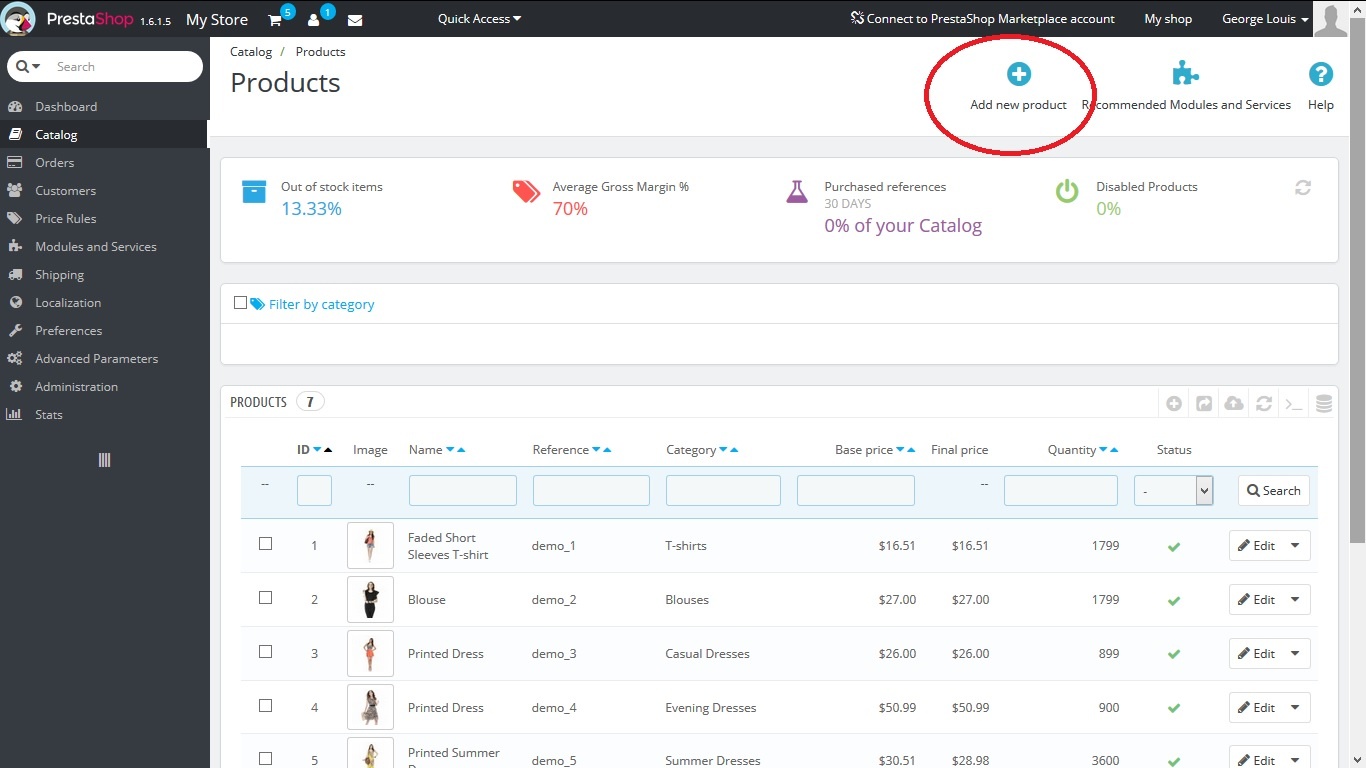
Upon successful login, you you reach the Admin Dashboard of Prestashop. Here you can do all the activities related to the store like add products, add suppliers, add customers, manage orders, view stats etc – anything and everything related to the Store.
To start with, we shall show you how to create a new product in the store. Go to Catalog -> Products. This will list all the products currently in the store. To start with your own Store, you can either remove all the demo contents or click on ‘Add New Product’ and remove the demo contents later.
There are several features that you can configure when you add a new product. They are divided and presented in various tabs which makes it easier for the administrator to add details. The first tab contains basic information like Name of the product, required reference codes, description etc. While moving from one tab to another, make sure to save the settings before proceeding.
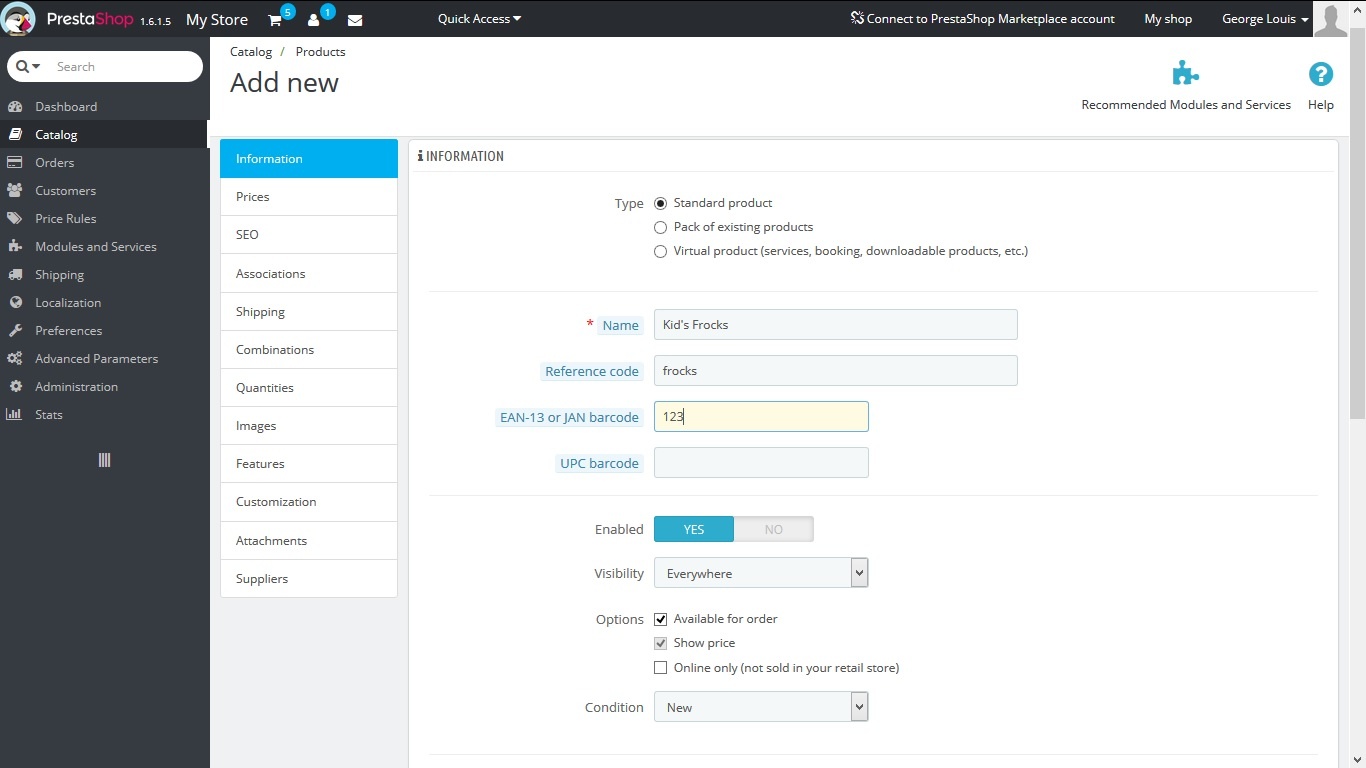
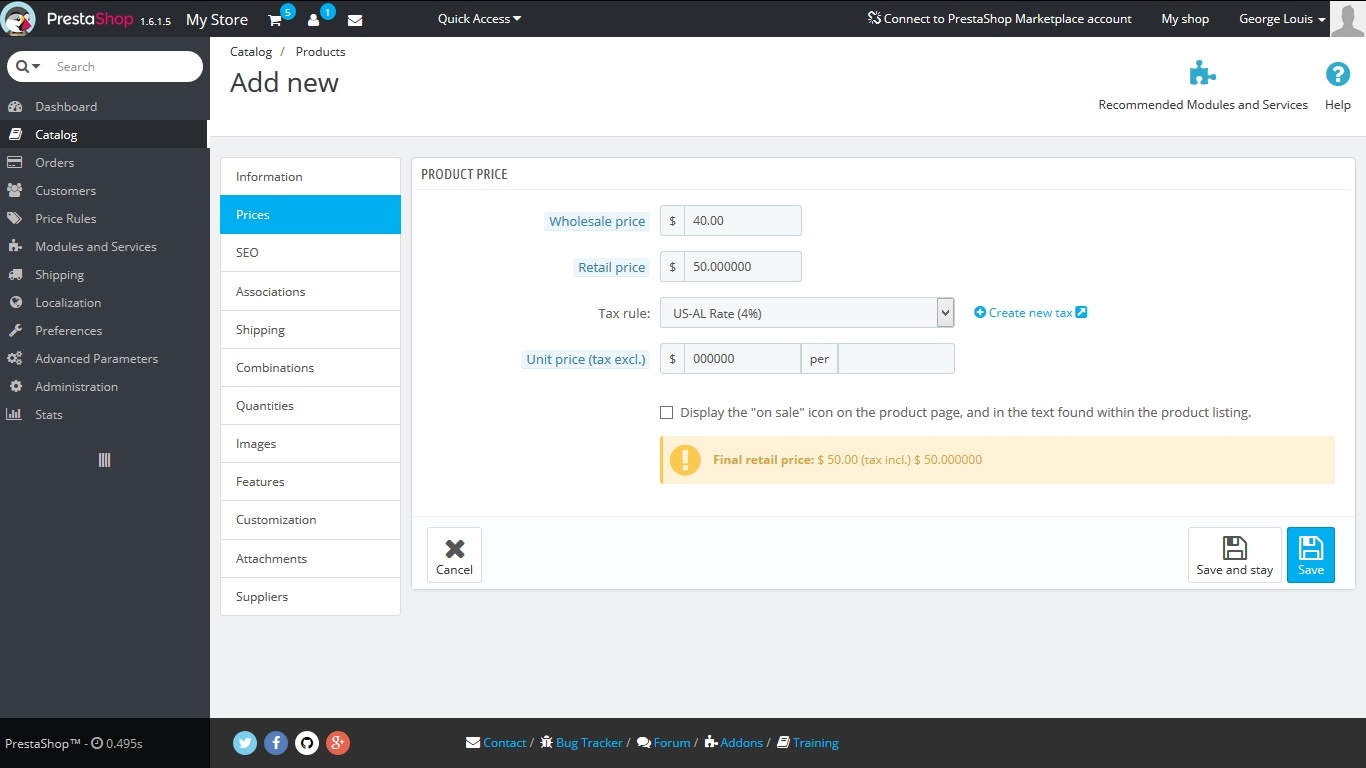
The next tab contains information regarding the price of the product. It includes wholesale, retail price, tax details, unit price etc and many more.
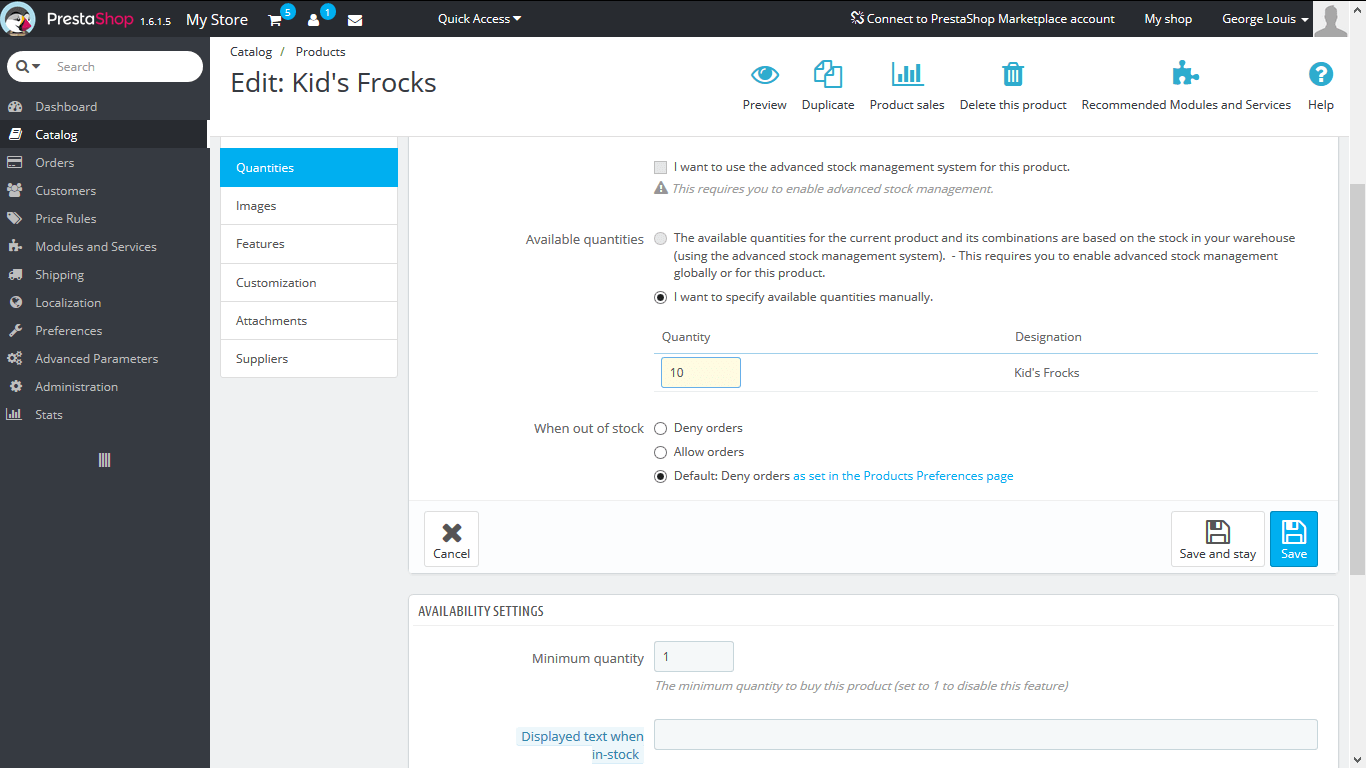
Another tab which is of importance is quantity. Here you can enter the quantity of the product available, what to do if it goes out of stock, how to display it etc.
There are also tabs regarding shipping, suppliers, images of product and many more. Once all relevant details are entered, save the product and you are done.
Now go to your store front again, which in my case is http://copablog.com (for example) and it will display the product you added.
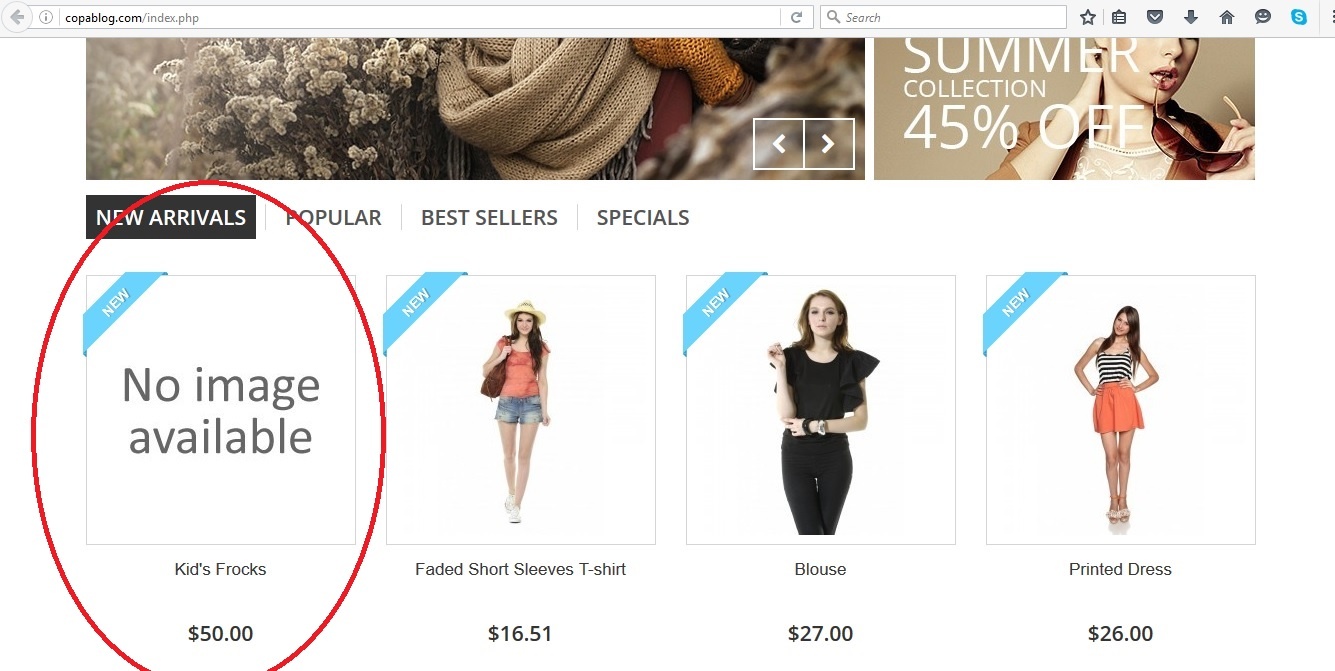
In the image above you can see that the product I added – Kid’s Frocks – has appeared as the first product. I had not added an image to it, hence no image is shown but the other details like name, price etc are shown.
Hope the post helps you in installing Prestashop and getting started with it.
