In this tutorial, we will learn how to use the HTML IMG tag to insert images or gifs on our HTML pages. Therefore, you will find the following topics here:
- The HTML <img> tag
- Inserting image locally with HTML img
- Inserting a global image with HTML img
- Title and alternative text attributes
- HTML img width and height
- Floating Images
- Recommendations for HTML img
The HTML <img> tag
Right at the beginning of the web, the pages contained only text content and links. This made the content limited and monotonous. It didn’t take long to create resources for including images on the pages.
In HTML, the tag responsible for inserting images is the <img> tag. However, HTML technically does not include the image itself, what it does is link the image to the page. That way, you can use it as if it were inserted on the page. You can see that it is similar to the link <a> tag process. Therefore, we can add images both locally and globally, that is, via an external URL to the main domain.
In addition, it is important to emphasize that the HTML img tag does not have a closing tag and brings with it the CSS inline-block display pattern. You may also notice that the width and height adjustment comes standard as automatic.
Inserting image locally with HTML img
To insert an image in HTML just use the img tag with the src attribute. That is: the src attribute, or source, will contain the URL of the image to be inserted.
Therefore, the final syntax will be:
<img src="URL">
To insert a local image, we can only include the image name with its extension, as in the example below:
<img src="image.jpg">
If it is contained within a local folder, we must reference the folder as well. For example, if my main page is contained in the public_html folder and inside it we have a folder called images, where is our image, we will use the following url:
<img src="images/image.jpg">
Now let’s say that we have a public_html folder. If you are not familiar, it is good to know that the public_html directory is often used as the default for your website’s files on most web servers. Within it, we include two directories, the images and pages folders. In our pages folder you can find the HTML code of our pages. In the images folder, you will find the local image files that we will use, as in our example image.jpg. That way we can use ../ to indicate that it is necessary to return a directory. Later, we can access the folder we want (images). See the example below:
<img src="../images/image.jpg">
On the other hand, we can also include the complete URL of our image. Let’s say that our domain is https://mydomain.com and using the previous example. Thus, we will use the following code:
<img src="https://mydomain.com/images/image.jpg">
With that, you can now include any image locally on your page, using the HTML img feature.
Inserting a global image with HTML img
Now that we have learned the basic HTML img syntax and how to insert local images, let’s study how to insert a global image. A global image means that it is outside our domain. To do this, simply add the absolute URL of the image in the src attribute.
Let’s say you want to include an image that is located at the absolute URL https://www.example.com/pictures/picture_01.png. That way, just use the following code:
<img src="https://www.example.com/pictures/picture_01">
However, when you use a global image, that is, an external one, we encounter a problem. Doing this, you may be dependent on the other domain being always working. This is because if at any point this domain stops working, the image will not be loaded.
To avoid problems with your HTML img, we recommend that you avoid using external images. In addition, another major problem may be the use of images that contain copyright. Therefore, always be aware of these issues and, when necessary, remember to refer to them properly.
Title and alternative text attributes
In addition to the src attribute, the <img> tag has other attributes that complement its structure. You can include a title attribute for the image. This title will be shown only when the user hovers over the image. Therefore, to include the title in the image, just call it using the title = ”…” attribute. Let’s see the example below:
<img src="/logo.png" title="CopaHost logo">
With that, we will have the following result:

In the same way, we can also include an alternative text. This text will appear replacing the image if the image is not loaded correctly. This can usually happen because the image URL is wrong, the image is not in a supported format, or while the image is being downloaded. To include the alternative text you can use the alt = ”…” attribute. This attribute is also a practice that is highly regarded by search engines. So you should use it if you want to perform SEO optimization. Below is an example of how to use alternative text in HTML img:
<img src="picture_01.png" alt="Alternative text to describe my image">
HTML img width and height
The <img> tag has an automatic height and width as default. Therefore, when using it, it will include the original image size, without distortions. However, you can manipulate these sizes directly through CSS or via the height and width attributes.
If we use only one of them, the other will adjust automatically, proportionally, without distorting the image. Using both, it will contain exactly the defined height and width, so you can distort the image. In addition, if you use low-resolution images in sizes larger than the original, it will most likely also be distorted. Because of this, it is very important that you use images with a resolution suitable for your pages or in vector formats.
Let’s use the CopaHost logo in the example below:
In this original image, it is 250px wide and 100px high as standard. However, you can define a size for it. So let’s set 100px as the width to see what happens.
<img src="/logo.png" width="100">
That way, you can see the result of the image below:
![]()
Note that even with only the width adjustment, the height was automatically adjusted, without distorting the image. You could achieve the same result by adjusting only the height, so the width would adjust automatically.
Floating Images
Although the HTML img has the default inline-block display, you may often want it to be floating in the text. That is so that the text can adapt to its position without losing the original formatting.
Therefore, you can use the float in the image through CSS. Let’s see the example below applying CSS in the style attribute and with a text generated through the Lorem Ipsum generator:
<!DOCTYPE html>
<html>
<body>

	<h2>Floating Images</h2>
	<p><strong>Floating an image to the right</strong></p>

	<p>
		<img src="logoCopaHost.png" alt="CopaHost Logo" style="float:right;width:200px">
		Lorem ipsum dolor sit amet, consectetur adipiscing elit. In efficitur vehicula erat.
		Fusce vitae velit et risus imperdiet finibus quis a eros.
		Donec ut diam lobortis dui viverra tincidunt.
		Nullam consequat lacinia lacus vel scelerisque.
		Curabitur maximus, mi a elementum malesuada, libero dolor suscipit turpis,
		vitae mollis augue mauris convallis ex. Sed feugiat neque in dolor lacinia,
		 vitae eleifend ex consequat.Lorem ipsum dolor sit amet,
		consectetur adipiscing elit. In efficitur vehicula erat. Fusce
		vitae velit et risus imperdiet finibus quis a eros.
		Donec ut diam lobortis dui viverra tincidunt. Nullam consequat
		 lacinia lacus vel scelerisque. Curabitur maximus, mi a elementum malesuada,
		libero dolor suscipit turpis, vitae mollis augue mauris convallis ex.
		Sed feugiat neque in dolor lacinia, vitae eleifend ex consequat.
	</p>

	<p><strong>Floating an image to the left</strong></p>
	<p>
		<img src="logoCopaHost.png" alt="CopaHost Logo" style="float:left;width:200px">
		Lorem ipsum dolor sit amet, consectetur adipiscing elit. In efficitur vehicula erat.
		Fusce vitae velit et risus imperdiet finibus quis a eros.
		Donec ut diam lobortis dui viverra tincidunt.
		Nullam consequat lacinia lacus vel scelerisque.
		Curabitur maximus, mi a elementum malesuada, libero dolor suscipit turpis,
		vitae mollis augue mauris convallis ex. Sed feugiat neque in dolor lacinia,
		 vitae eleifend ex consequat.Lorem ipsum dolor sit amet,
		consectetur adipiscing elit. In efficitur vehicula erat. Fusce
		vitae velit et risus imperdiet finibus quis a eros.
		Donec ut diam lobortis dui viverra tincidunt. Nullam consequat
		 lacinia lacus vel scelerisque. Curabitur maximus, mi a elementum malesuada,
		libero dolor suscipit turpis, vitae mollis augue mauris convallis ex.
		Sed feugiat neque in dolor lacinia, vitae eleifend ex consequat.
	</p>

</body>
</html>
Given the example above, you can see the result as the image below:
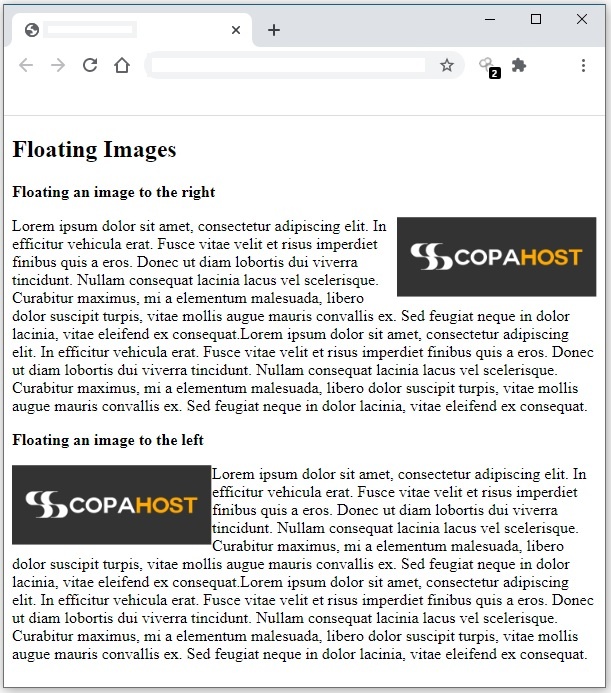
As you can see, the images float to the desired side, and the text adapts correctly around them.
Recommendations for HTML img
The most accepted image formats in all browsers are .jpeg or .jpg, .png and .gif. There are other formats that are accepted and you may be using them. However, accepted formats may vary between different browser versions. Therefore, we recommend using the images in the mentioned formats.
With this tutorial, you can now insert any image into your HTML pages. In addition, you can modify the codes taught in this tutorial as you wish. We recommend reading the Official W3C Documentation about the <img> tag or this other W3C article that explains several ways to style the images.
