Are you ready to embark on your WordPress website journey? With cPanel, the popular web hosting control panel, you can install and login to your WordPress website without breaking a sweat. To install WordPress in cPanel however, you will need an auto-installer tool like Softaculous.
We will begin this article by telling you all you need to know about Softaculous. Then, we will proceed by guiding you through the process of installing WordPress on cPanel using Softaculous. Furthermore, we will provide step-by-step instructions on how to login to your newly installed WordPress site via Softaculous on cPanel.
In addition to that, we will venture into how you can login to your WordPress website via URL. Finally, we will discuss how you can reset your WordPress login details. Without further ado, let’s dive in.
Table of Contents
Logging In WordPress Via URL
In addition to logging in to WordPress through the cPanel Softaculous interface, you can also directly login to your WordPress admin dashboard using your website URL. This method is useful when you already know your WordPress installation URL and want to access the admin area without going through cPanel. Here’s how to login to WordPress via the URL:
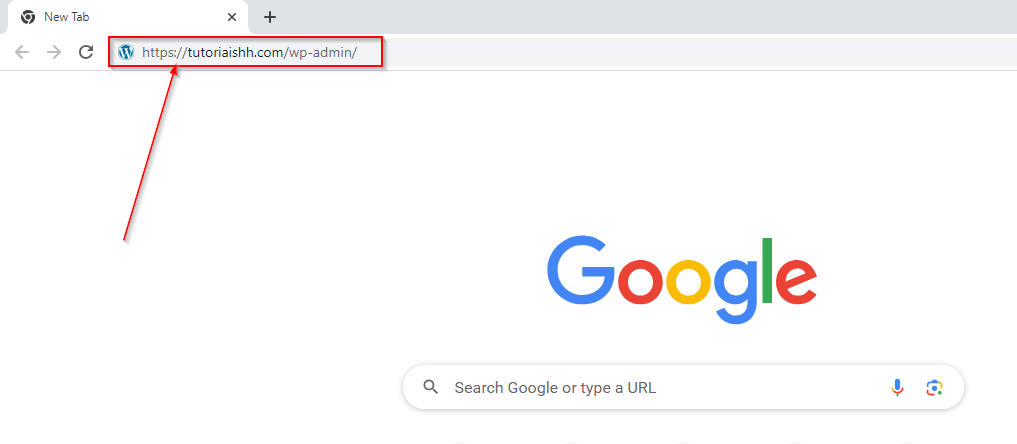
1. Enter the administrative URL of your installed WordPress website in the address bar of your browser. Note that the administrative URL is the WordPress installation URL with a /wp-admin suffix.
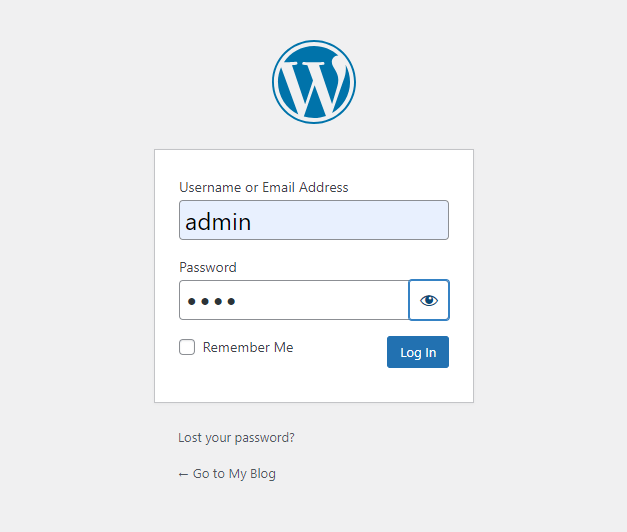
2. To login to your WordPress dashboard, enter the username/email and password you used during installation and click on Log In.
What Is Softaculous?
Softaculous is a popular software auto-installer that is commonly used with cPanel. It provides a convenient way to install, manage, and update a wide range of web applications and scripts on your web hosting account.
Additionally, Softaculous simplifies the process of installing various content management systems (CMS), blogging platforms, e-commerce solutions, forums, wikis, and more. It offers a comprehensive library of applications, including popular options like WordPress, Joomla, Drupal, Magento, phpBB, and many others.
When integrated with cPanel, Softaculous provides an intuitive graphical interface within the control panel. Users can easily browse through the available applications, read descriptions and reviews, and install them with just a few clicks.
Softaculous automatically handles the installation process, including database setup and configuration, making it easier for users, especially those who are not familiar with manual installation configurations.
Also, Softaculous provides features like one-click updates for installed applications, backups, and cloning capabilities. It also offers options to import existing installations, enabling users to migrate their websites to different applications or platforms supported by Softaculous.
Overall, Softaculous simplifies the management of web applications and enhances the user experience by providing a user-friendly interface and automating various installation and maintenance tasks. It is quite easy to use and it has multiple layers of settings that you can tailor to suit your needs.
In the section below, we will walk you through step-by-step instructions on how to install WordPress using Softaculous.
Logging In WordPress Via cPanel Softaculous
Once you have successfully installed WordPress using Softaculous in cPanel, you can easily login to your WordPress admin dashboard to begin managing your website’s content. To do this, you don’t need to enter a username and password. Here’s how to login to WordPress via Softaculous:
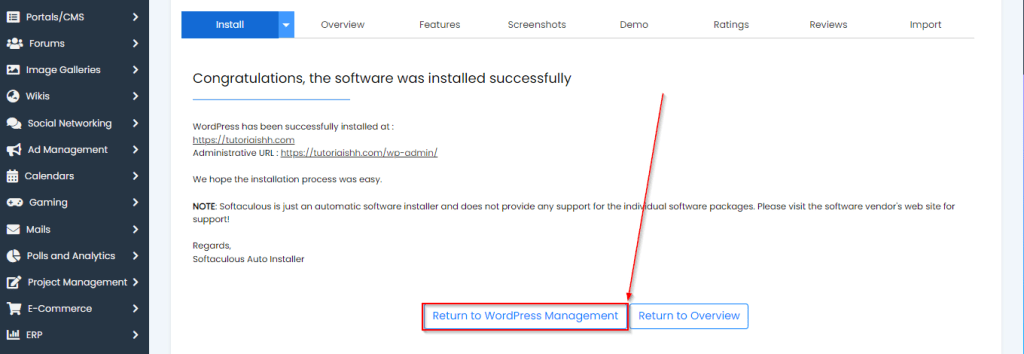
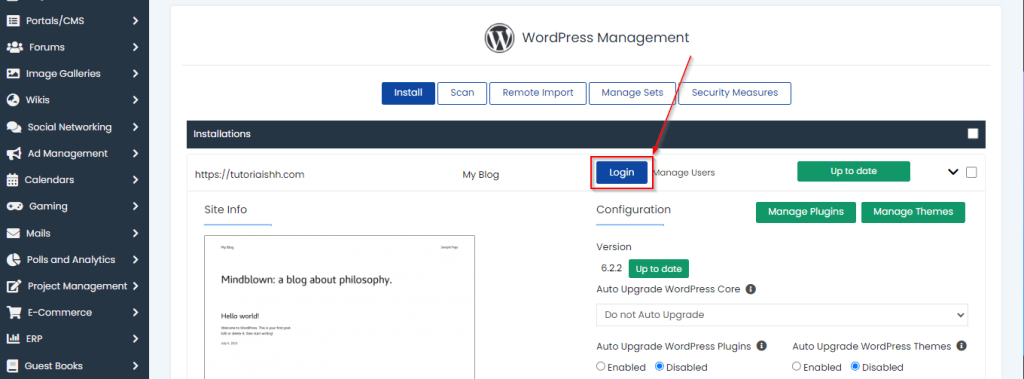
1. After the successful installation of WordPress, you will be taken to a page that says: Congratulations, the software was installed successfully. From this page, click on Return to WordPress Management.
2. From the WordPress Management page, click on Login to view your WordPress website’s dashboard.
Resetting WordPress Username And Password Via cPanel Softaculous
If you have forgotten your WordPress username or password, or if you simply want to change them for security purposes, you can easily reset them using Softaculous in cPanel. Here’s how to reset your WordPress username and password via Softaculous.
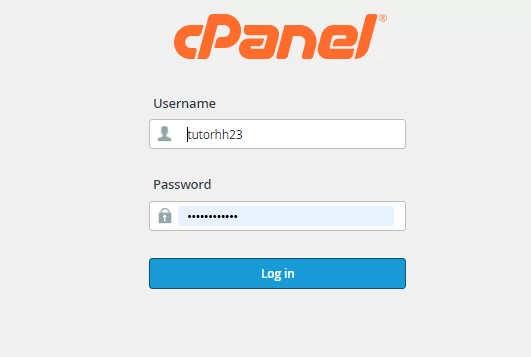
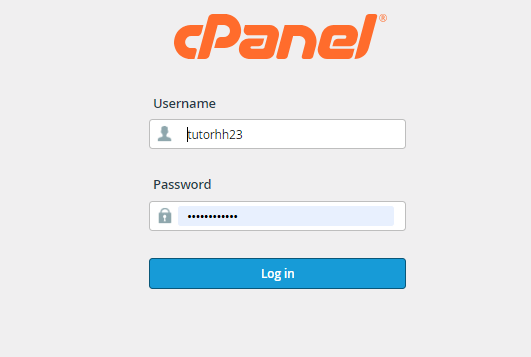
1. Login to your cPanel account using your username and password.
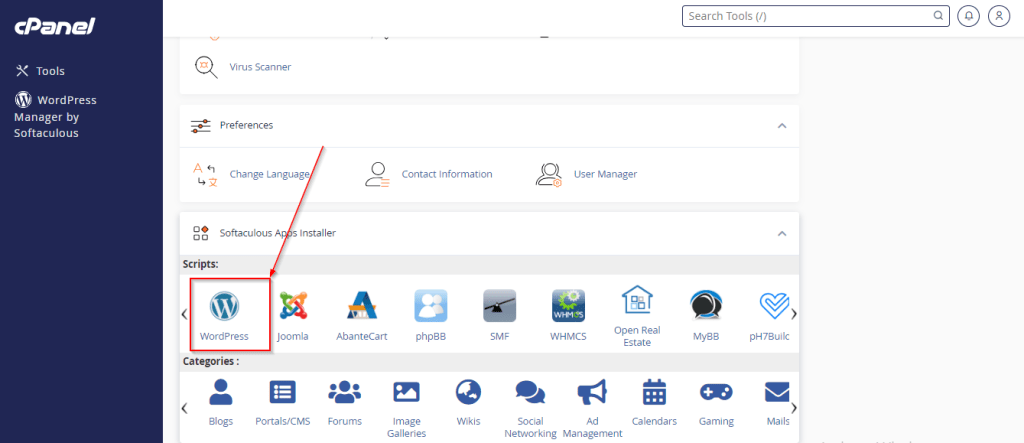
2. From the cPanel Tools dashboard, scroll to the Softaculous Apps Installer section at the bottom of the page. Then click on WordPress from the Scripts tab.
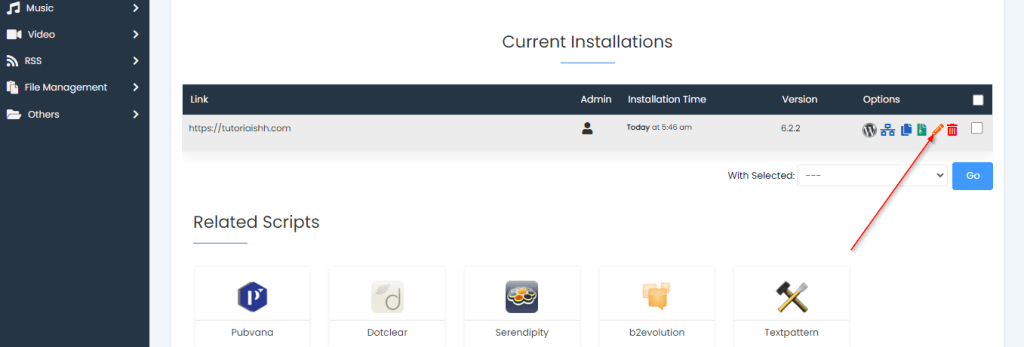
3. Next, scroll to the Current Installations section on the page that appears.
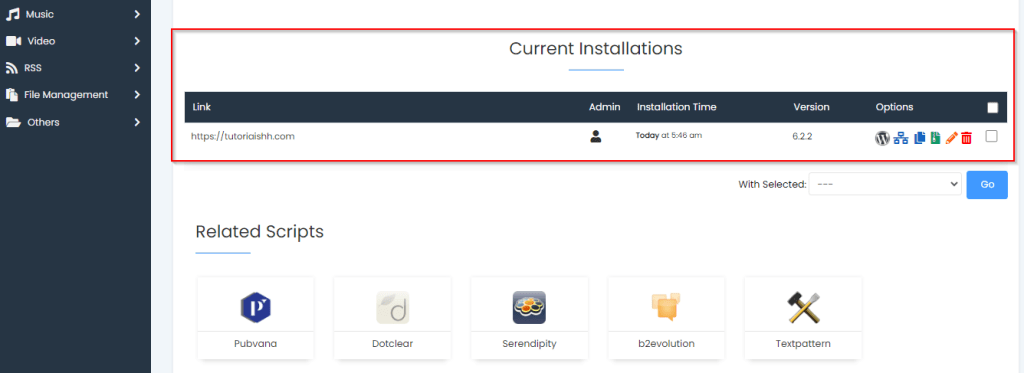
4. Then, click on the pencil icon under the Options column to edit the login details.
5. From the Edit Installation Details page, scroll down to the Admin Account section.
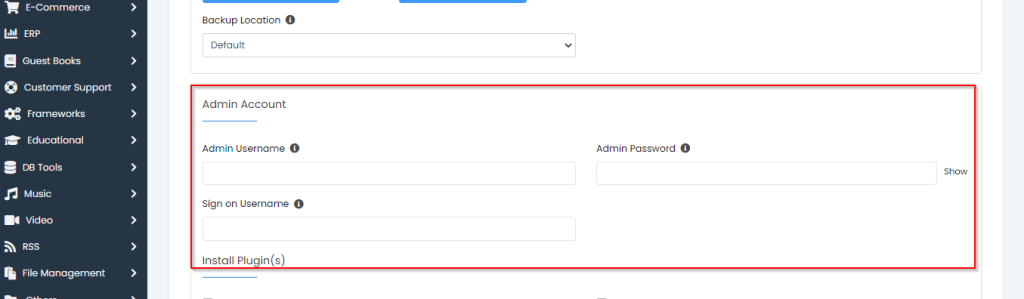
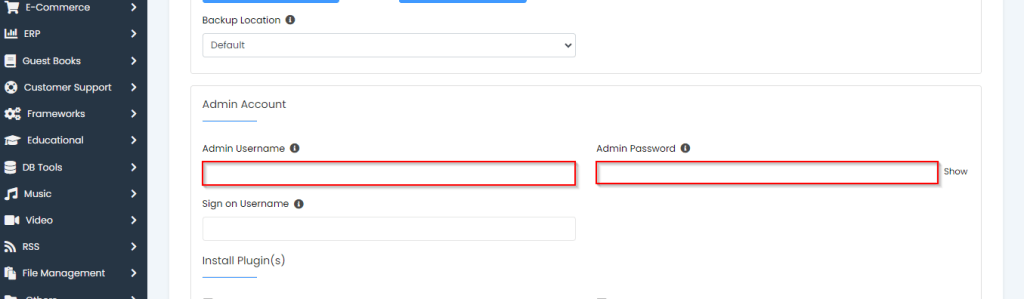
6. Enter your new login details in the Admin Username and Admin Password fields.
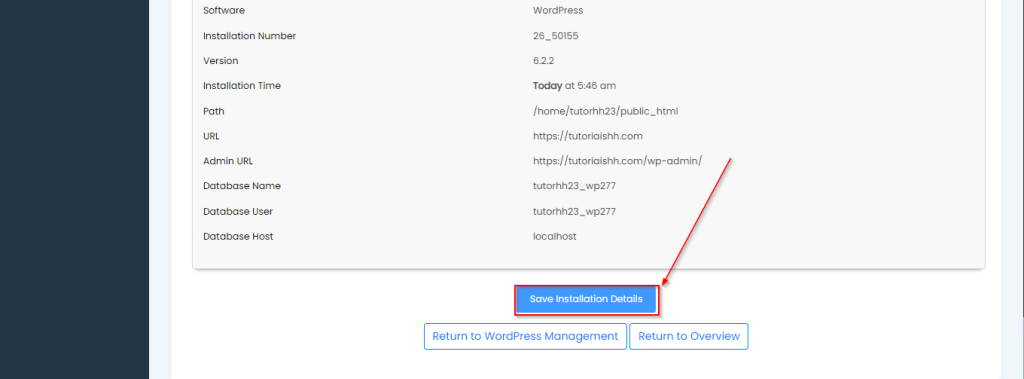
7. Scroll to the bottom of the page and click on the Save Installation Details button.
Installing WordPress In cPanel Using Softaculous
1. Login to your cPanel account using your username and password.
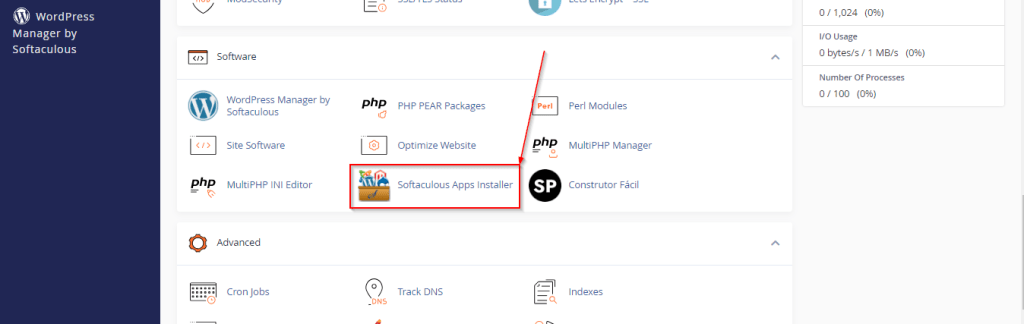
2. From the cPanel Tools dashboard, scroll to the Software section and click on Softaculous Apps Installer. Or you can simply search for Softaculous in the search box.
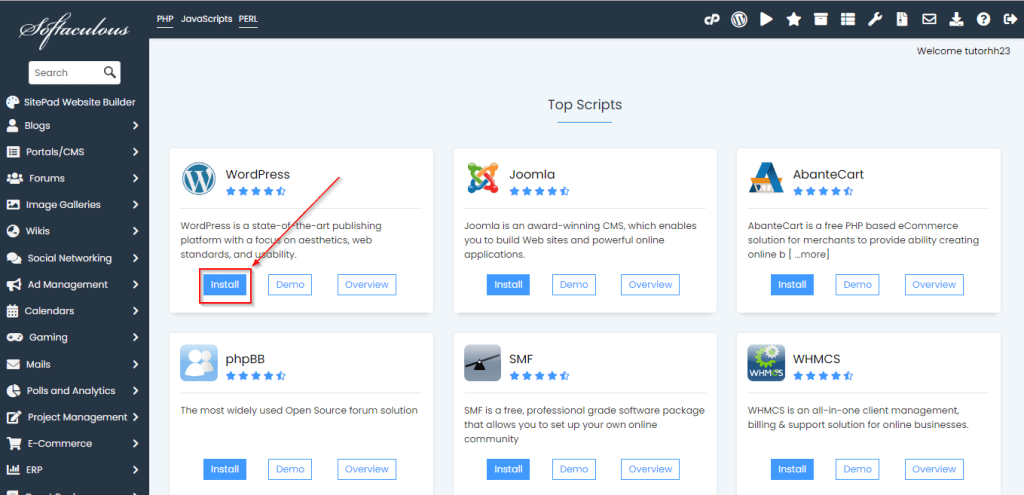
3. On the dashboard, you can choose the script you wish to install. In this case, click on the Install button for WordPress.
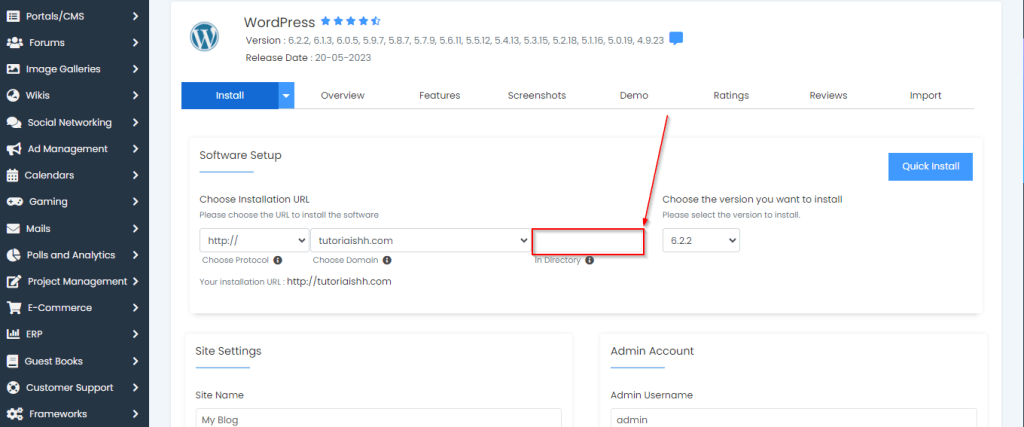
4. From the Software Setup section, set your installation URL and select the version of WordPress you wish to install.
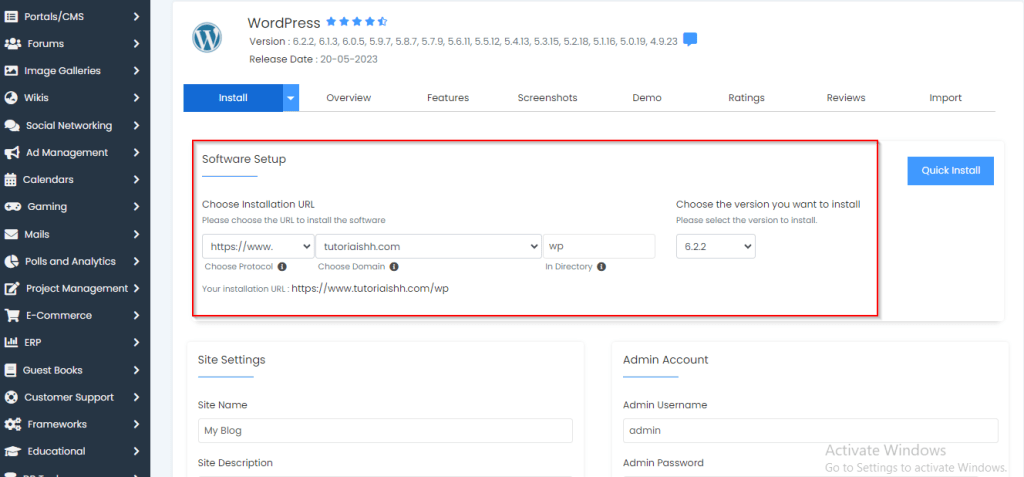
5. If you want WordPress installed in the root folder i.e. example.com, clear the In Directory field highlighted in the screenshot below. However, if you want WordPress installed in a subfolder i.e. example.com/wp or example.com/blog, enter the name of the subfolder in the In Directory field.
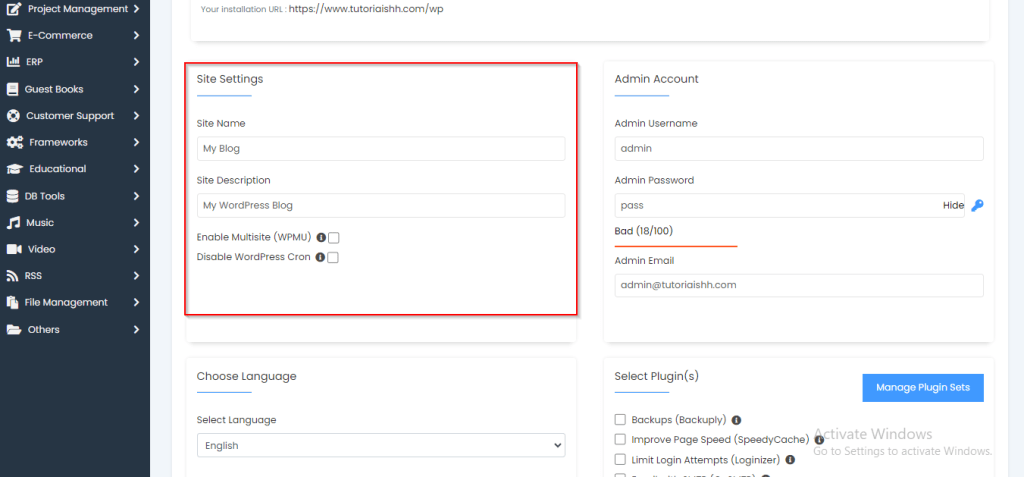
6. Set the Site Name and Site Description from the Site Settings section. You can also tick the Enable Multisite(WPMU) box to run multiple WordPress websites from your installation. And tick the Disable WordPress Cron box if you don’t want WordPress to handle scheduled tasks.
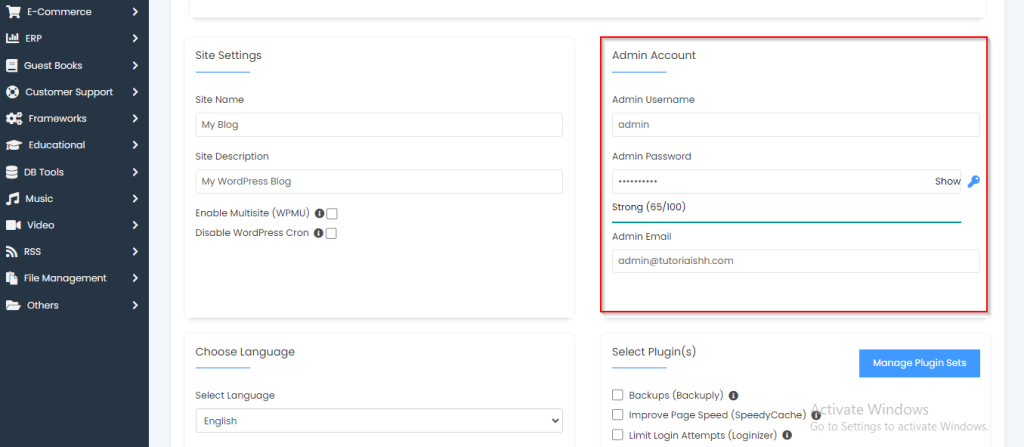
7. From the Admin Account section, set the Admin Username, Admin Password, and Admin Email.
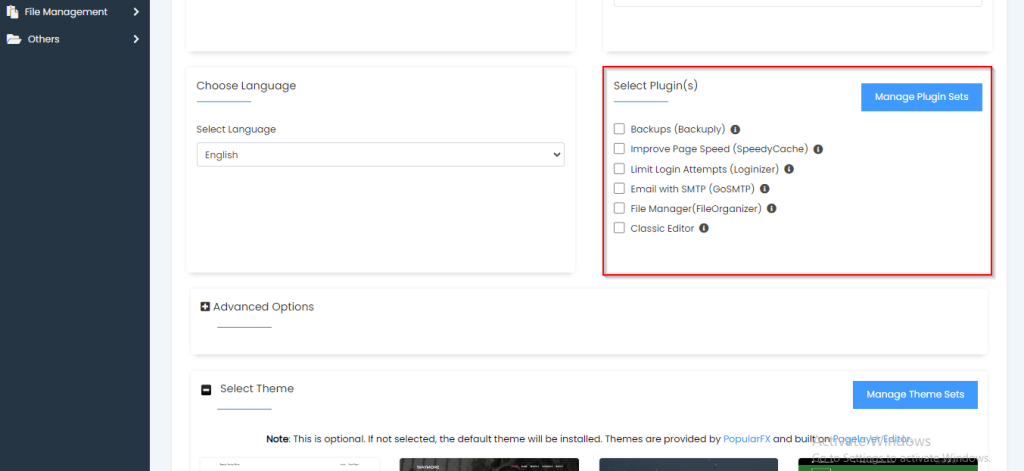
8. In the Choose Language section, select the language you want to use for your WordPress blog. The default language is English.
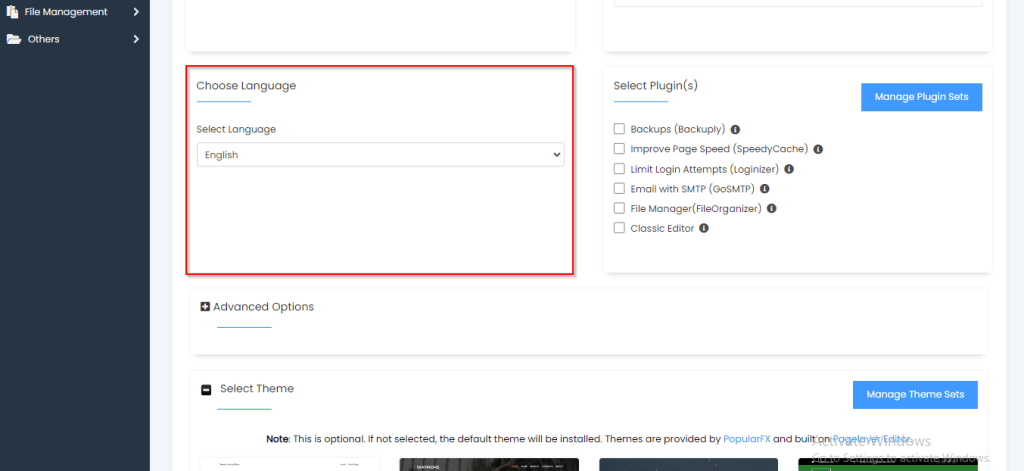
9. From the Select Plugin(s) section, tick the boxes of the plugins you wish to be installed along with your WordPress installation.
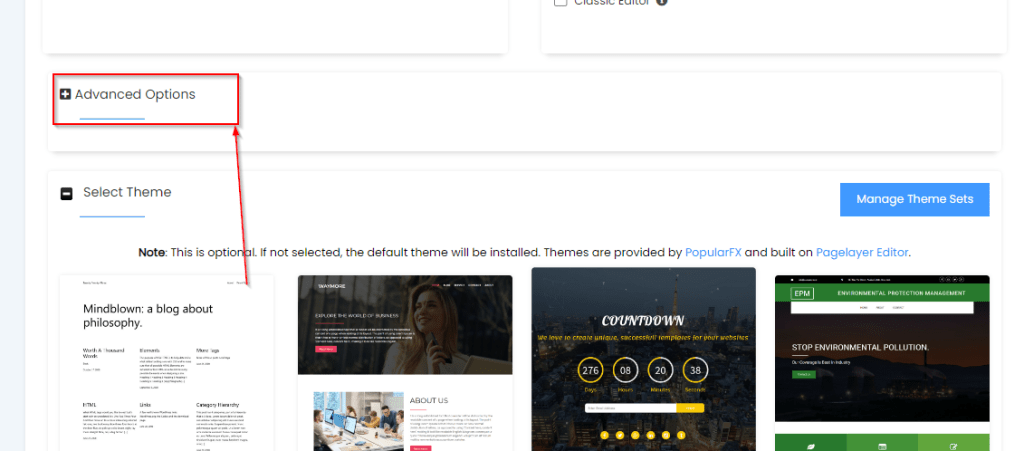
10. Click on Advanced Options to expand the section.
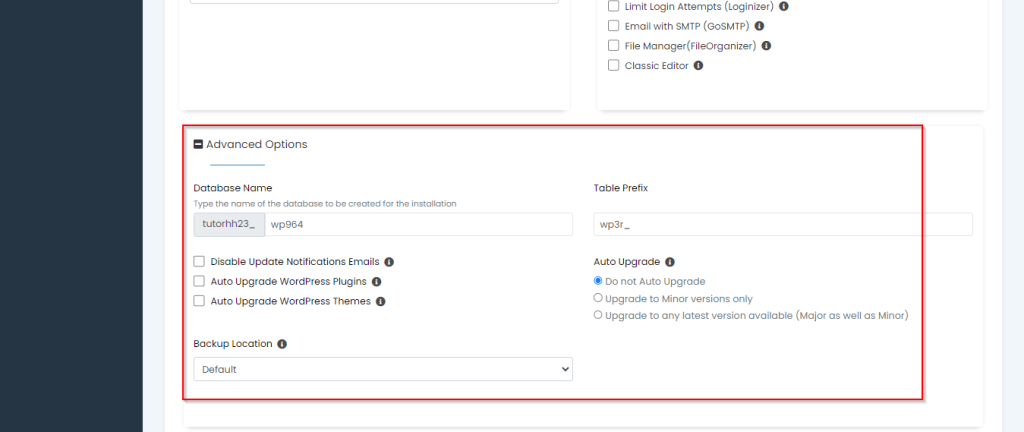
11. From the Advanced Options section, set Database Name, and Table Prefix. Then, check the boxes to disable email notifications for updates, automatically upgrade WordPress plugins, and automatically upgrade WordPress themes. Also, select the applicable option from the Auto Upgrade options. Finally, choose your backup location.
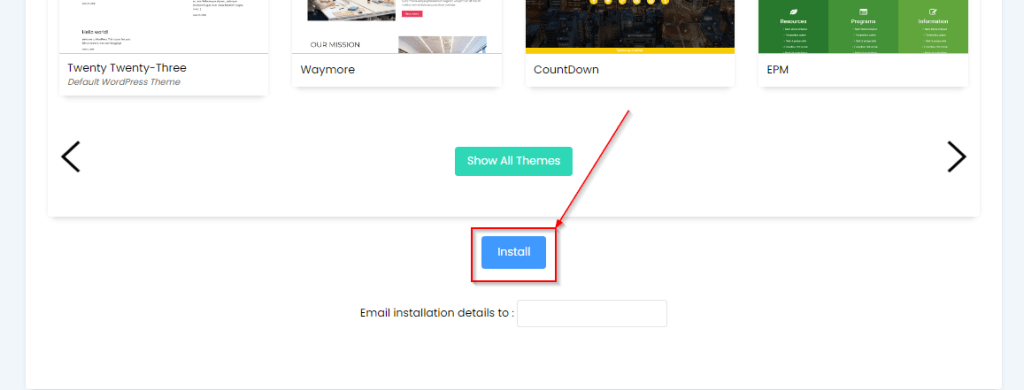
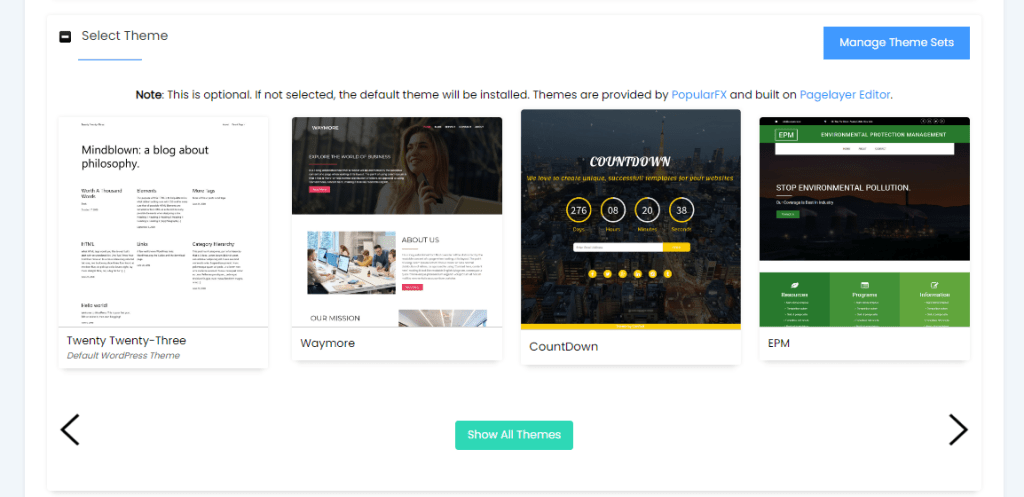
12. Choose your preferred theme from the Select Theme section. You can click on the Show All Themes button at the bottom of the section to view all the available themes.
13. At the bottom of the page, click on the Install button.