In the previous tutorials of Magento, we discussed, how to install magento, how to configure magento for initial setup, and how to change the magento theme. In this post, we will look into the details of magento produts and learn how to add new products to the store. You can follow these steps to add products to your Magento store:
- Login to Magento Admin Area
- Adding Products
- Explaining attribute Sets
- Creating an attribute set
- Explaining product types
- Applying a product type
- Adding Associated Products
Now, let us get into them in detail.
Login to Magento Admin Area
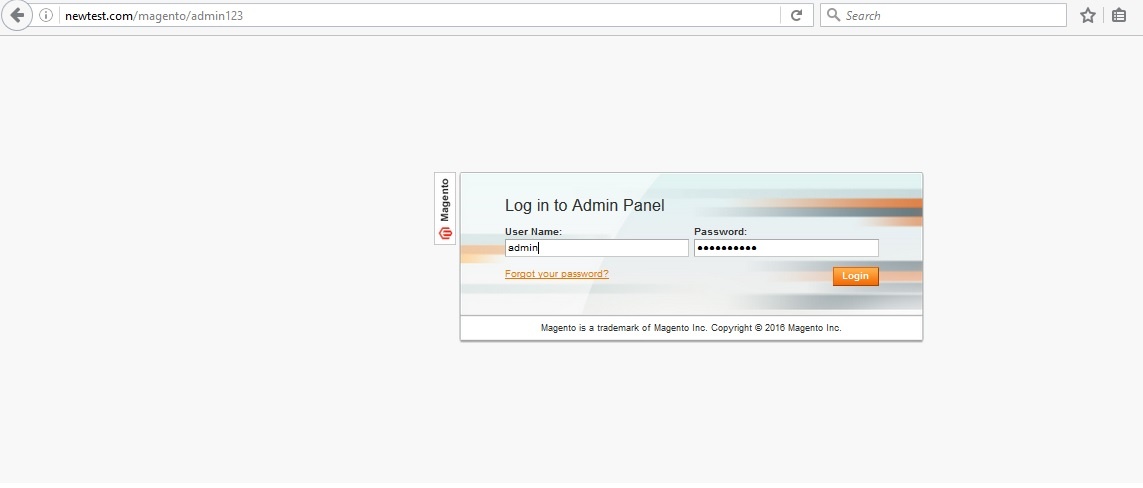
First we need to login to the admin dashboard, to be able to add products. Let’s say my store is installed under the domain newtest.com in the folder magento. My admin folder is admin123. I will access magento admin area as http://newtest.com/magento/admin123
Enter the username and password you provided while installation, and login.
Adding Products
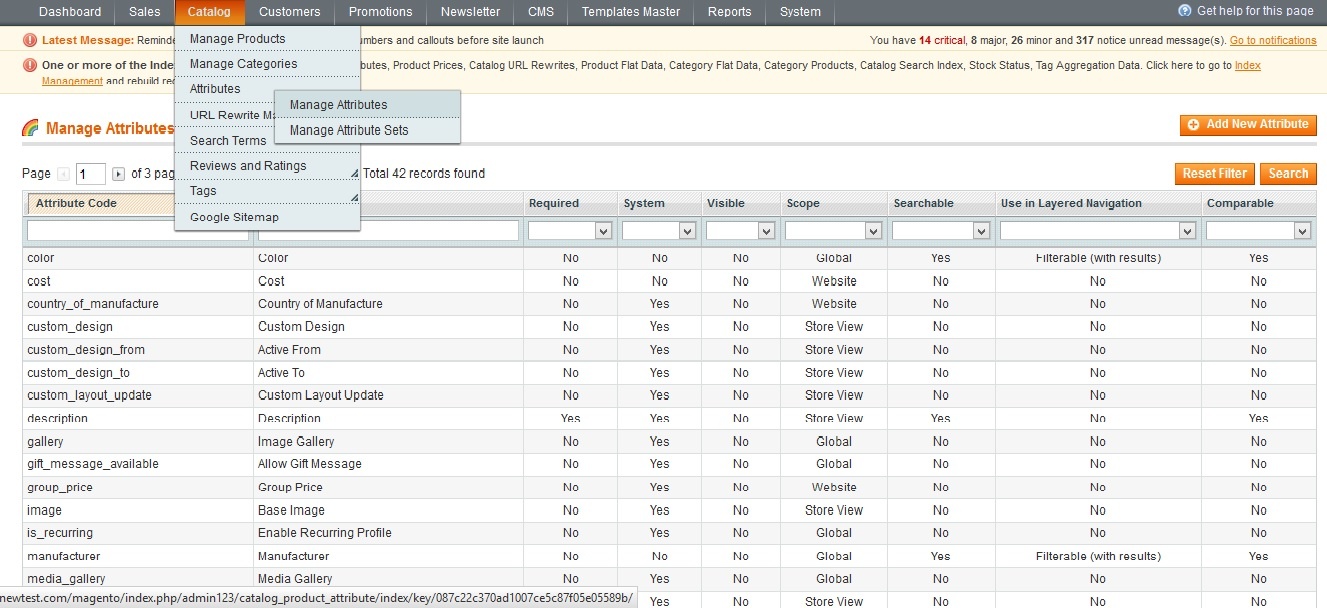
Products can be added from the Catalog -> Manage Products section of the admin area.
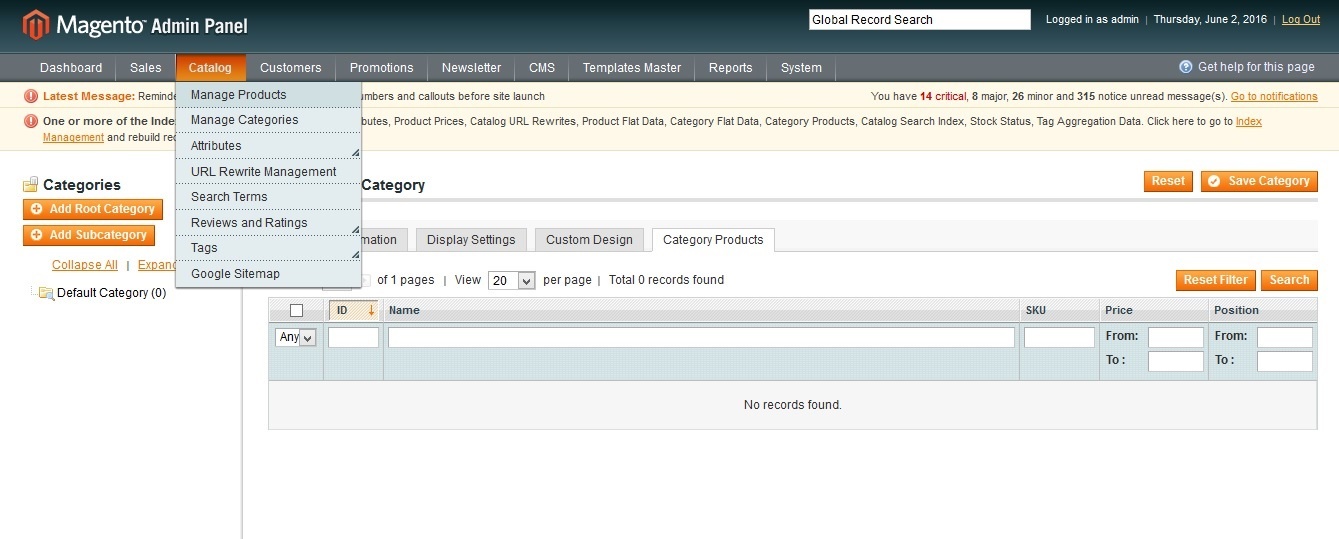
Click on ‘Manage Products’ and you will see an option to add product there, as shown by the red arrow in the image.
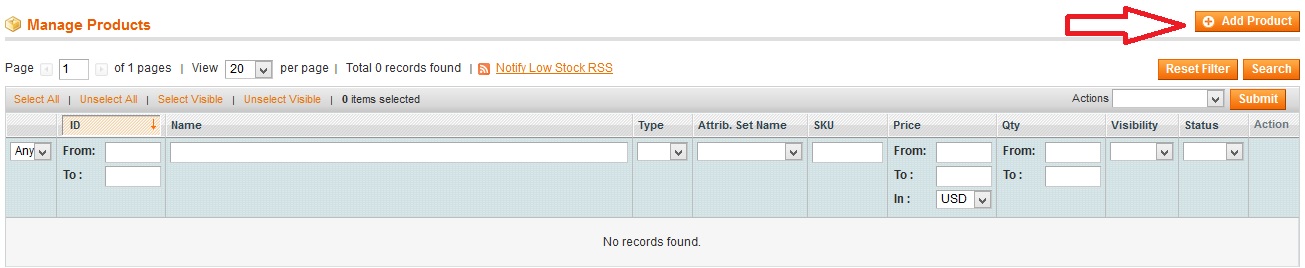
Click on ‘Add Product’. Magento will redirect you to a page to set attributes and product types.
Let me explain what each term refers to.
Explaining attribute sets
An attribute is nothing but the various features of products like color, size, shape etc. An attribute set is a group of such features, all put into a specific set. Magento has a default set of attributes which is accessible at Catalog -> Attributes -> Manage Attributes as shown below. As you can see it consists of various features like color, cost, country, description etc.
Say for example, size attribute applies to any garment product you sell like shirt or trousers, as well as for any shoe or other product. So, if you want, you can create an attribute called shirtsize and apply it to a separate attribute set called shirts.
Creating an attribute set
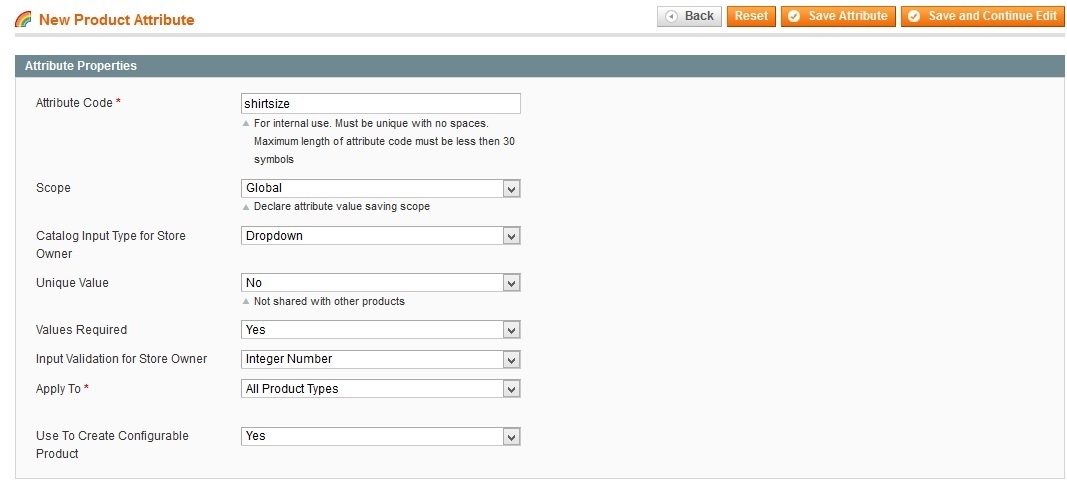
Let’s create an attribute called shirtsize first. Go to Catalog -> Attributes -> Manage Attributes and click on “Add New Attribute“. It would ask a lot of details as follows, enter the details based on the attribute you set.
Now, we will put this attribute into a new attribute set, so that it will be available in that attribute set only. Go to Catalog -> Attributes -> Manage Attribute set and click on ‘Add New Attribute Set’. For example, I am creating the attribute set named ‘Shirts’.

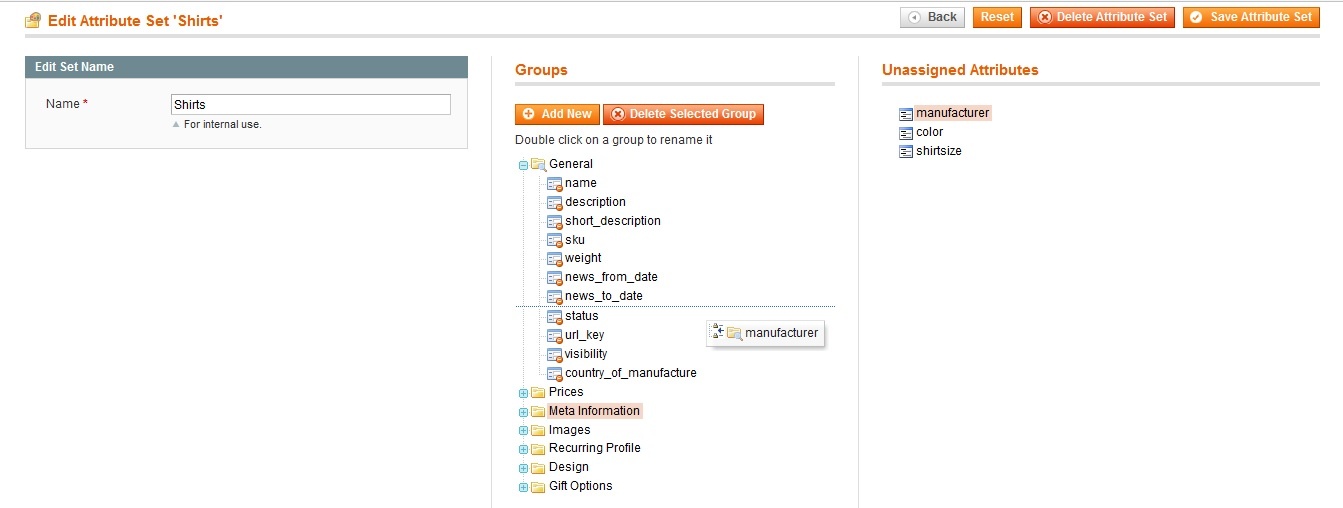
Now, click on Save Attribute Set and Magento will redirect you to page where different groups are available. Some attributes may be automatically assigned while some others may be unassigned. The attribute shirtsize which we added just now is unassigned. We need to add it, and just for the sake of learning, let’s remove a few attributes as well. Attributes can be added or removed by just dragging them to the required positions. In the image below, you can see that I am dragging the attribute ‘manufacturer’ to the group name ‘General’
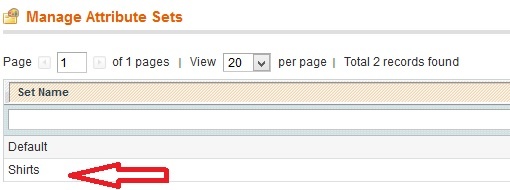
Similarly I moved all unassigned attributes to the group named ‘General’ and saved the attribute set ‘Shirts’. Now, you can see that the new attribute set you created is also listed along with the default attribute set.
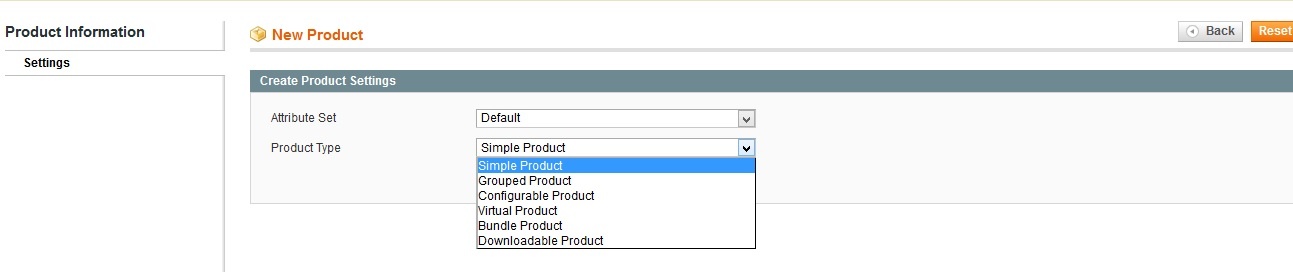
Explaining product types
Now, let’s get back to adding a product. We already discussed the attribute set option there. Now, let us see what the various product types listed there means.
Simple product
As the name implies, it is a simple physical product which is shipped as is. The customer has to buy it exactly the way it is, and there is no option to choose among the features like color or size. For example, a camera lens.
Grouped Product
This is a group of simple products. Say for example, the store owner groups a phone, earphone, screen guard, case etc along with the phone. These are simple products which can be sold separately, but the owner is selling them as a grouped product at a special prize for the entire group. If you are buying it, you need to purchase all the products in the group, you cannot choose which are required and which are not.
Configurable Product
An example for a configurable product is something like a shirt, which comes in various sizes and colours. Say for example, the shirt is available in two size – large and extra large and two colours of it are available, say red and green. The customer can choose the size and colour before purchasing. That is, they are able to configure the product based on their likes, and hence the name configurable product.
Virtual Product
A virtual product, as the name implies, is a product that can’t be shipped. It would instead be a service that is available for purchase. For example, someone requires a security auditing of their website. Simply something you won’t ship. The security auditing service is available at a fixed rate, the customers purchase it, and the service vendors contacts them to provide the service.
Bundle Product
Like Grouped Product, a Bundle product also contains a set of simple products. However, unlike Grouped Product, a bundle product allows the customers to choose which all products are required and which are not. Each simple product present inside a Bundle Product will have individual rates, and based on which products the customer choose, the total amount will be billed. In the example of phone purchase, along with the phone the customer can purchase the case and screen guard and not choose earphone. It’s the customer’s wish and he pays for what he needs only.
Downloadable Product
A product which needn’t be shipped physically, but the customer can simply download it to his machine is termed a Downloadable product. The best example for such a product would be an e-book.
Applying a product type
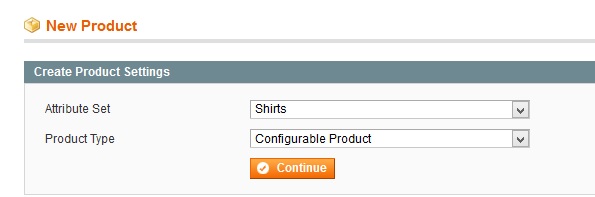
So coming back to our section of Adding Products, let us know see what options to choose. In our example, we are adding shirt as our product. We created an attribute set specifically for shirts, and we are going to provide various colours and sizes of shirts, hence it is a configurable product. So select the appropriate options and click on ‘Continue’.
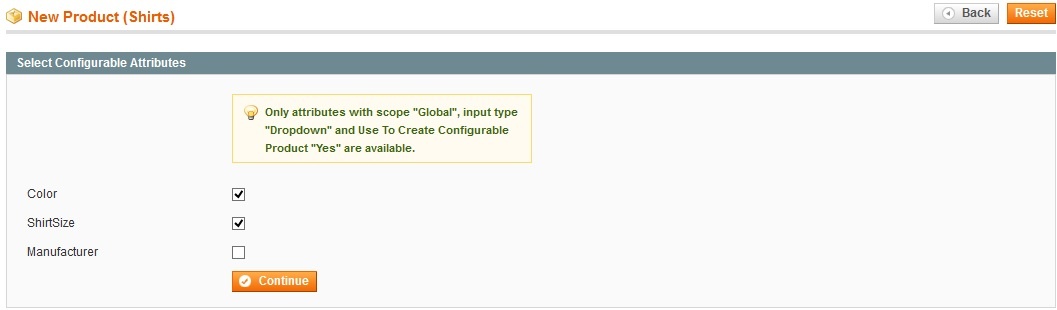
The next page lists the attributes which are configurable, and I choose shirtsize and color from it.
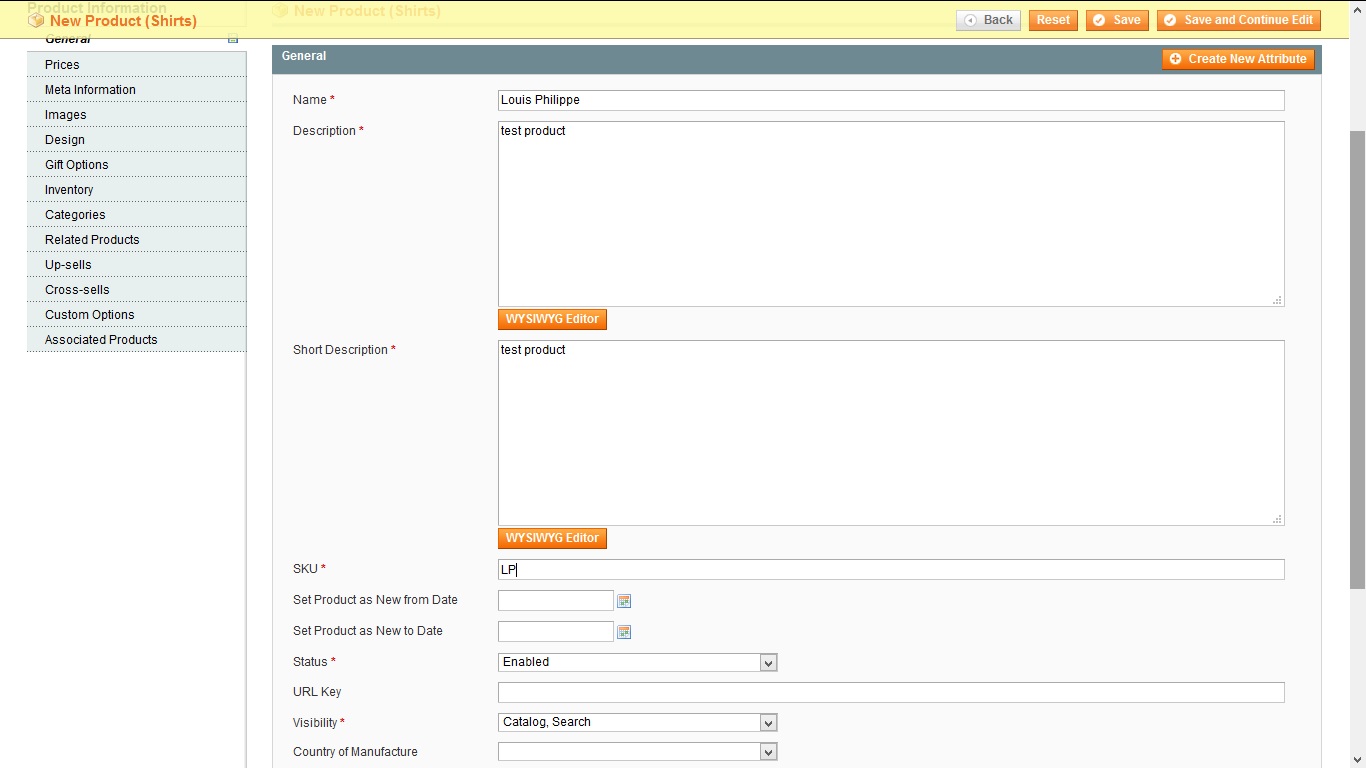
Click ‘Continue’ and it will take you to the page where you can add the product name. Since I am selling shirts, I enter the product name as ‘Louis Philippe’. Enter description and short description for your product (mandatory fields). SKU is a unique identifier for this product, which you can choose based on your wish. I am setting it as LP. You must set the status as ‘Enabled‘ and visibility as ‘Catalog, Search‘ option, which is the most common option.
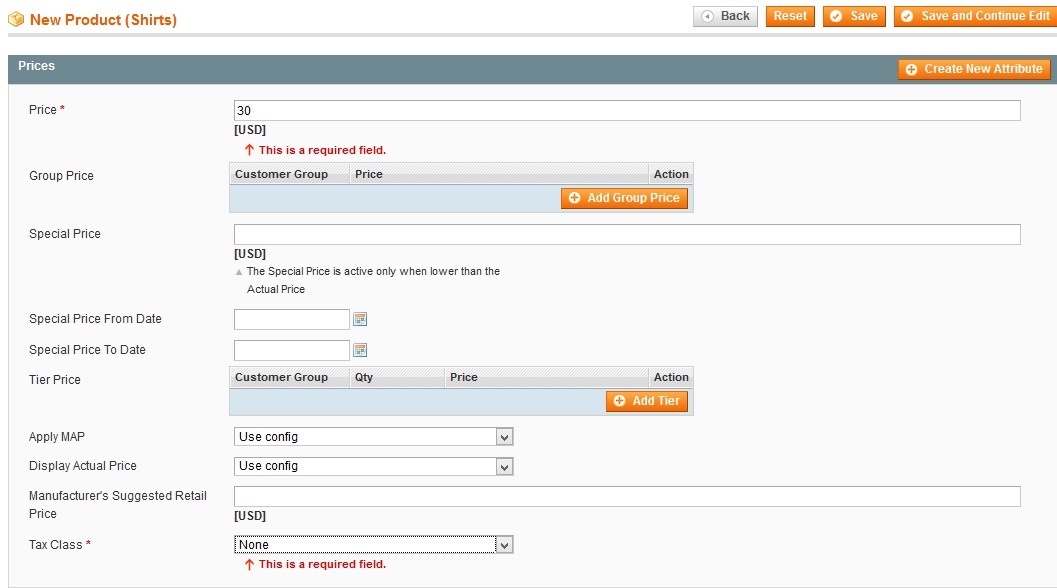
Now configure the price tab and other suitable options required for your product in various tabs beneath it.
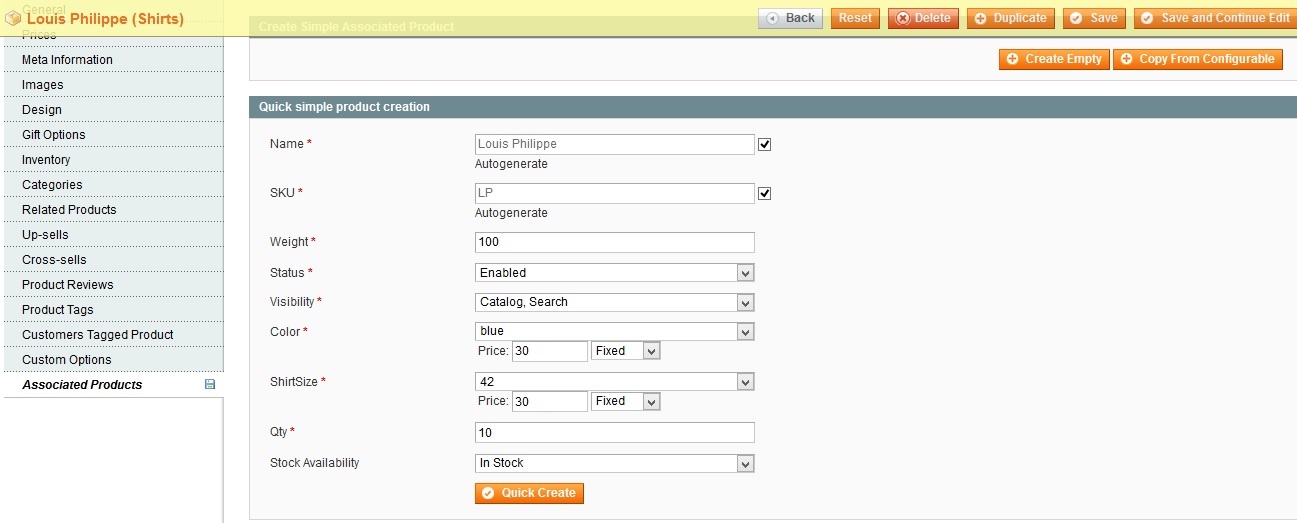
Adding Associated Products
To the bottom of that menu, there is an option ‘Associated Products‘. So, I created the product named ‘Louis Philippe’. Now I can quickly create associated products as shown in the image below.
We can create any number of products like that. If you go back to Catalog -> Manage Products, you can see the products created.
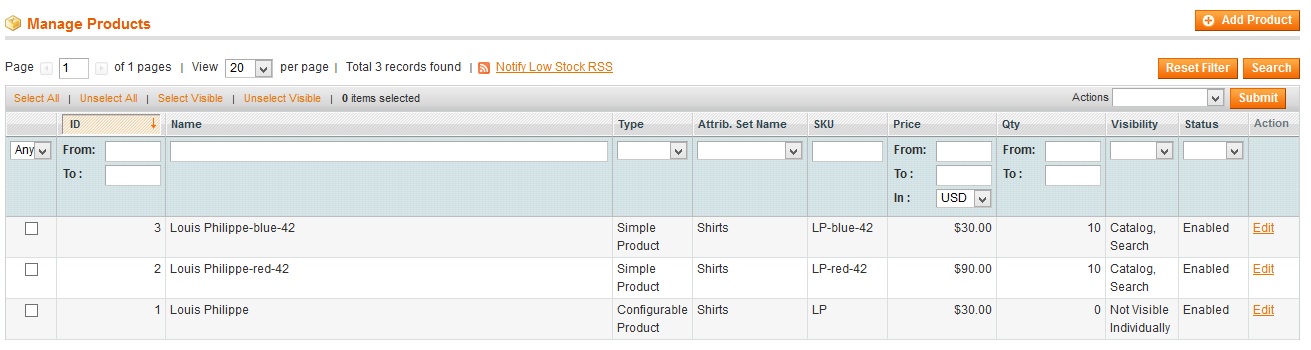
So, we have added the products now and it will be listed in the website once all the changes are saved. Refresh your website and check the products listed.

If you add images to the products, then the products will be listed with images. I had not added images, hence the default magento icon is displayed. Hope this post helps anyone trying to setup a new store and add products.
